After adding a skeleton and parenting my mesh to the armature, I positioned the creature in appropriate ways to match the final images I had chosen. To position them, I simply moved the different bone in my creature to place them where I saw fit.
Image 1 – Snow
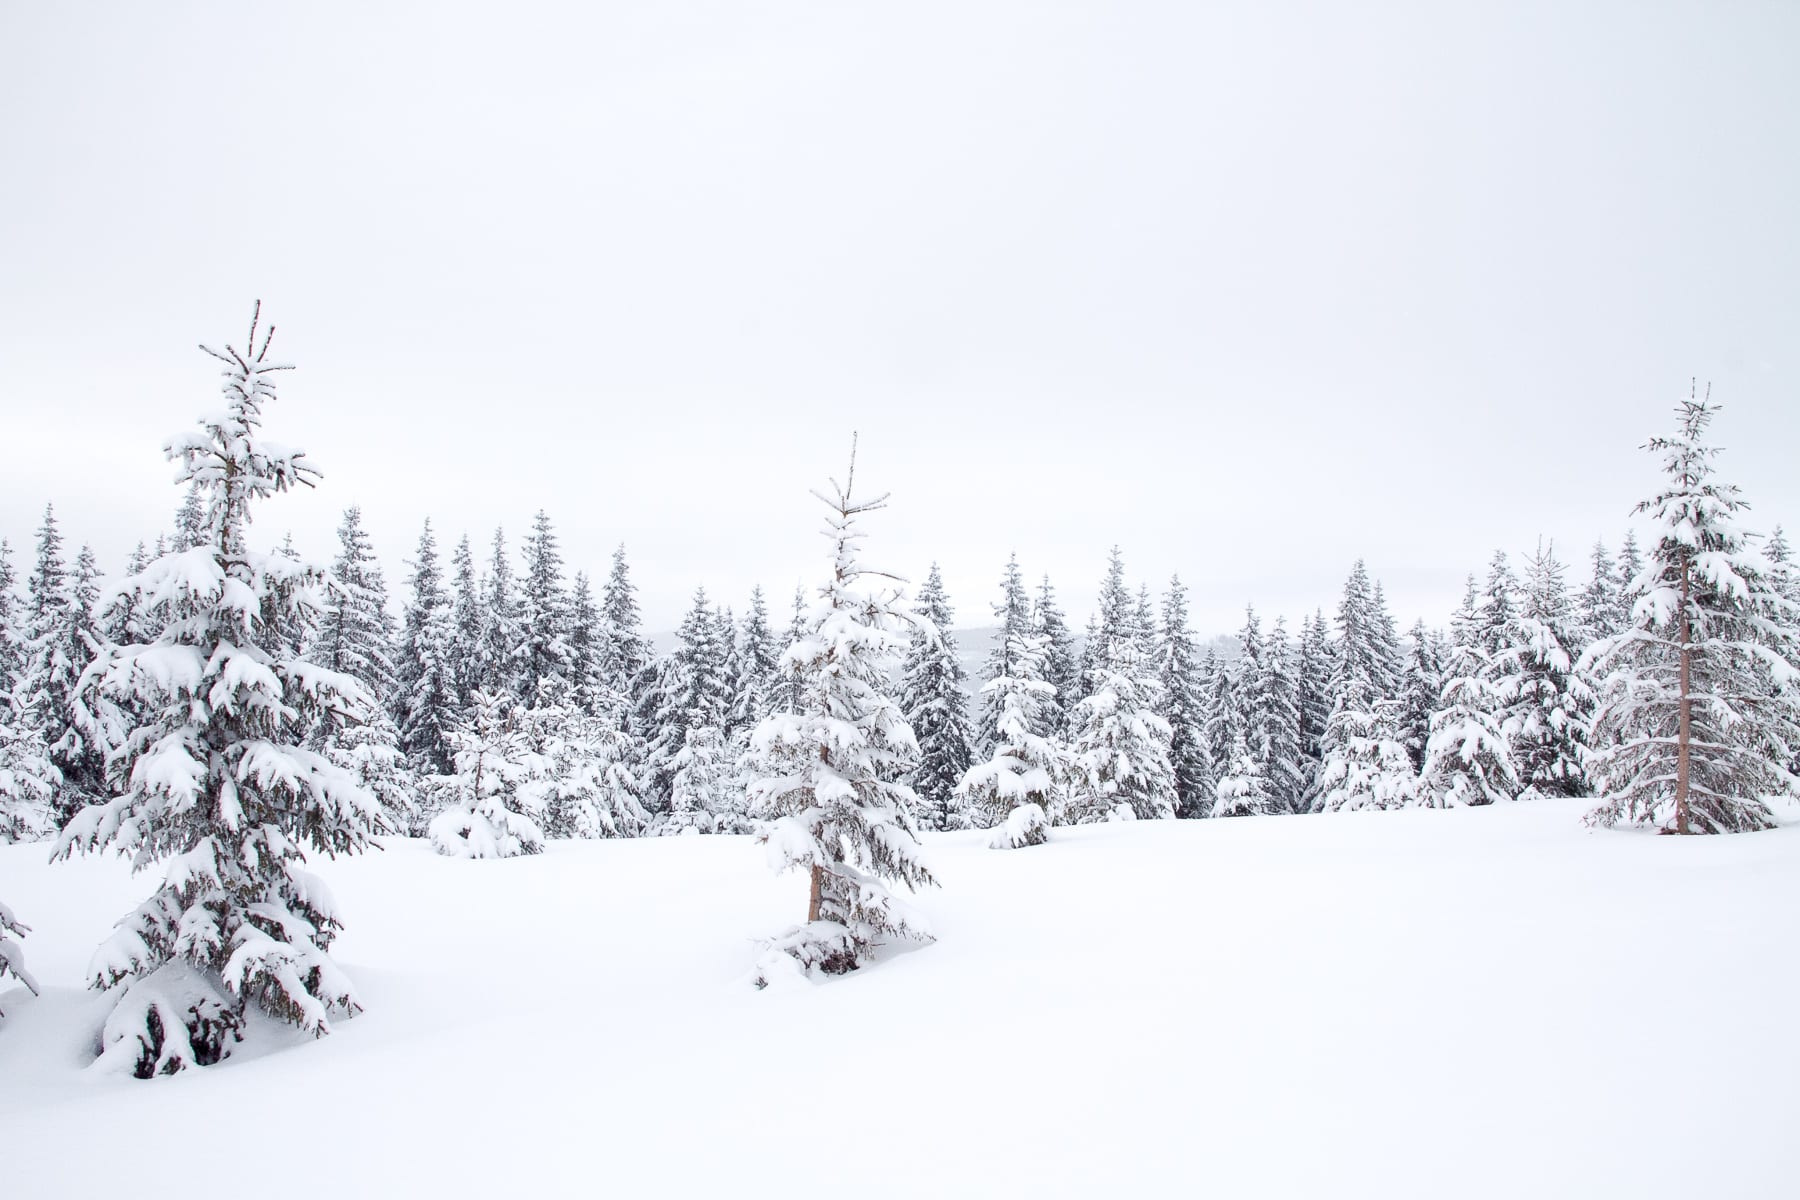
[Image Credit: Cristiana Bardeanu – Snow – Link]
For the snowy image, I chose to place my creature in a relaxed pose. There is an empty place in this image where I feel he would fit perfectly, but because there is little to look at in this image, a simple pose seemed appropriate. This pose also gives me the opportunity to explore more when texture painting this model, as his lack of movement would most likely cause a thin layer of snow to cover the top parts of his body.
Pose:


Image 2 – Forest

[Image Credit: Free-Photos – Trees – Link]
For the second image, I chose to place my creature in a pose that suggested wonder. As this scene is set in the middle of a wood, there is not much for him to see apart from a large amount of foliage, therefore there isn’t one specific place for him to be looking. The nature of my creature forces him to evolve depending on where he is, so making him stand tall is a must, as it would better resemble the scenery around him, and help him to blend into the scene. This all lead me to the following simple pose.
Pose:

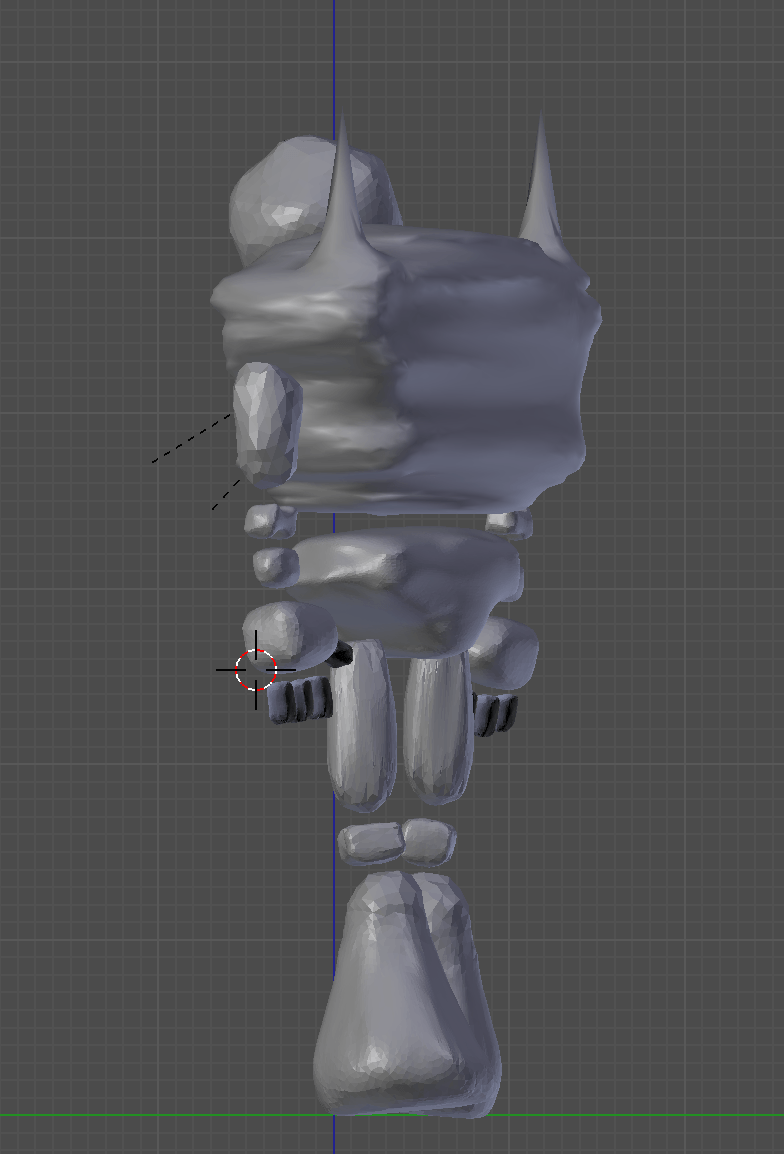


Image 3- Sea

[Image Credit: Andym5855 – Sunset – Link]
For the final image, I chose to have my creature look out on the horizon. This seemed fitting for this scene as not only is the sunset fading the light, but it is common for people to visit the sea and do such a thing. When looking across a large distance, it can be hard to see, so including a hand gesture that shows viewers that my creature is trying to admire his surroundings seems very fitting. I also wanted to imply movement in order to bring my model to life and present him as something other than a static figure. To imply this, I presented him in mid-walk.
Pose:


The following is a time-lapse of how I created the first pose, the same principles were applied across each different outcome:
I originally tried to create this pose before I chose to simplify the armature and remove the bones from my creature. This is the result, one I was not happy with. It is because of this I decided to stick with the simplified armature as opposed to creating a more complex one to incorporate the finger bones. The final poses I created didn’t need such a complex armature. It was during the posing of my creature that minor armature errors became apparent, causing me to alter specific parts of the mesh and/or bone placement.
Leave a comment