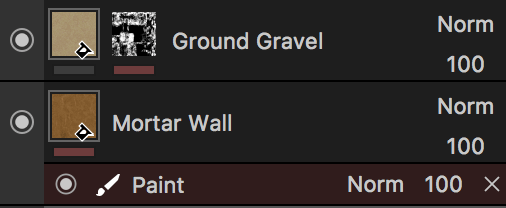
The following images showcase the textures, masks, paint and grunge filters I used in each image/animation I created.
Image 1

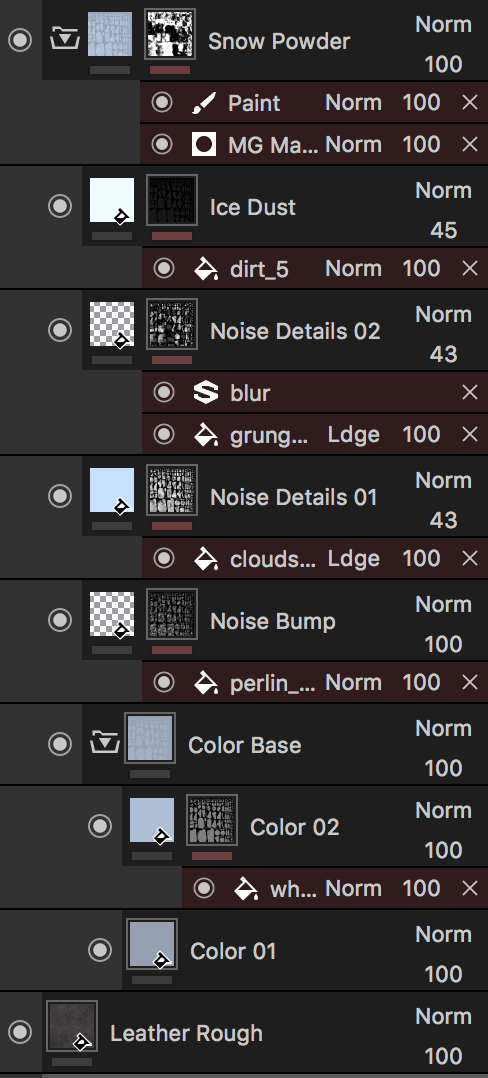
Image 2
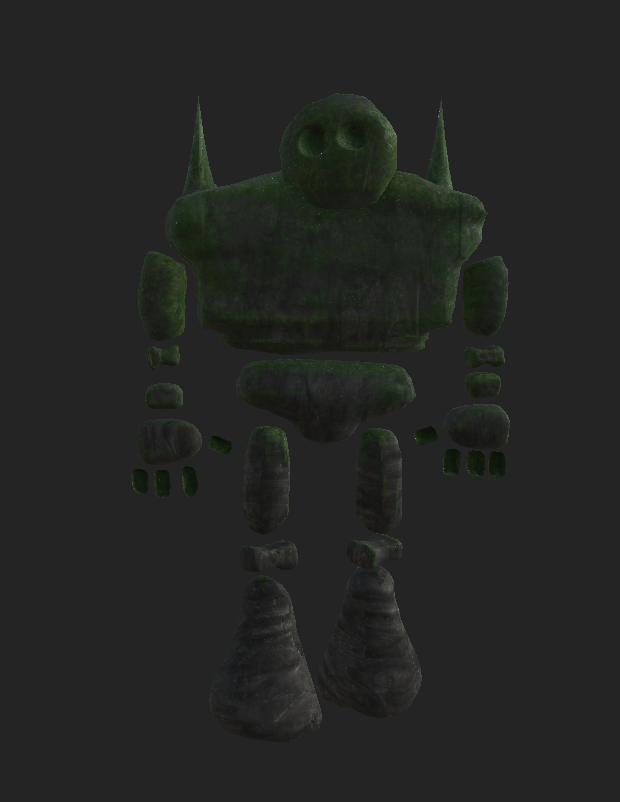
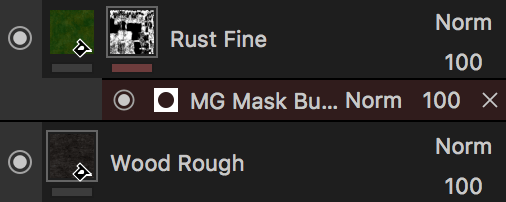
Image 3
Animation
The following images showcase the textures, masks, paint and grunge filters I used in each image/animation I created.
‘Animation is the process of making the illusion of motion and the illusion of change by means of the rapid succession of sequential images that minimally differ from each other.’
Animation can include drawings, models, or even inanimate objects. Animated motion pictures and television shows are highly popular forms of entertainment. Traditionally, animation has involved the filming of a series of cartoon drawings or objects so that, when projected, the illusion of movement is created.’ (Britannica Kids, 2017).
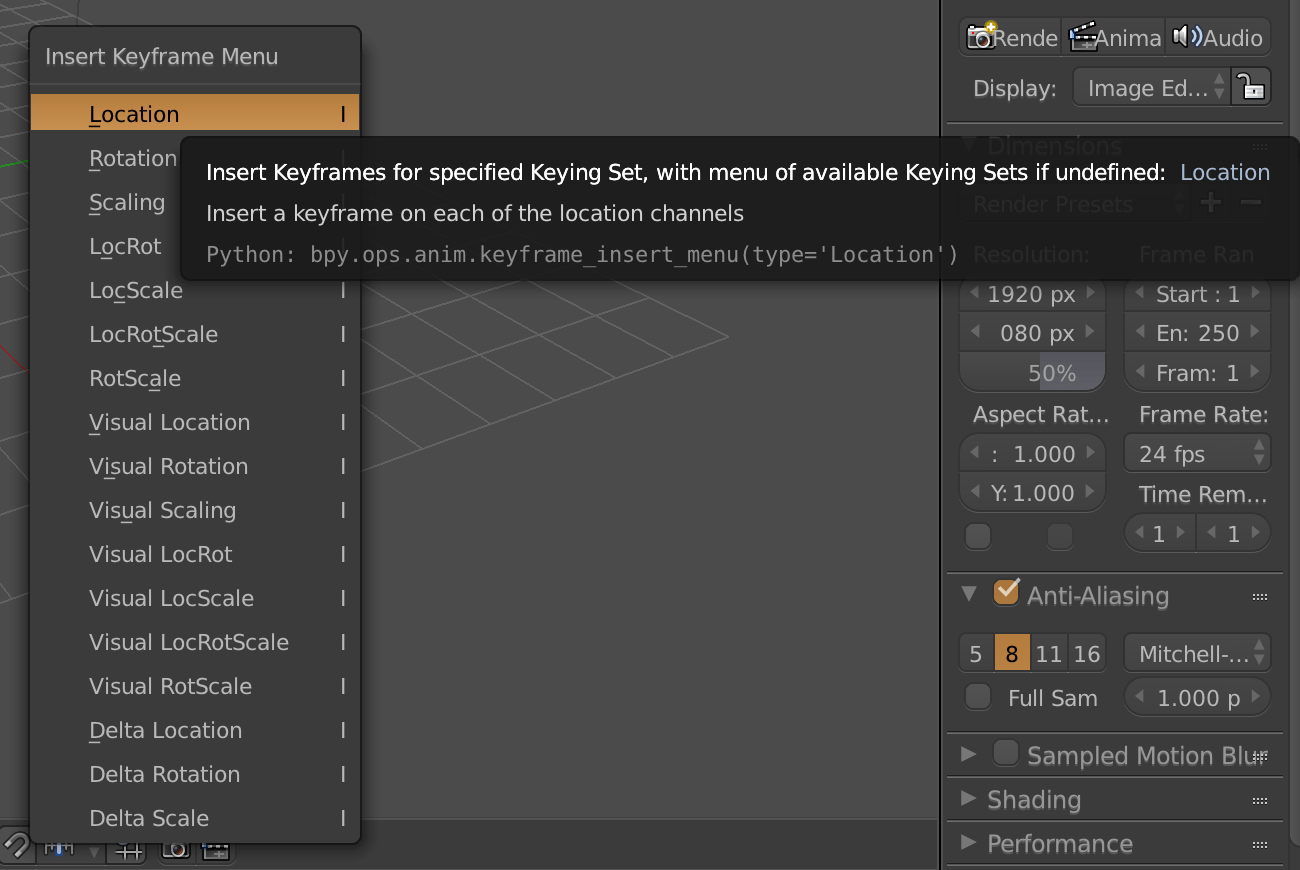
Keyframes are an important thing to learn about in animation. A keyframe holds the value of a property to a specific time on a timeline, for example it could define the position an item is on its Y axis, increasing as the frames go on. Blender’s animation feature automatically predicts frames, meaning instead of having to define each frame in a scene, you can define the properties in frame 1 and then how you want them to be in frame 15, and the frames in between will be filled in appropriately. You can insert keyframes in 3D view, and move and delete any keyframe you insert by using the Dope Sheet editor window.

Sources:
– Blender. (2017). Animation — Blender Manual. [online] Available at: https://docs.blender.org/manual/en/dev/animation/index.html [Accessed 15 Dec. 2017].
– En.wikipedia.org. (2017). Animation. [online] Available at: https://en.wikipedia.org/wiki/Animation [Accessed 15 Dec.
– Britannica Kids. (2017). Animation. [online] Available at: https://kids.britannica.com/students/article/animation/604592 [Accessed 15 Dec. 2017].
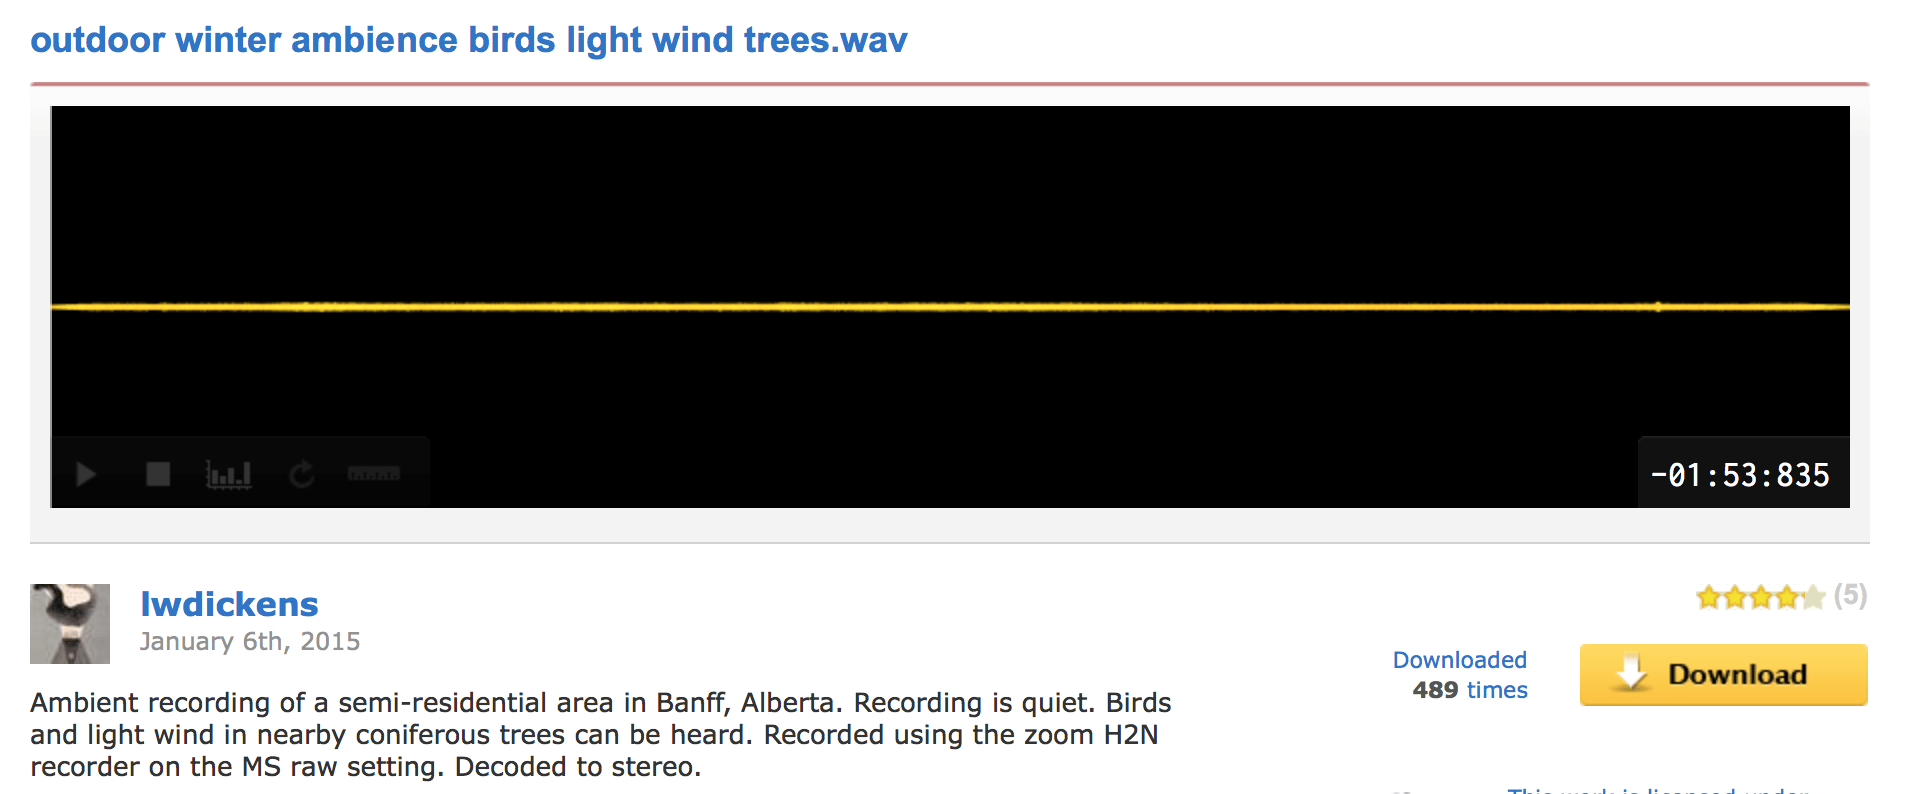
To add final touches to my video, I decided to add some sound effects and a simple background track. To do so, I searched on Soundcloud through Creative Commons using terms such as ‘Ambient’ and genres with a more relaxed tone, as well as using FreeSound.org to get appropriate sound effects. I used Premier Pro to place the following items on top of my trailer.
Animation
The Footsteps:

Ambience:
Ambience:
Ambience:
Ambience:

Sources:
– Soundcloud
– Freesound.org
During the texturing process of my project, I came across some struggles when deciding what textures and effects to use for my images. Although limiting, Substance Painter includes more than enough textures in its shelves, some that are versatile and can be used to create effects that it wasn’t initially created for. In some situations however, just simply adapting a preset to fit my model wasn’t enough, so I turned to the platform ‘Subastance Share’
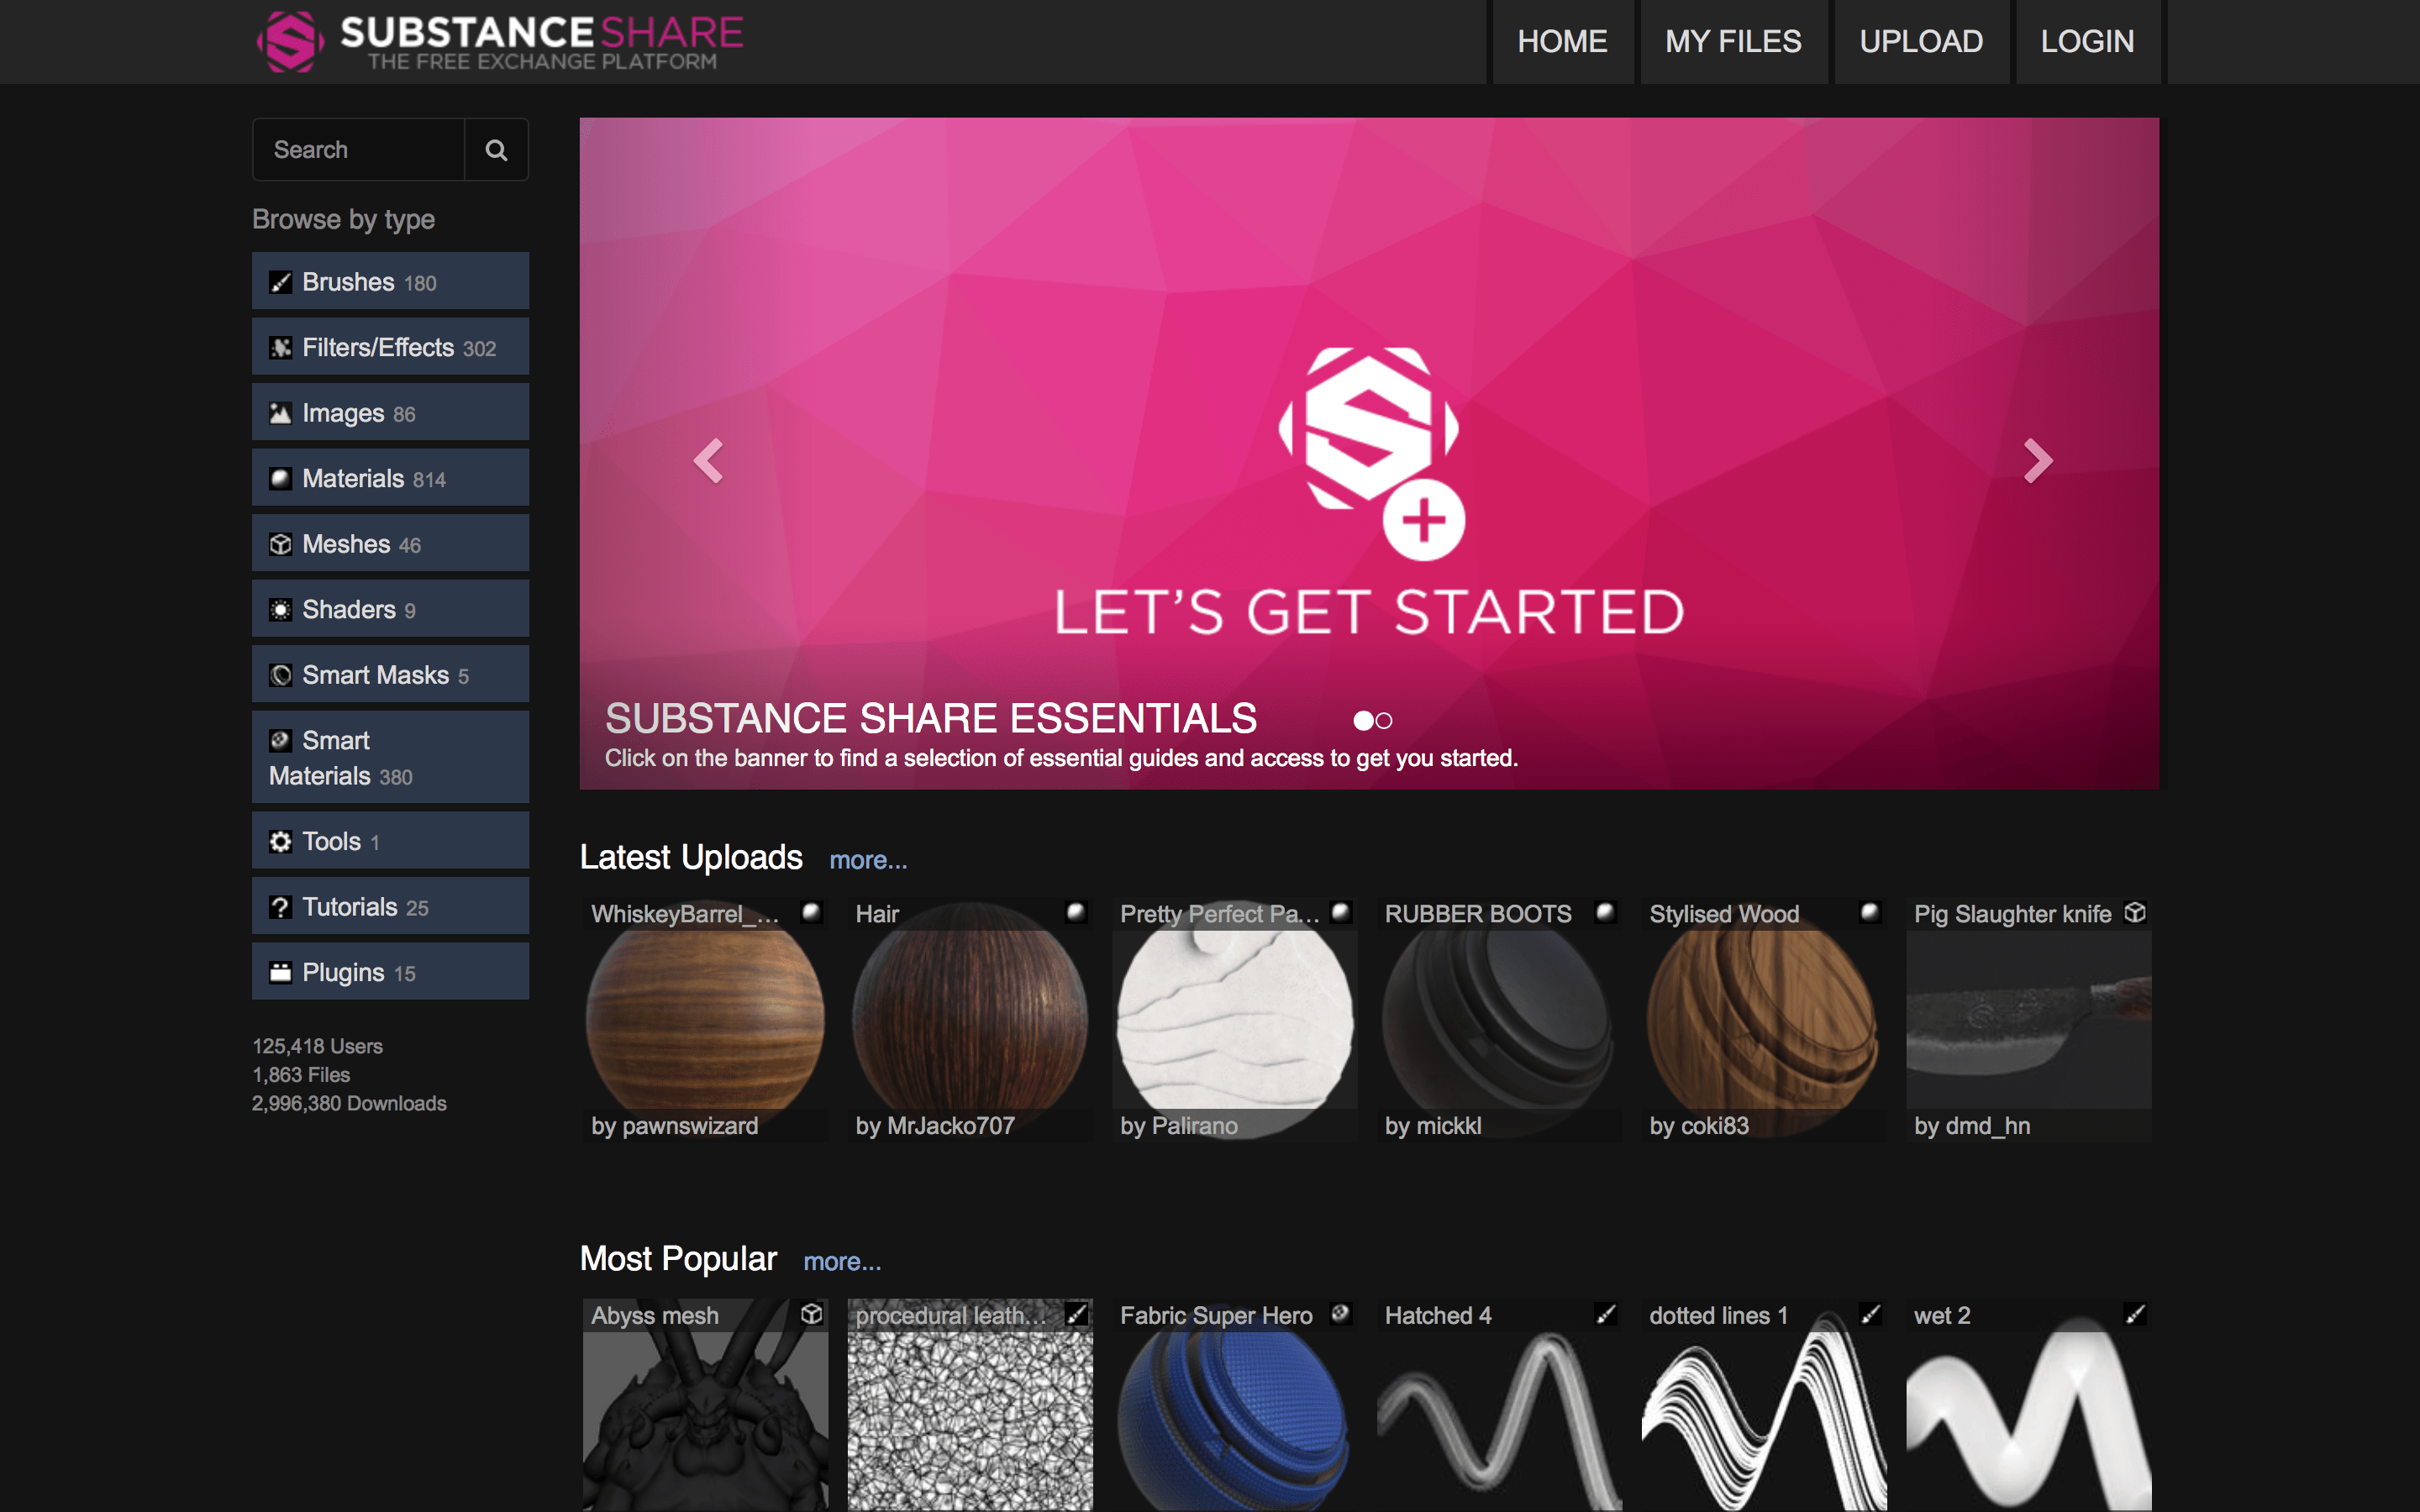
Substance Share is an online, free exchange platform for all Allgorithmic.com account holders. The website contains a library packed with content compatible with substance painter, all uploaded by the community, as well as Allgorithmic, and users can upload, download, rate and comment on other people creations. All assets uploaded to Substance Share are free of charge, and under the Creative Commons “Attribution-ShareAlike 4.0 International” license they are adaptable for any purpose, even commercially. (Allegorithmic, 2017).
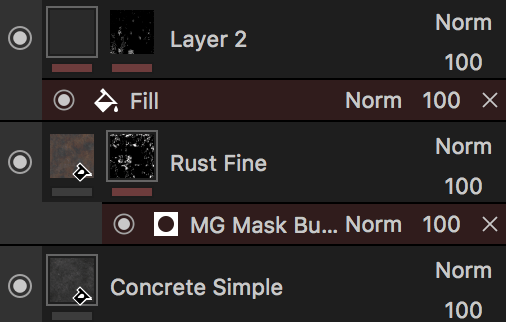
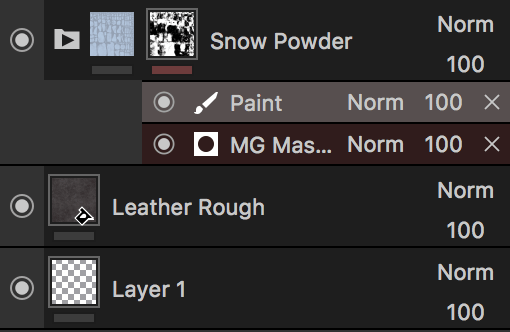
When looking through assets on Substance Share, I found many useful items, but didn’t end up using them all. Because I am new to the software, I was unable to successfully upload certain assets, and others just simply weren’t as adaptable as I had hoped, causing me to scrap them and stick to the materials based on Substance Painter. Having said this, the following material found its way onto one of my final images.

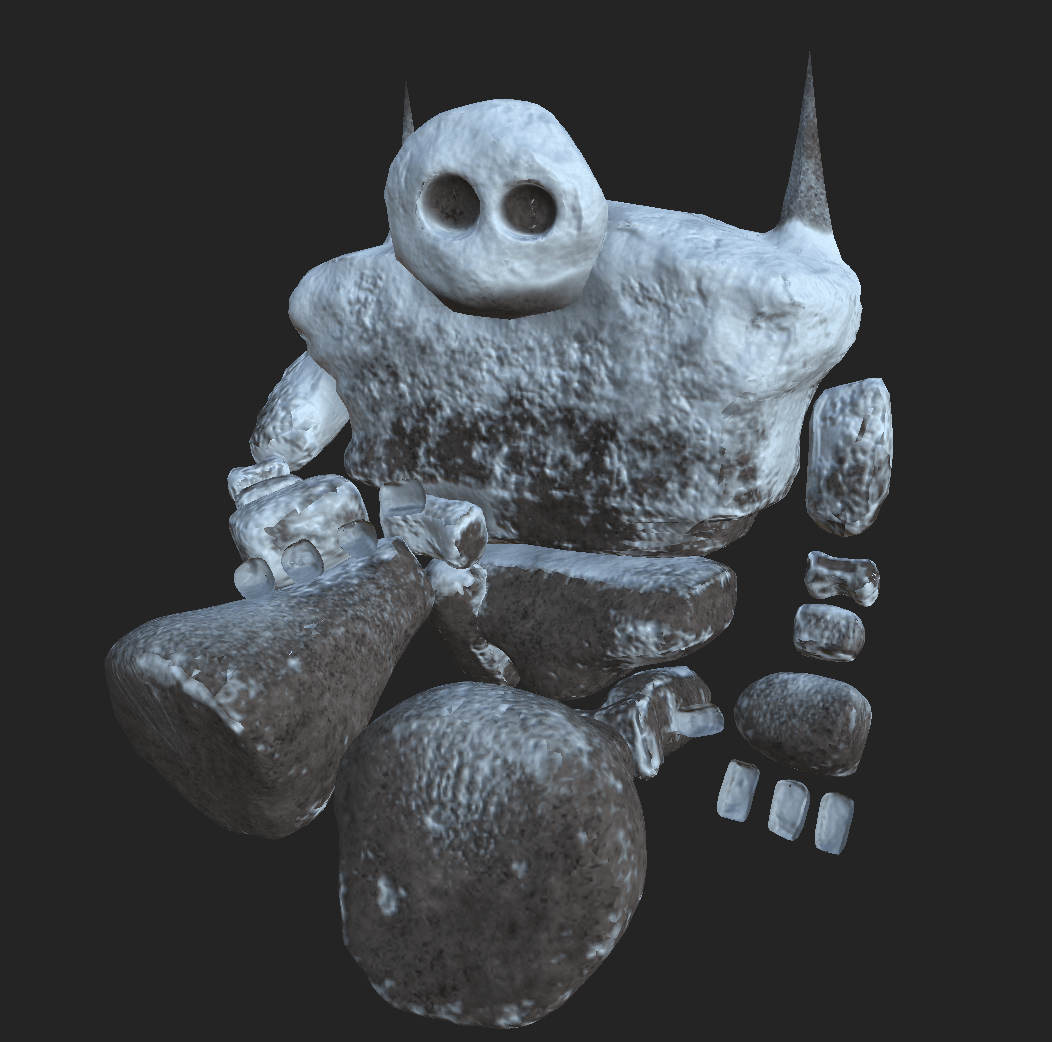
In the future, I hoe to explore the world of substance sharer with more detail, and have the option to use some of the amazing content available.
Sources:
– Allegorithmic. (2017). Substance Share. [online] Available at: https://www.allegorithmic.com/blog/substance-share [Accessed 15 Dec. 2017].
Following from rigging my character, I continued to use Sebastian Lague’s tutorial on Character Creation to create a walk cycle for my character to follow. Sebastian’s tutorial includes a step-by-step tutorial, putting the simple mechanisms of key framing and using the dope sheet into practice.
The first thing I tackled was animating the movement of my mesh in one spot. Once I had completed my mesh, armature and all, I set about creating key frames beginning with the 1st frame and ending with the 8th. I moved the armature to create the following poses.
Frame 1:
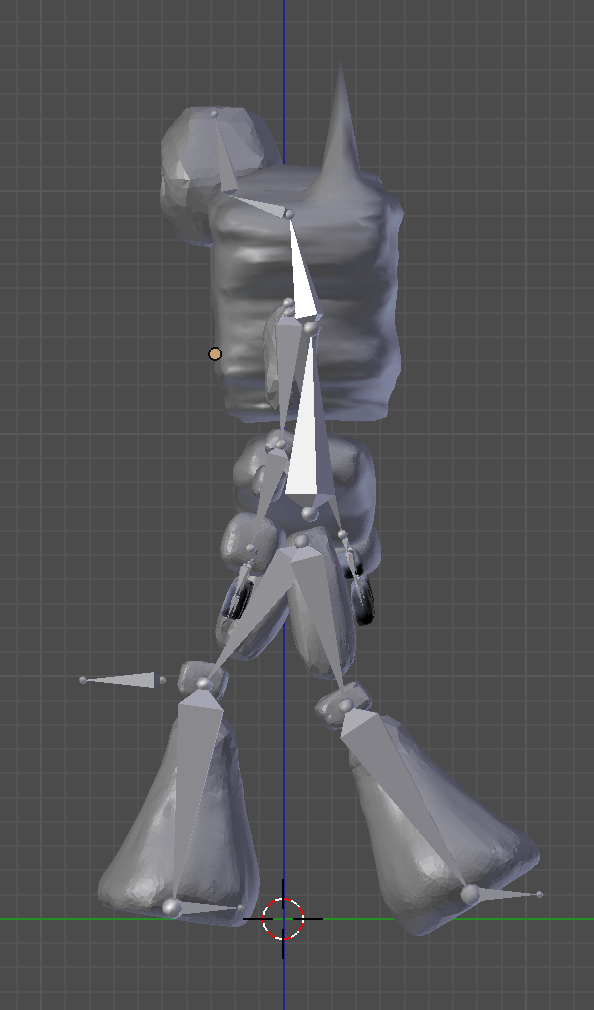
Frame 8:
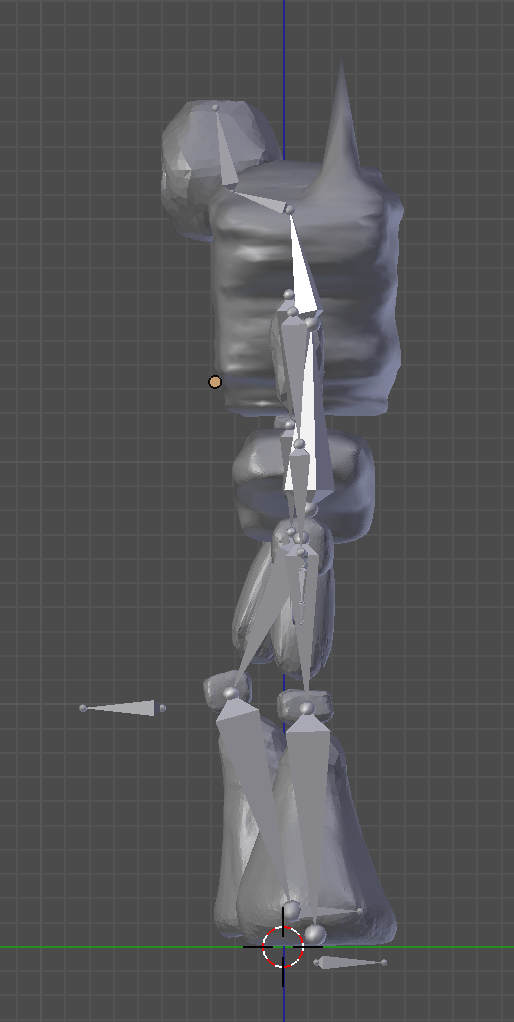
After doing so, I duplicated and reversed frame 1, placing it at frame 16 using the shift+ctrl+V shortcut. I then changed the interpolation to constant to gain a static view of the poses at each keyframe, helping me to block out a more accurate animation. Now I needed to repeat the reverse duplication, but this time of frame 1 and frame 8. I decided against adding any more keyframes than the amount I already had per walk cycle, as the result I gained from this created a smooth and consistent animation. My model is a creature made of rock, so too much movement would break away from his reality. Once I was happy with the animation, all the was left to do now was create a path for the animation to follow.
Here was the result:
To create a path, I first opened an NLA Editor window and opened the animation for my Armature and set the repeat option under Playback Settings to a large enough number to cover the number of frames I wanted in my final animation. Adding a new path under the mesh option curve, I lengthened it to the desired size and parented the armature to the Path Constraint. I needed to alter the position of my model before moving along, so did so and made sure it was facing the direction of the path.
Under the constraints tab on the right-hand toolbar, I clicked on ‘Animate path’ and ticked ‘Follow curve’, which caused my model to walk along the path I had created.
I then moved on to composting this animation onto my final image. Find a time-lapse in the post I dedicated to my final animation.