Because my character is not human, and his limbs aren’t all attached, I had to alter how and where I placed certain bones in the armature structure.
When I originally parented my mesh to its skeleton, I realised that I needed to move the endpoints in the limbs away from the pelvis and shoulders so the joints didn’t bend the mesh. Once I reloaded and reparented the mesh, I individually altered the weight as follows:
– I didn’t alter the Torso and Pelvis’ weight as when I changed the pose of my creature, it seemed to move reasonably well and I didn’t want to risk losing this.
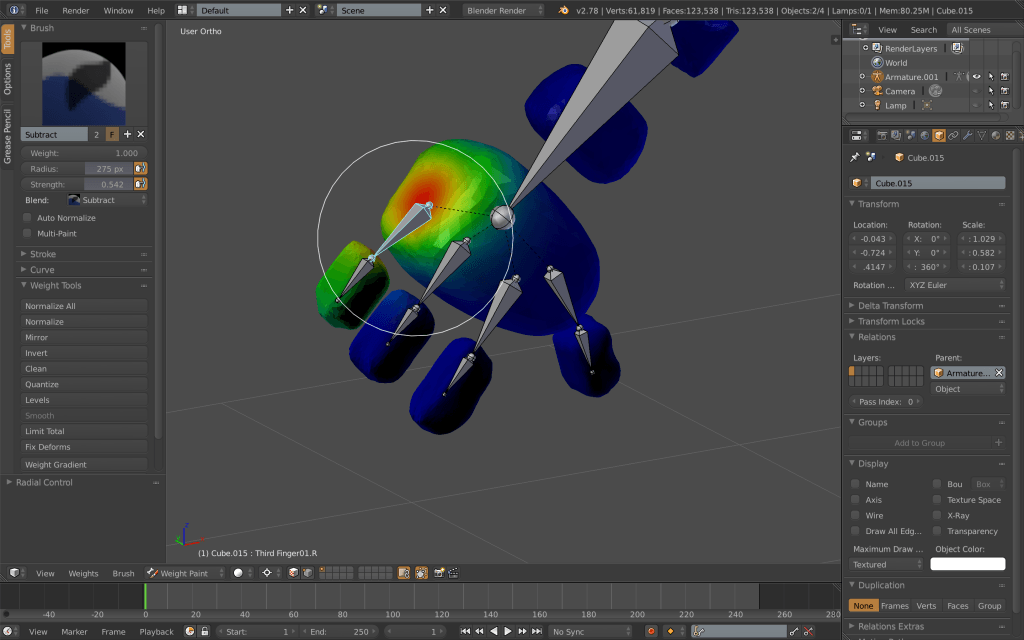
– I made sure the finger bones were unattached from the hand and only weighted the fingers on the second bone, leaving the weight paint empty on the first finger bone.
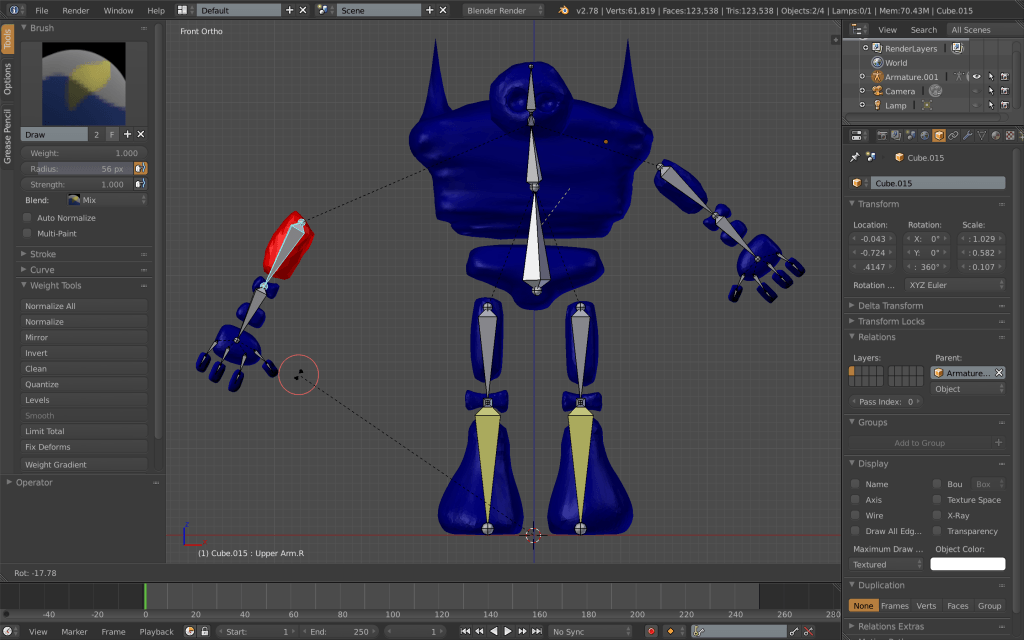
– The lower arm bone is weighted to the elbow and the lower arm, the upper arm bone is attached only to the upper arm of the creature. This does effect the way the arm moves, however the stocky nature of my creatures figure justifies the stiffness in his shoulders.
– The Neck bone has no weight as my creature does not have a visible neck, therefore it does not effect how the character’s head moves.
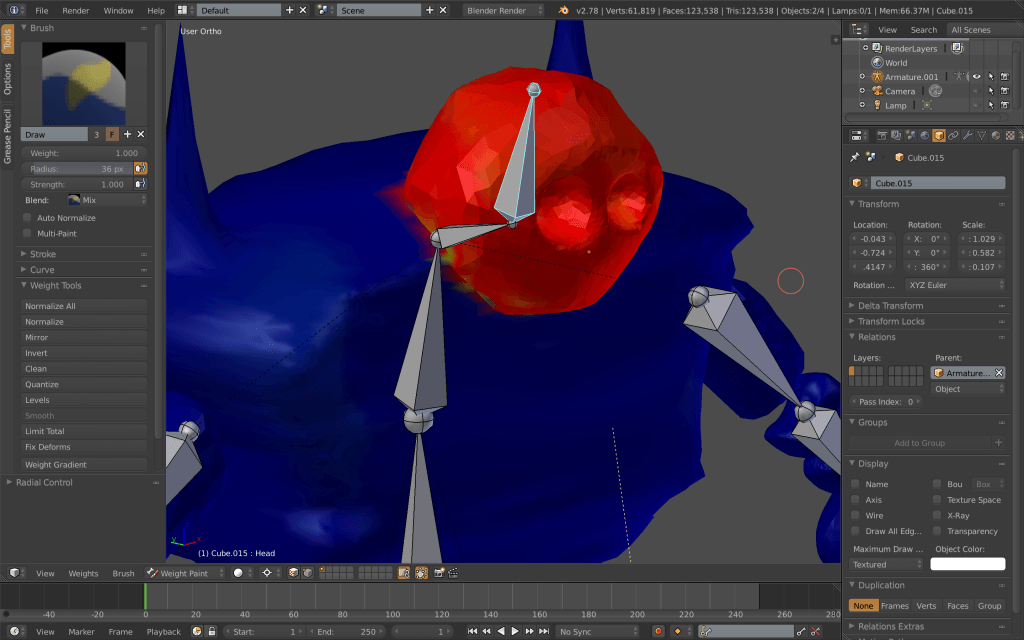
– The head is weighted solely to the head/skull bone. It was hard to be precise when paint selecting the parts of the mesh I wanted to attach to this bone, however I could risk this (again) due to the stiff and stocky nature of my character. I was still as accurate as I could be when using the tool.
– The lower leg bone includes the mesh of my creatures knee, and the upper part just the top part of the leg. I made sure the knee was strongly connected by painting it until it was all red.
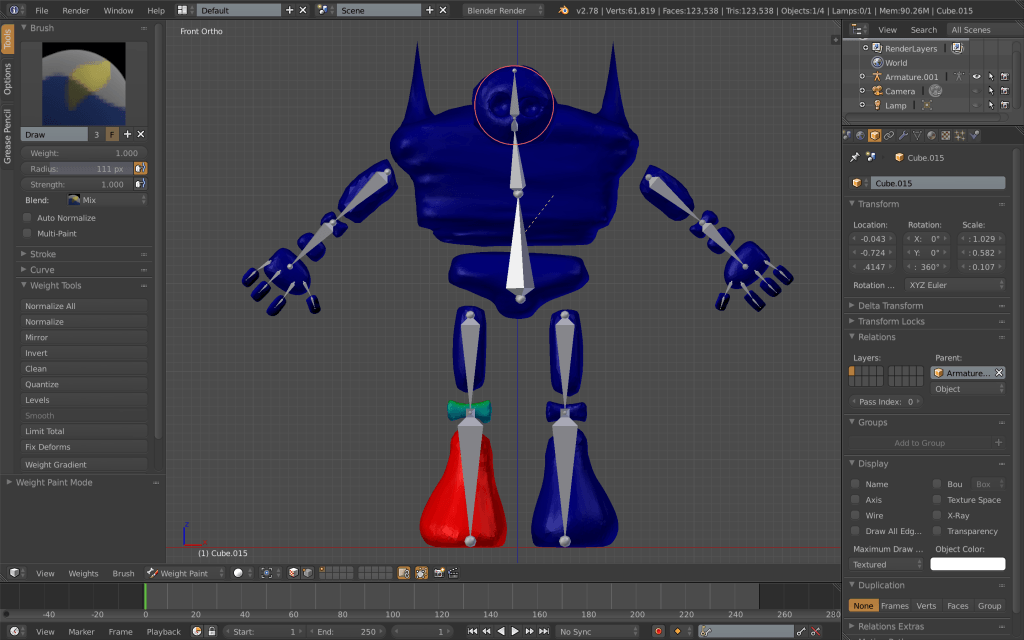
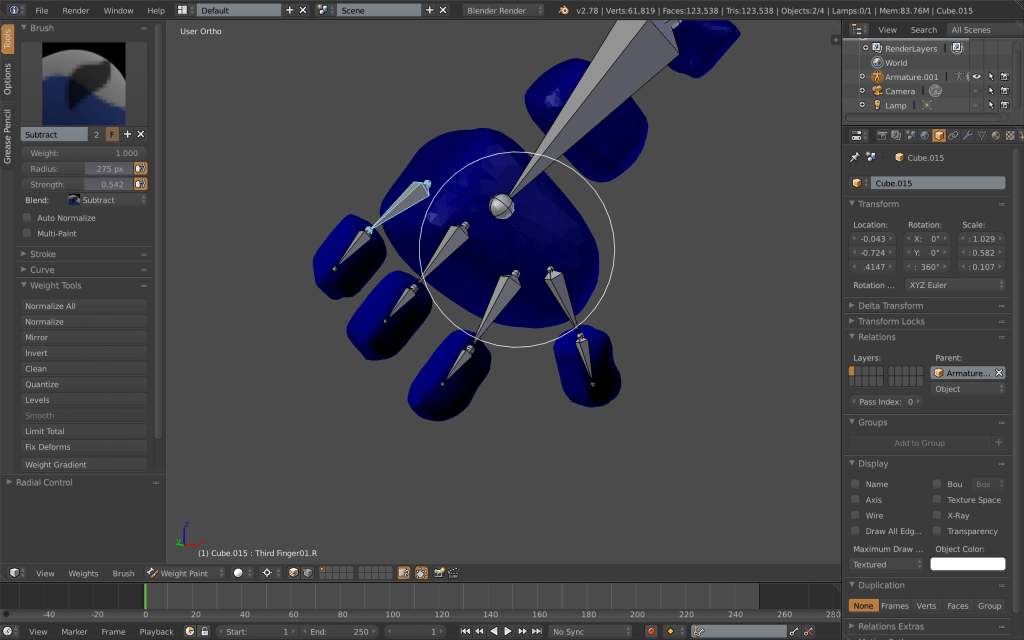
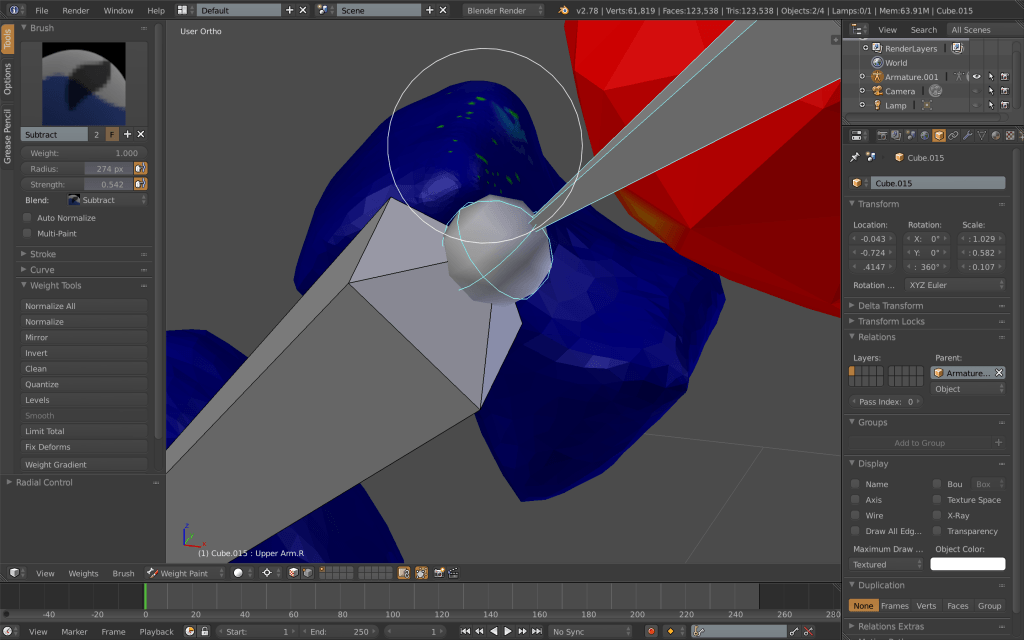
After I went through and connected each part of my skeleton appropriately, I made sure to move the bone to ensure everything looked and moved nicely. When moving my model, I would sometimes experience weird deformities that made spikes for on my mesh when it moved. I realised that this was due to a mistake when weight painting certain parts of my mesh. To stop this, I checked the way each bone moved every time I painted, and made any appropriate alterations to ensure specks of weight like in the image below were all gone. This is what lead my final weigh paint to be solely Blue or Red.

In the end, I removed the bones I attached to the fingers and kept them static as I was unable to get the fingers to be fully functioning in the way I had hoped. This did not limit my possibility too much, however it did disable the ability to create complex poses. If needed, I would return to my model and add these bones in, making sure they were accurate, however for now, I chose to continue without including this armature.

