Part two of Sebastian Lague’s tutorial focuses on parenting my mesh to the armature and making them move cohesively. To do so, I would have to use the Weigh Paint Mode.
Weight Painting Mode
‘Weight Painting is a method to maintain large amounts of weight information in a very intuitive way. It is primarily used for rigging meshes, where the vertex groups are used to define the relative bone influences on the mesh. But we use it also for controlling particle emission, hair density, many modifiers, shape keys, etc.
The basic principle of the method is: the weight information is literally painted on top of the Mesh body by using a set of Weight brushes.’
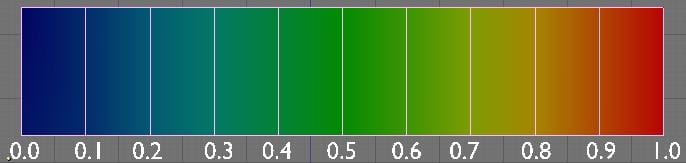
When you enter Weight Paint mode, the selected Mesh Object is displayed slightly shaded with a rainbow color spectrum. The colour visualises the weights associated to each vertex in the active Vertex Group. Blue means unweighted; Red means fully weighted, as shown in the image below. You assign weights to the vertices of the Object by painting on it with weight brushes.
Sources:
– Blender. (2017). Weight Paint Mode — Blender Reference Manual. [online] Available at: http://blender-manual-i18n.readthedocs.io/ja/latest/modeling/meshes/vertex_groups/weight_paint.html [Accessed 15 Nov. 2017].
Leave a comment