As I was compositing my images and animation, lighting began to have a large effect on the outcome of my creations. As I had little experience when working with Blenders lighting options, I consulted online forums and videos for tips and advice and information about how to light appropriately, and which rendering engine would be most fitting.
Blender Render:
Blender render is Blender’s original render engine. It is has non-photo-realistic rendering, with render technologies such as ray-tracing, subsurface scattering, glossy reflections and a primitive global illumination feature. ‘It was forged in a time when realism could only be achieved through illusion; with tricks and hacks to fake reality’s characteristics.’ (Blender, 2017)
Cycles Render:
‘Cycles is Blender’s ray-tracing production render engine. Since its release under a permissive open-source (Apache 2.0) license, it’s also in use by other 3D tools. Cycles can be used as part of Blender and as stand-alone, making it a flexible solution for ray-traced rendering.’ (Blender, 2017) It has global illumination and calculates physically correctly, and has slowly become Blenders premier render engine. ‘Cycles has garnered notable respect from the computer graphics industry. In fact, other 3D software developers have even ported it to other applications, like Cinema 4D and Rhino’ (CG Cookie, 2017). It is unbiased, physically based and designed for animations, produceing an image by tracing the paths of “rays” through the scene.
Lighting Tips:
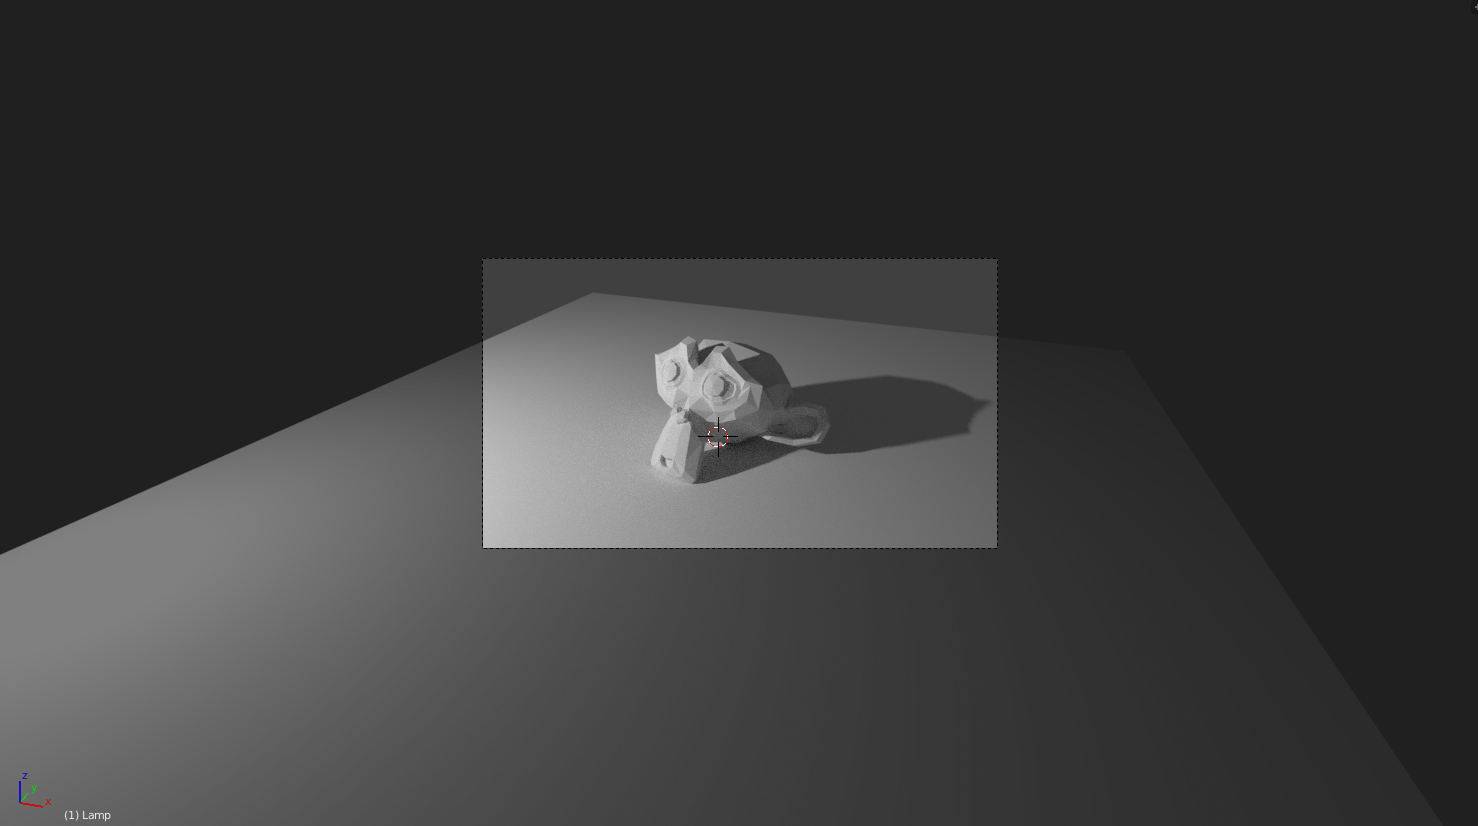
1. Size – Increasing and decreasing the size of my light would effect the diffusion. The larger the lamp size, the less harsh the light would appear in my final image.


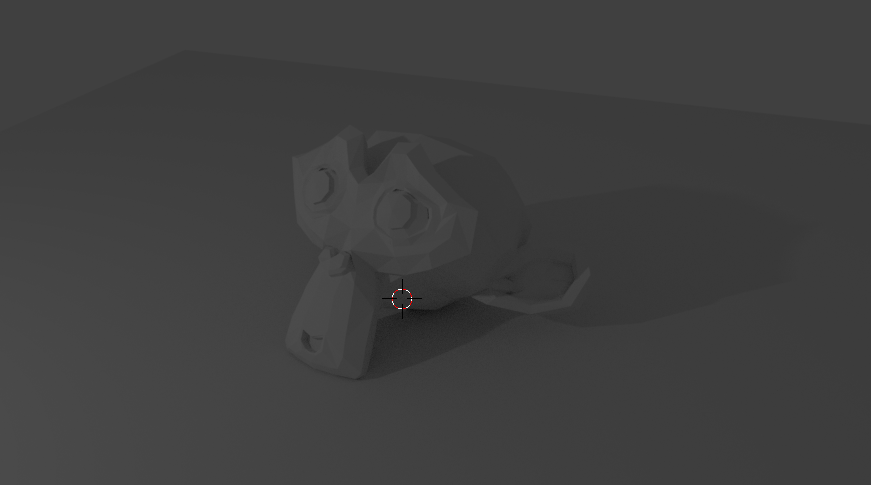
2. Position – Make sure the position and direction of the light source is where the light source is in the image. The direction of the light will effect where the shadows are cast as well as where on your model the light will effect the most.

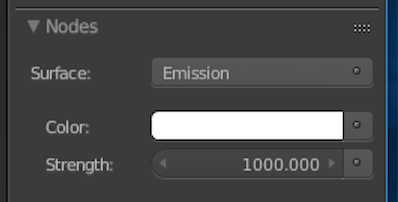
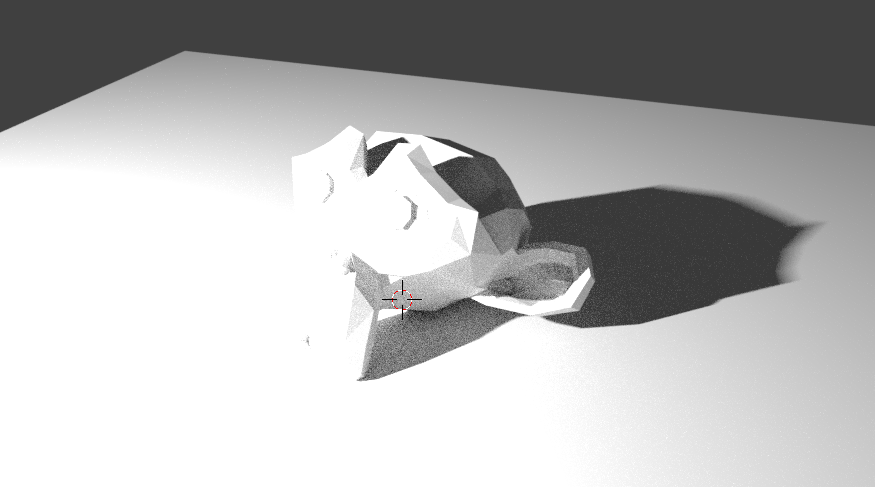
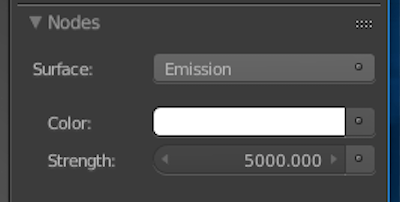
3. Strength – The strength of the light source can drastically effect your image. For softer effects, decrease the strength of the light source, and for a harsher and more obvious effect, be sure to increase the strength appropriately.


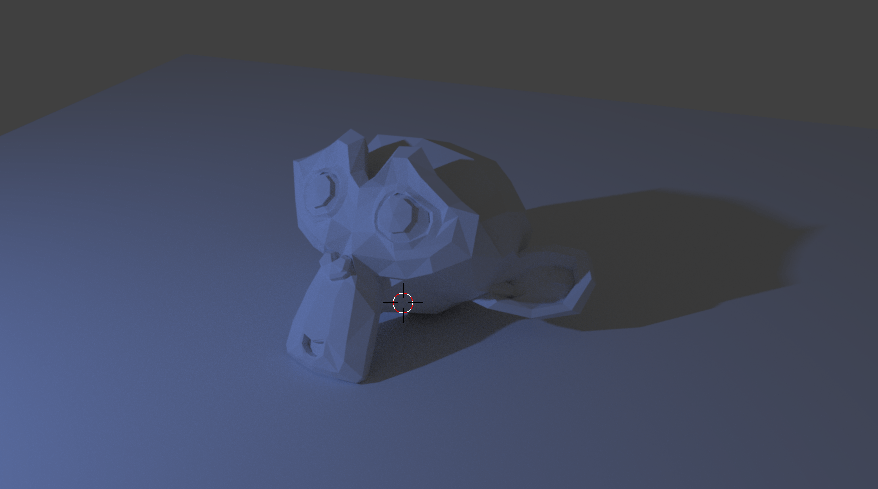
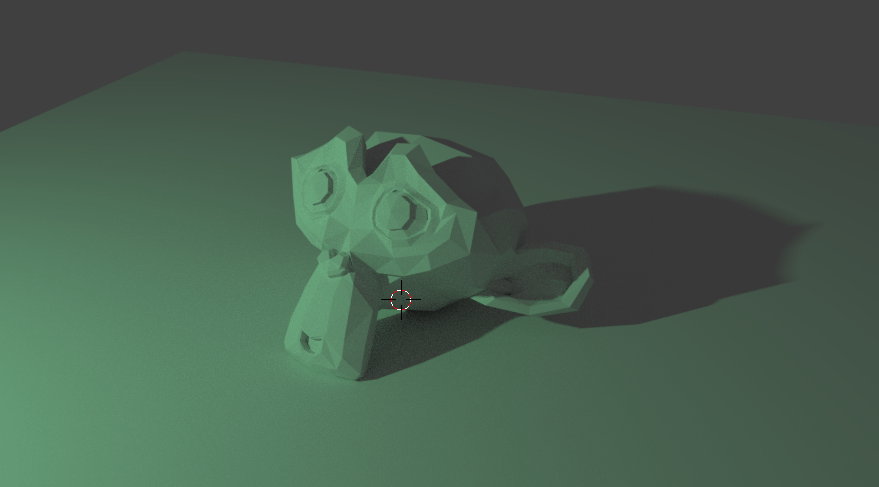
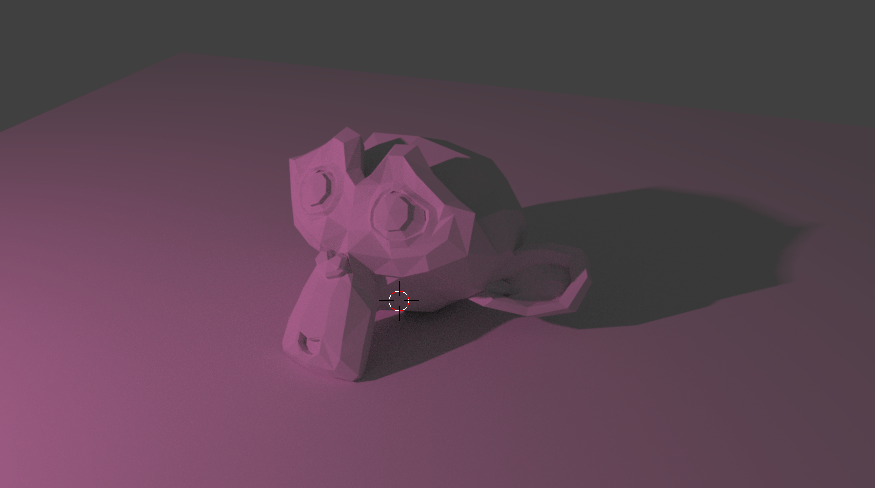
4. Colour – Certain lighting situations emit a different colour. For example, a sunset may have warmer tones compared to a harsh studio light. Change the colour of your light source to emit the correct colour onto your model.

5. Create an Area Light – Setting the lamp type appropriately will also alter the harshness of your lighting effect. Point lights emit an equal amount of light in a spherical manner, the Sun option positions it’s self outside of the image and infinitely far away from your objects, Spot lights focus their light by emitting it in the shape of a cone, and an Area lamp emits their light from the shape of either a square or a rectangle.
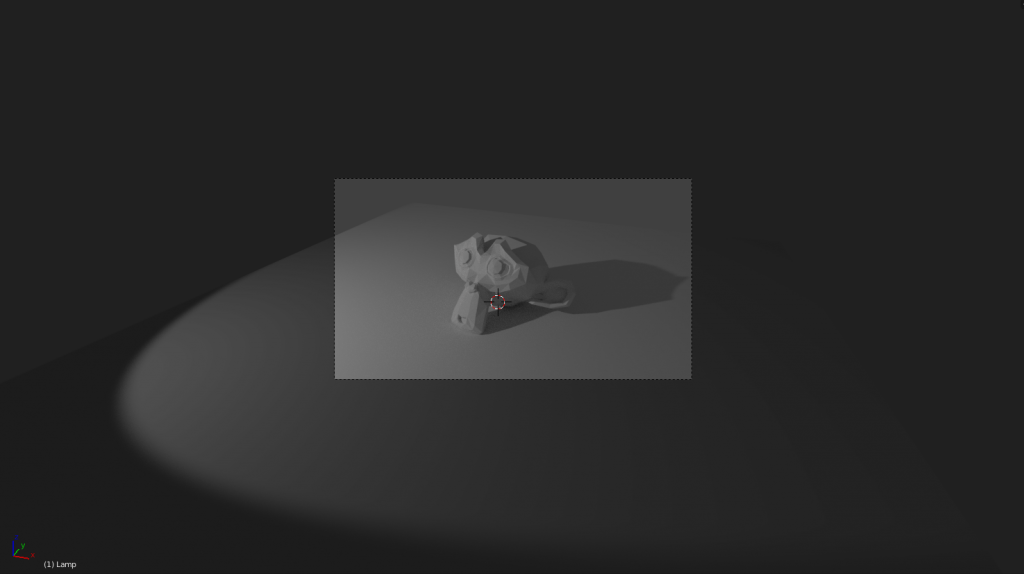
Area Lamp:
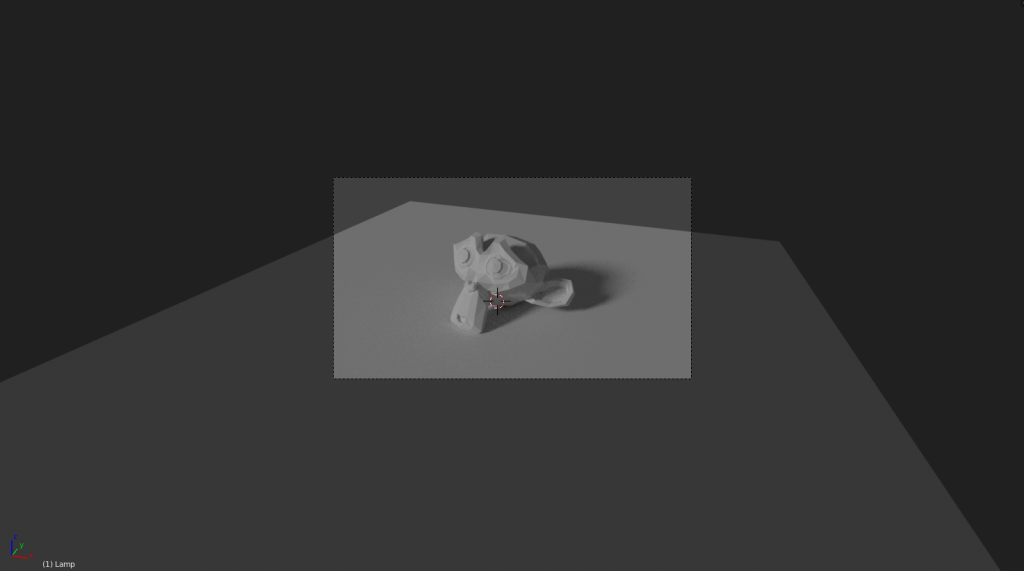
Spot Lamp:
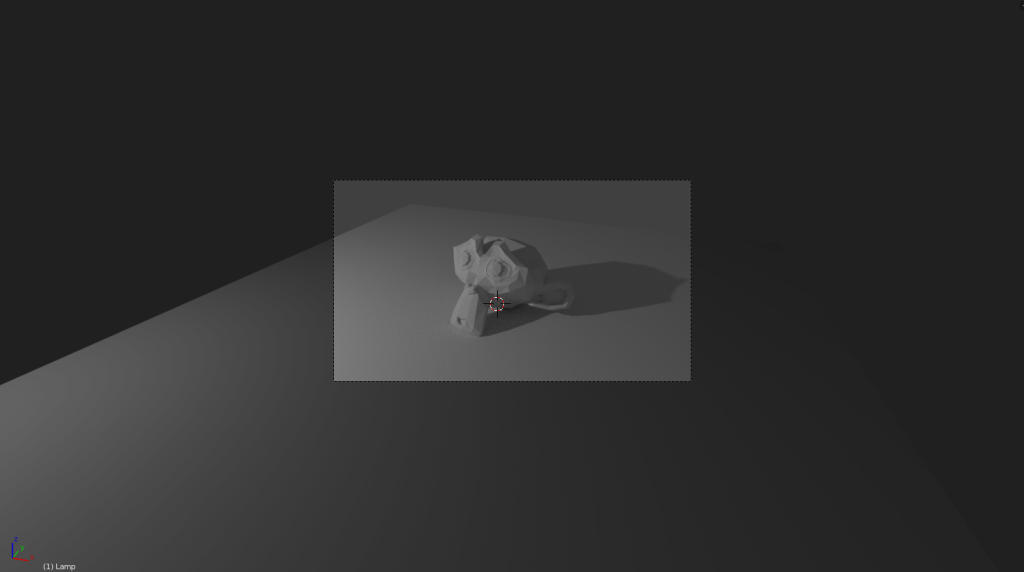
Sun Lamp:
Point Lamp:
Sources:
– Blender. (2017). Introduction — Blender Manual. [online] Available at: https://docs.blender.org/manual/en/dev/render/cycles/introduction.html [Accessed 15 Nov. 2017].
– CG Cookie. (2017). Big Idea: Blender Render VS Cycles. [online] Available at: https://cgcookie.com/articles/big-idea-blender-render-vs-cycles [Accessed 15 Nov. 2017].