Preparing My Model For Substance Painter | Development

On deciding to texture paint my model in Substance painter, I now needed to prepare the model to be imported into the software. To do so, I needed to UV unwrap and export the model as a .obj file.

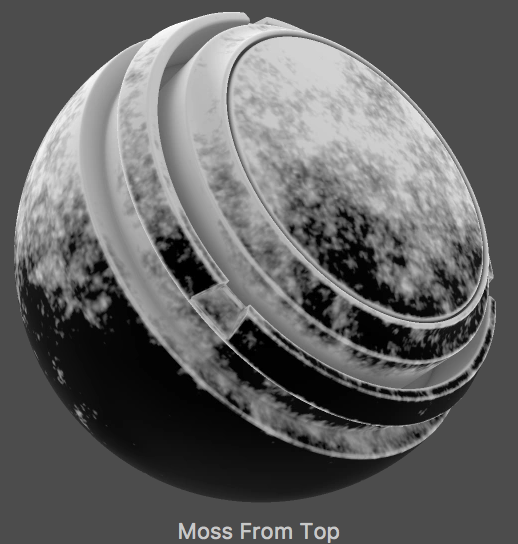
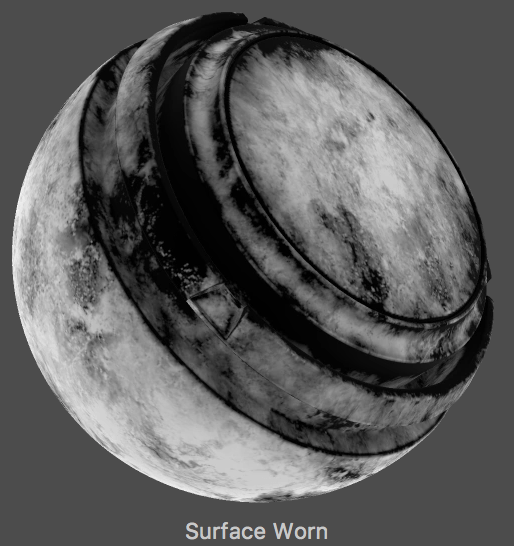
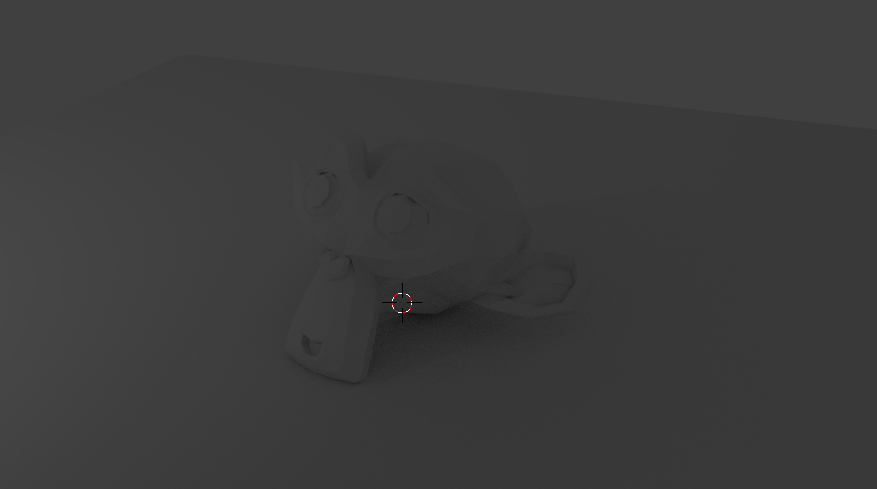
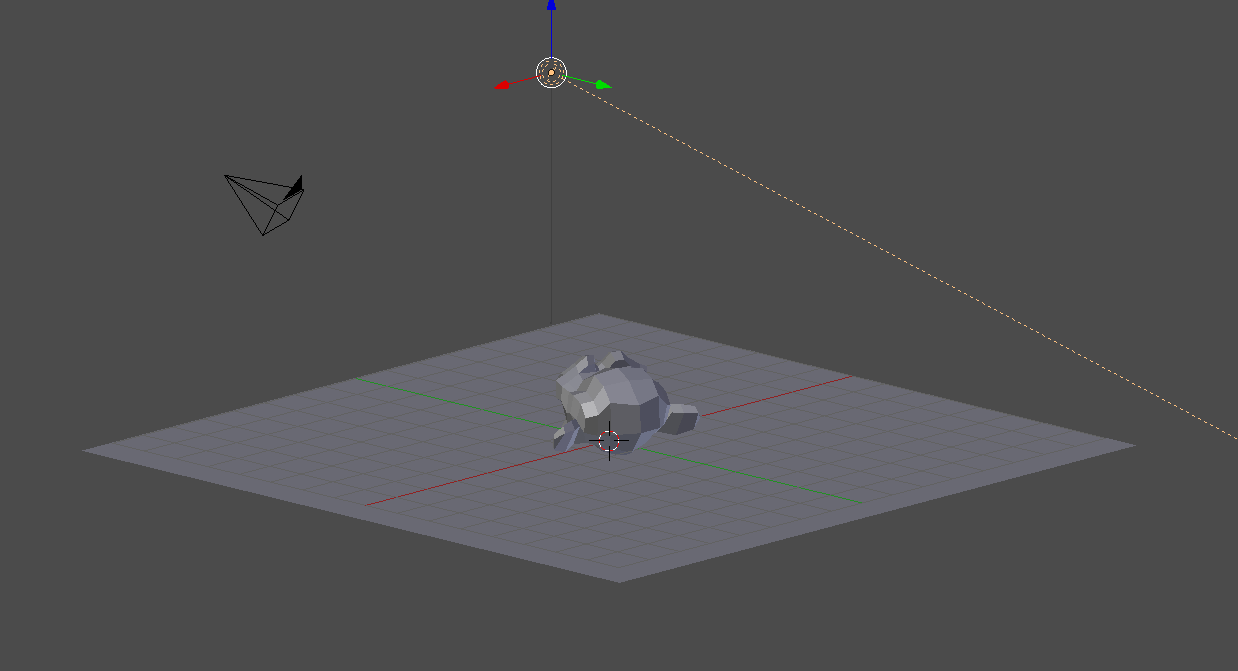
Because I had never used Substance Painter to texture paint such a complex model, I consulted my tutor and asked him what the quickest and most efficient way to go about it would be. I had looked at tutorials in order to try and work out how to do it through my own primary research, however the tutorials I found focused on simpler meshes and failed to help me much. Here are some examples of the tutorials I originally relied on.

My Experiments:

After struggling for a few days, I had a meeting with my tutor who created the following walkthrough. In the walkthrough, I was able to see first hand how to export appropriately. My tutor showed me how to do so with one part of my model so that I could apply it to the rest. Because I was present, I could ask questions about things I had experienced in my previous experiment. The following footage is of this meeting.

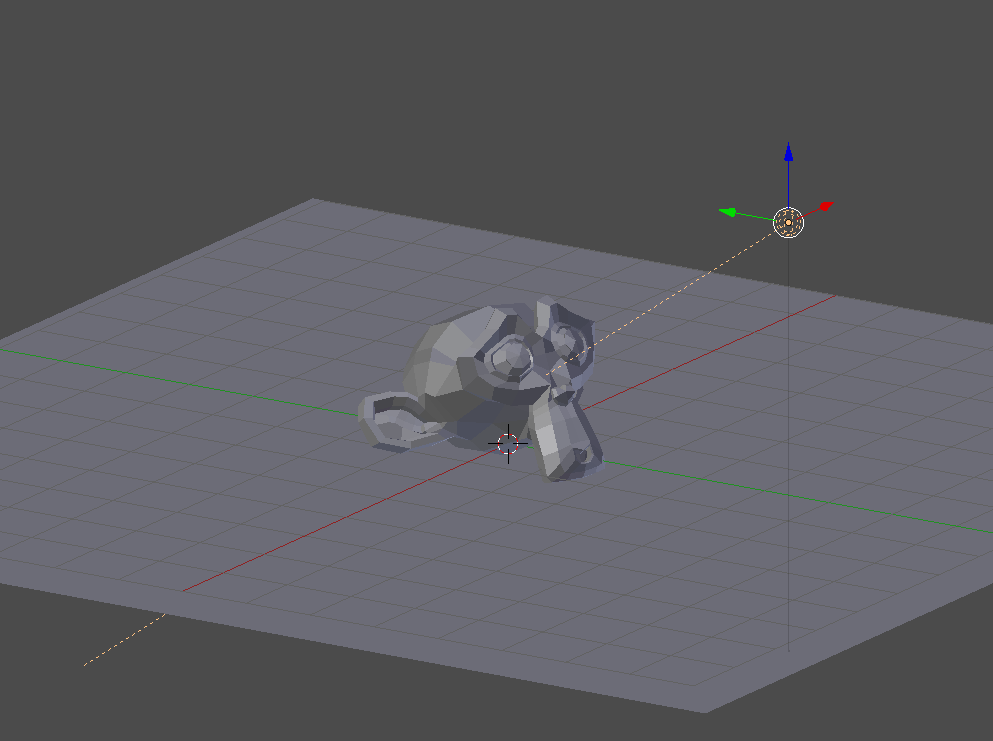
UV Unwrapping my Model:

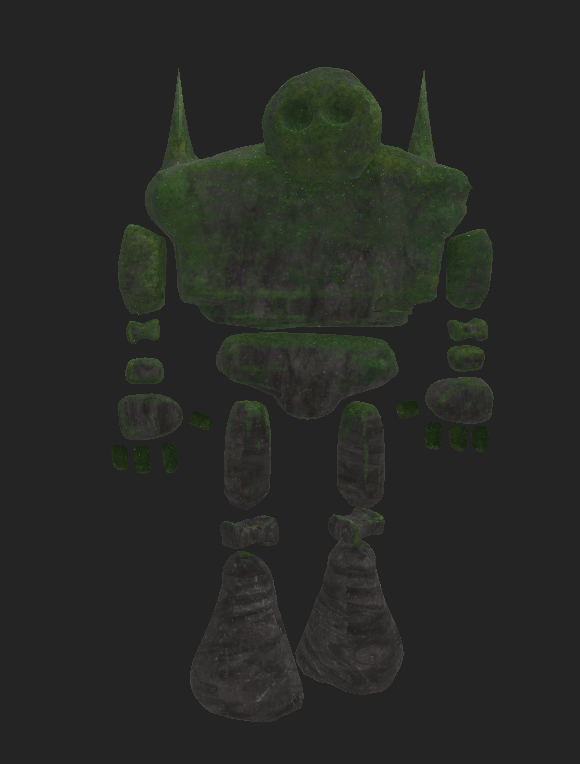
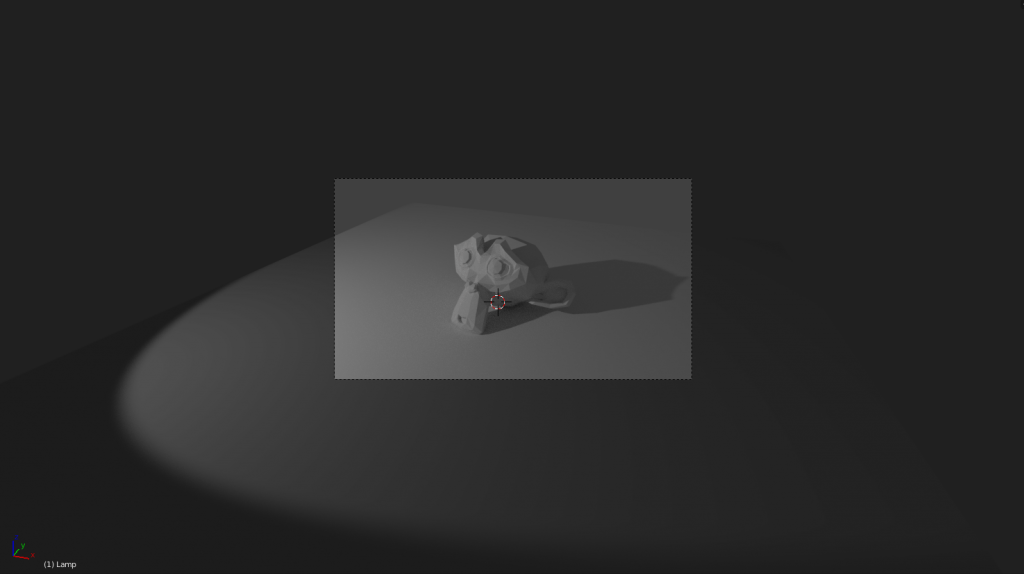
After this tutorial, I proceeded to apply what I had learnt to the rest of my model Originally, I did so to each individual part of my model. After doing so, I imported them into Substance painter, baked the textures and went to work designing how I wanted them to look. Here is the outcome of this part of my development:

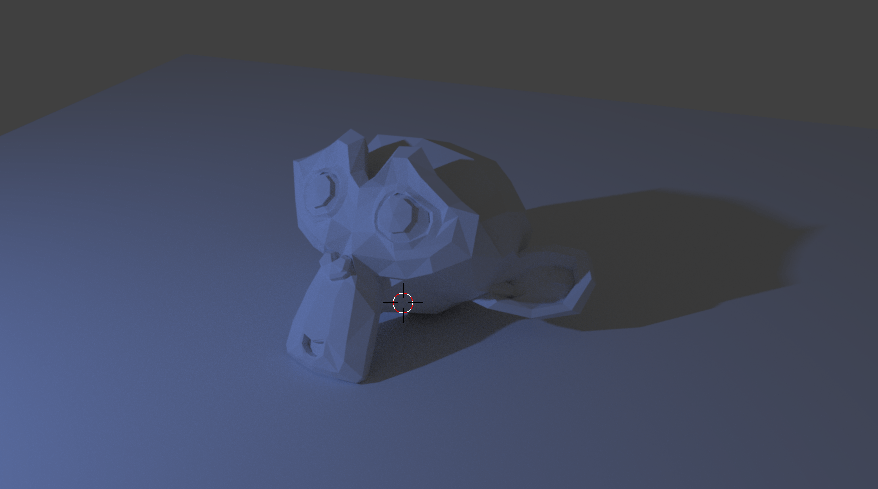
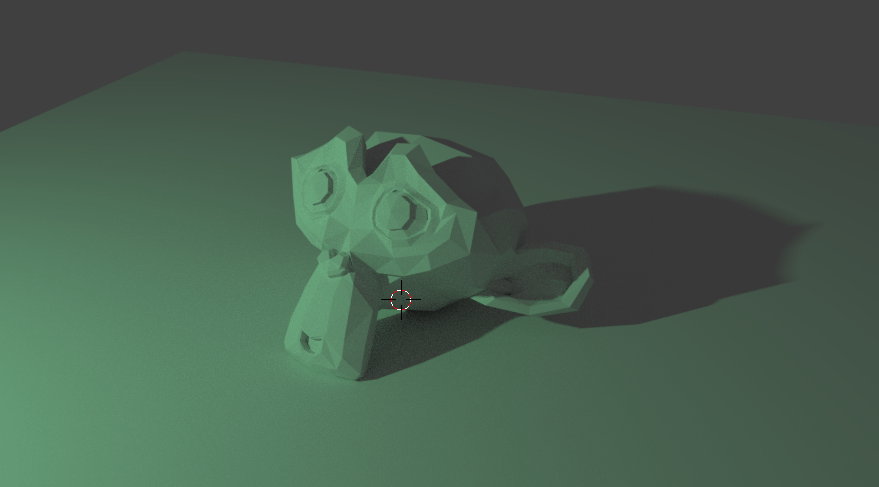
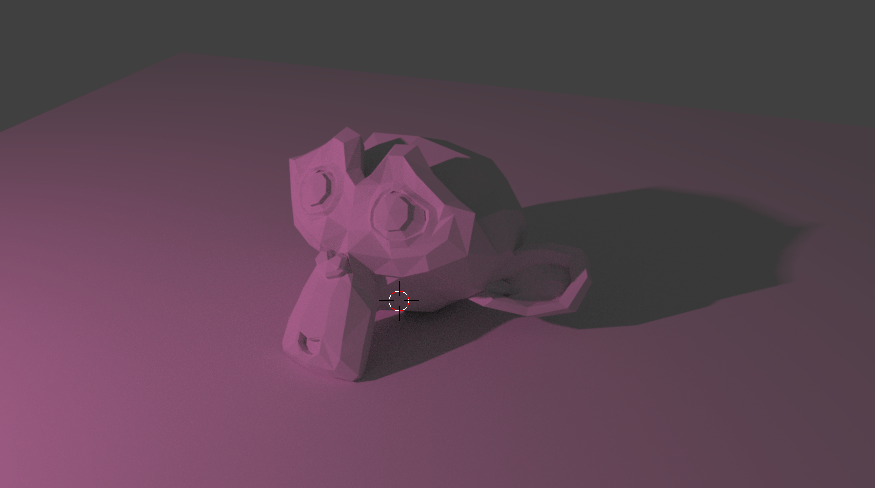
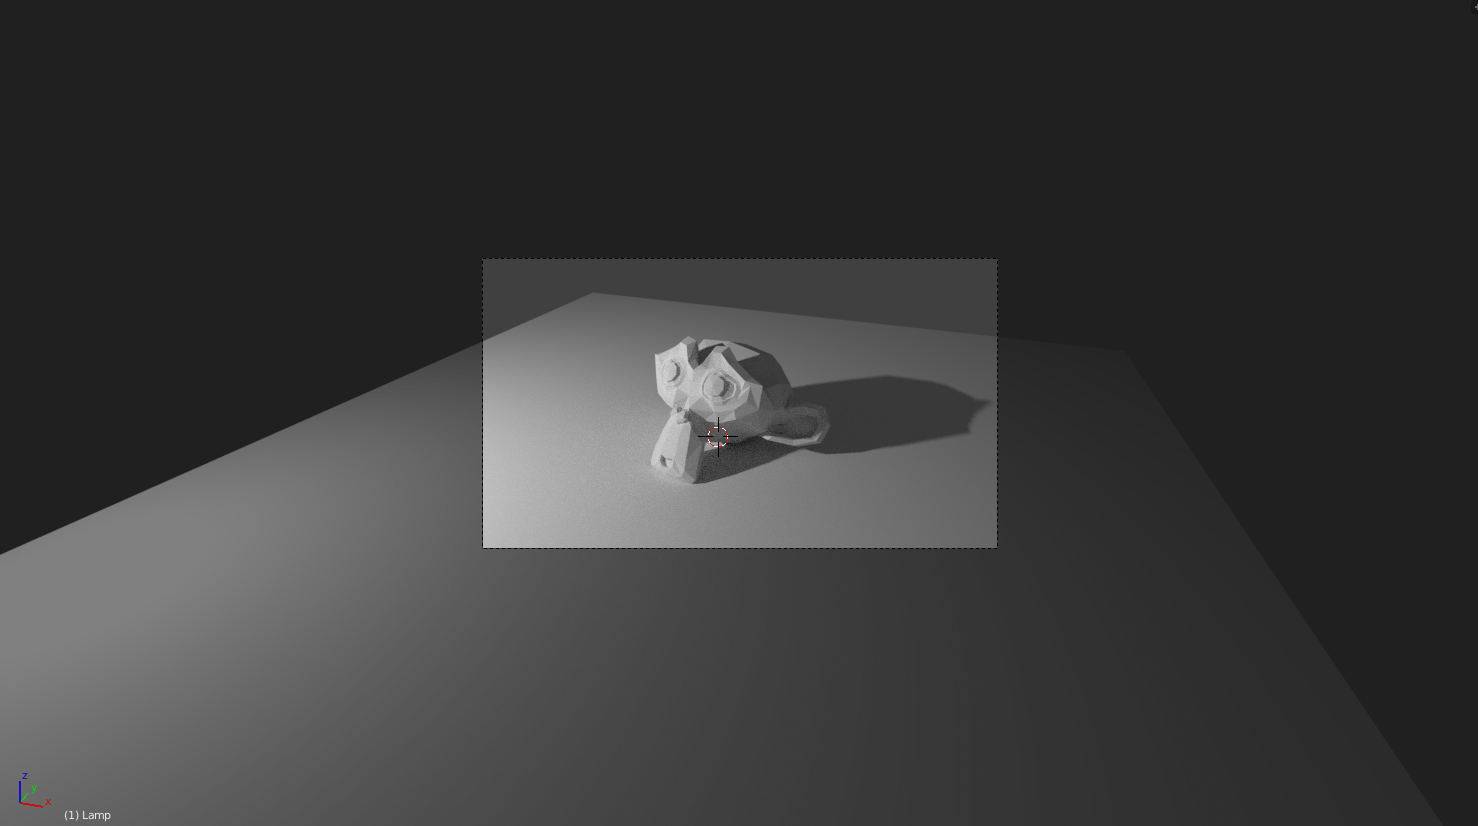
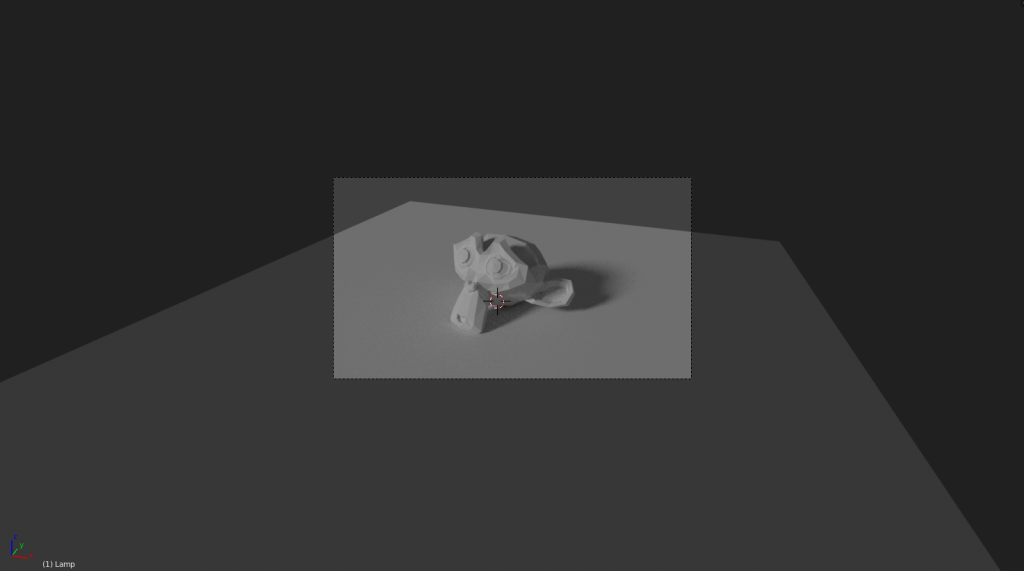
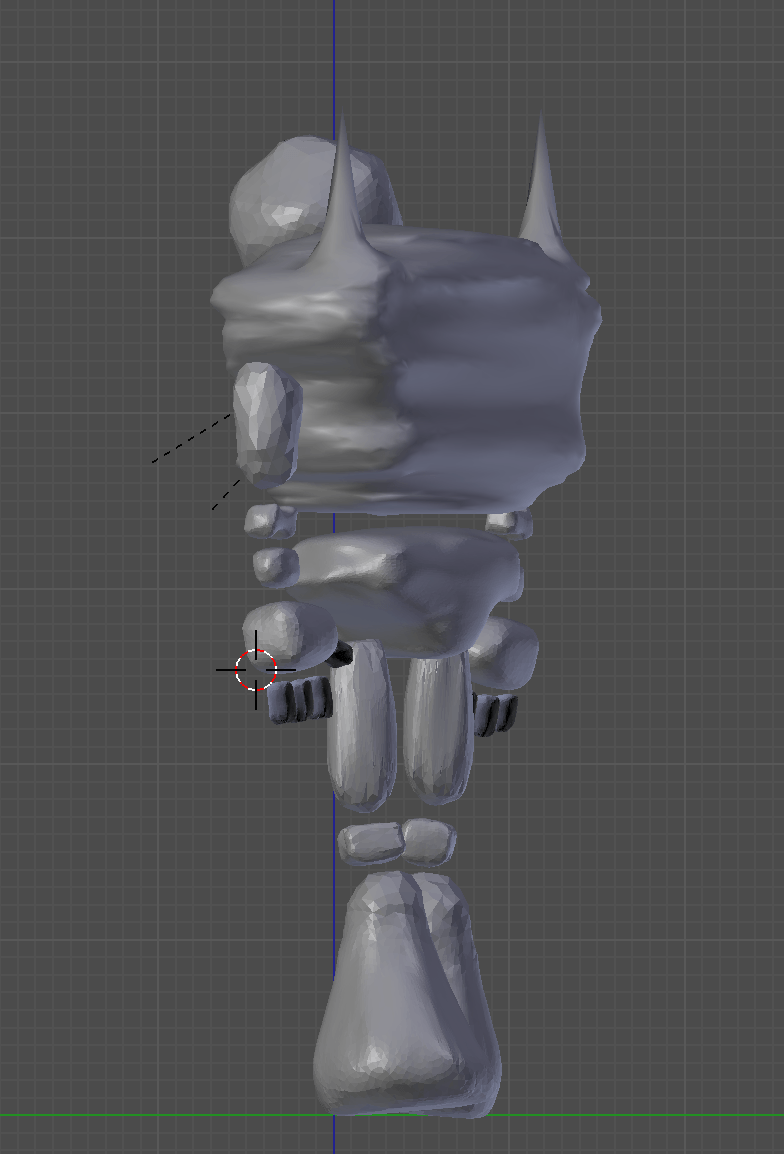
As I began texture painting, I started to question whether doing every separate part of my model individually was necessary. Before I went any further, I went back to my model and exported the pose with each individual part of the model joined together, making one large mesh. I then UV unwrapped the model as this and took to texture painting it. The result satisfactory, so I proceeded to export each pose as one mesh before importing them into Substance Painter.

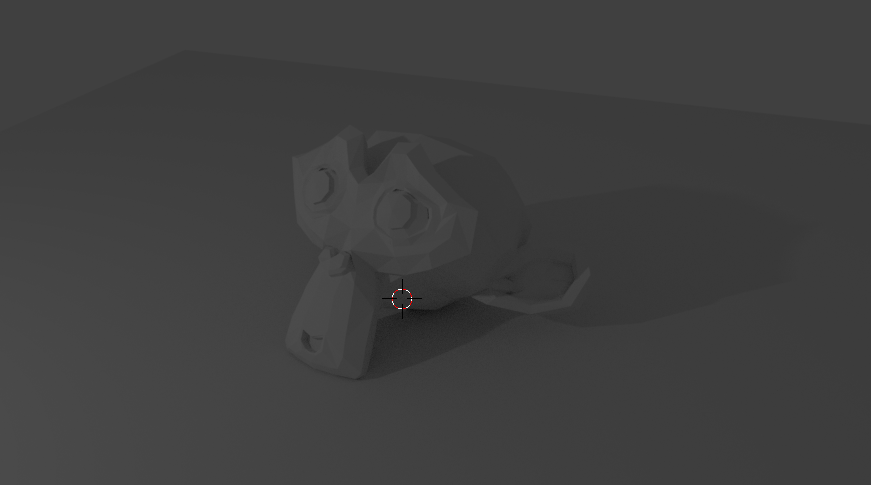
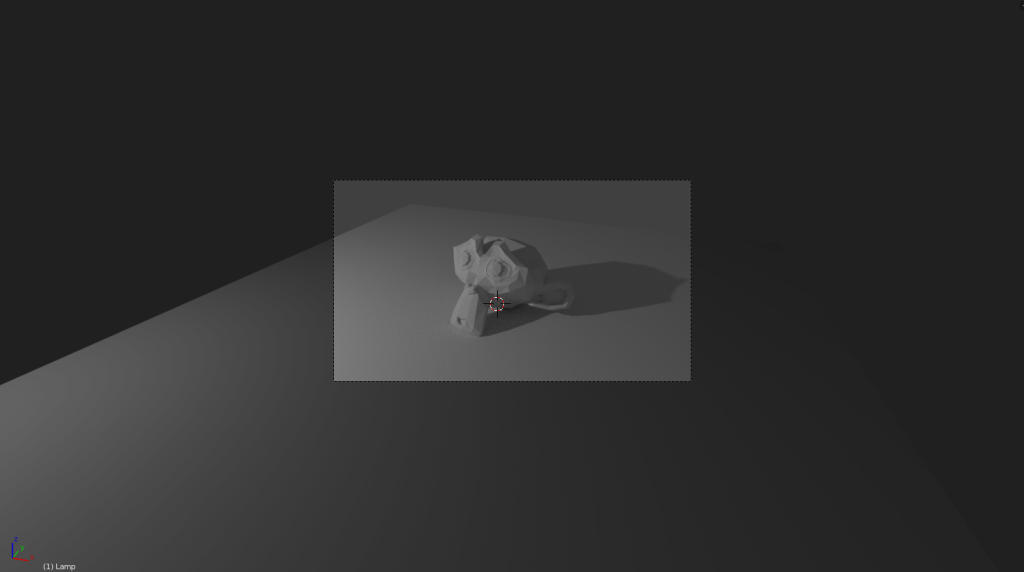
For the model I wanted to animate, I exported the pose as below ready for texture painting.

Substance Painter | Research

When beginning to texture my model, I needed to consider how I would be texturing my models. As I was already working in Blender, so I initially planned to texture and colour my models with the tools this software has to offer, however I discovered another program that offers much more to your project.

Substance Painter:

‘Substance Painter supports the use of advanced layer presets. These presets can be used to quickly share across Texture Sets or Projects a similar texturing process while keeping the results different, adapted to the mesh topology.’ (Allegorithmic, 2017)

Materials

Substance painter has a range of material you can use. Their library includes materials such as different types of metals, concrete, fabric, leather, plastic and wood that can be dragged and dropped onto the model you are working on, and it renders live to show you how it looks. There is also a list of smart materials that auto-wrap and adapt to your mesh.

Screen Shot 2017-12-14 at 16.13.09

Smart Masks

Creating a mask layer on top of your material and adding a mask allows you to create effects on top of your model. This can be used to create a layer that causes your project to look rusted, dirty, moist, mossy or old, and they are very simple to use. The masks morph and adapt to the topology, applying it’s self to the places it seems suitable.

Screen Shot 2017-12-14 at 16.21.07 Screen Shot 2017-12-14 at 16.20.51

Grunge textures

As well as masks, Substance Painter offers the use of ‘Grunges’. These add extra depth and create other forms of effect to your model. These grunge textures have options that allow you to make your model look less two dimensional, and they can be anything from creating water stains to adding a fine layer of dust. These grunge layers can be added as an additional Fill effect to break up the results.

Screen Shot 2017-12-14 at 16.41.04

Painting

Substance Painter offers Physically Based Rendering (PBR) and particle painting, brushes with opacity control, Substance procedural effects, smart materials and smart masks, and fast baking (Allegorithmic, 2017). The paint brush allows you to paint anything from simple colours to adding masks above textures so you can apply them where needed. There is also the option to paint with physics properties based on particles presets within the software. When applied, these can add specific effects as if they had naturally occurred, such as rainfall or a sand storm.

Screen Shot 2017-12-14 at 16.43.08

Environments

With the use of HDR Environment maps, users can texture paint their model in an environment that will resemble the lighting and reflections the model will be surrounded and affected by. There is a range of environments available within substance painter, from cave entry to above the clouds, and they can be used with any model so that designers can ensure their model will look good in the correct type of lighting.

Screen Shot 2017-12-14 at 17.20.07 Screen Shot 2017-12-14 at 17.20.01 Screen Shot 2017-12-14 at 17.19.46 Screen Shot 2017-12-14 at 17.19.40


Sources:

– Allegorithmic. (2017). Smart Materials and Masks – Substance Painter – Allegorithmic Documentation. [online] Available at: https://support.allegorithmic.com/documentation/display/SPDOC/Smart+Materials+and+Masks [Accessed 24 Nov. 2017].

– Allegorithmic. (2017). Substance Painter. [online] Available at: https://www.allegorithmic.com/products/substance-painter [Accessed 15 Nov. 2017].

Lighting my Images in Blender | Research

As I was compositing my images and animation, lighting began to have a large effect on the outcome of my creations. As I had little experience when working with Blenders lighting options, I consulted online forums and videos for tips and advice and information about how to light appropriately, and which rendering engine would be most fitting.

Blender Render:

Blender render is Blender’s original render engine. It is has non-photo-realistic rendering, with render technologies such as ray-tracing, subsurface scattering, glossy reflections and a primitive global illumination feature. ‘It was forged in a time when realism could only be achieved through illusion; with tricks and hacks to fake reality’s characteristics.’ (Blender, 2017)

Cycles Render:

‘Cycles is Blender’s ray-tracing production render engine. Since its release under a permissive open-source (Apache 2.0) license, it’s also in use by other 3D tools. Cycles can be used as part of Blender and as stand-alone, making it a flexible solution for ray-traced rendering.’ (Blender, 2017) It has global illumination and calculates physically correctly, and has slowly become Blenders premier render engine. ‘Cycles has garnered notable respect from the computer graphics industry. In fact, other 3D software developers have even ported it to other applications, like Cinema 4D and Rhino’ (CG Cookie, 2017). It is unbiased, physically based and designed for animations, produceing an image by tracing the paths of “rays” through the scene.

Lighting Tips:

1. Size – Increasing and decreasing the size of my light would effect the diffusion. The larger the lamp size, the less harsh the light would appear in my final image.

Size 1 Size 4 Size 2 Size 3

2. Position – Make sure the position and direction of the light source is where the light source is in the image. The direction of the light will effect where the shadows are cast as well as where on your model the light will effect the most.

Position 1 Position 2 Position 3 Position 4

3. Strength – The strength of the light source can drastically effect your image. For softer effects, decrease the strength of the light source, and for a harsher and more obvious effect, be sure to increase the strength appropriately.

Strength 50 Strength 5 Strength 500 Strength 6  Strength 1000 Strength 7Strength 5000 Strength 8


4. Colour – Certain lighting situations emit a different colour. For example, a sunset may have warmer tones compared to a harsh studio light. Change the colour of your light source to emit the correct colour onto your model.

Colour 1 Colour 2 Colour 3 Colour 4

5. Create an Area Light – Setting the lamp type appropriately will also alter the harshness of your lighting effect. Point lights emit an equal amount of light in a spherical manner, the Sun option positions it’s self outside of the image and infinitely far away from your objects, Spot lights focus their light by emitting it in the shape of a cone, and an Area lamp emits their light from the shape of either a square or a rectangle.

Area Lamp:

Area

Spot Lamp:

Spot

Sun Lamp:

Sun

Point Lamp:

Point


Sources:

–  Blender. (2017). Introduction — Blender Manual. [online] Available at: https://docs.blender.org/manual/en/dev/render/cycles/introduction.html [Accessed 15 Nov. 2017].

– CG Cookie. (2017). Big Idea: Blender Render VS Cycles. [online] Available at: https://cgcookie.com/articles/big-idea-blender-render-vs-cycles [Accessed 15 Nov. 2017].

Posing my Creature | Development

After adding a skeleton and parenting my mesh to the armature, I positioned the creature in appropriate ways to match the final images I had chosen. To position them, I simply moved the different bone in my creature to place them where I saw fit.

Image 1 – Snow

[Image Credit: Cristiana Bardeanu – Snow – Link]

For the snowy image, I chose to place my creature in a relaxed pose. There is an empty place in this image where I feel he would fit perfectly, but because there is little to look at in this image, a simple pose seemed appropriate. This pose also gives me the opportunity to explore more when texture painting this model, as his lack of movement would most likely cause a thin layer of snow to cover the top parts of his body.

Pose:

Pose 1 - 1 Pose 1 - 2 Pose 1 - 3

Image 2 – Forest

[Image Credit: Free-Photos – Trees – Link]

For the second image, I chose to place my creature in a pose that suggested wonder. As this scene is set in the middle of a wood, there is not much for him to see apart from a large amount of foliage, therefore there isn’t one specific place for him to be looking. The nature of my creature forces him to evolve depending on where he is, so making him stand tall is a must, as it would better resemble the scenery around him, and help him to blend into the scene. This all lead me to the following simple pose.

Pose:

Pose 2 - 1 Pose 2 - 2 Pose 2 - 3 Pose 2 - 4

Image 3- Sea

Sunset


[Image Credit: Andym5855 – Sunset – Link]

For the final image, I chose to have my creature look out on the horizon. This seemed fitting for this scene as not only is the sunset fading the light, but it is common for people to visit the sea and do such a thing. When looking across a large distance, it can be hard to see, so including a hand gesture that shows viewers that my creature is trying to admire his surroundings seems very fitting. I also wanted to imply movement in order to bring my model to life and present him as something other than a static figure. To imply this, I presented him in mid-walk.

Pose:

Pose 3 - 3 Pose 3 - 2 Pose 3 - 1

The following is a time-lapse of how I created the first pose, the same principles were applied across each different outcome:

I originally tried to create this pose before I chose to simplify the armature and remove the bones from my creature. This is the result, one I was not happy with. It is because of this I decided to stick with the simplified armature as opposed to creating a more complex one to incorporate the finger bones. The final poses I created didn’t need such a complex armature. It was during the posing of my creature that minor armature errors became apparent, causing me to alter specific parts of the mesh and/or bone placement.