Following from rigging my character, I continued to use Sebastian Lague’s tutorial on Character Creation to create a walk cycle for my character to follow. Sebastian’s tutorial includes a step-by-step tutorial, putting the simple mechanisms of key framing and using the dope sheet into practice.
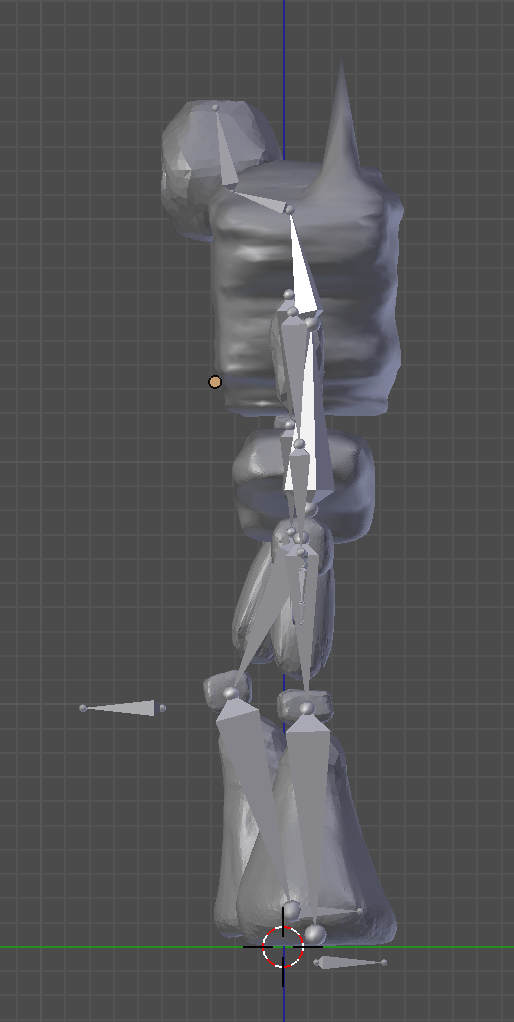
The first thing I tackled was animating the movement of my mesh in one spot. Once I had completed my mesh, armature and all, I set about creating key frames beginning with the 1st frame and ending with the 8th. I moved the armature to create the following poses.
Frame 1:
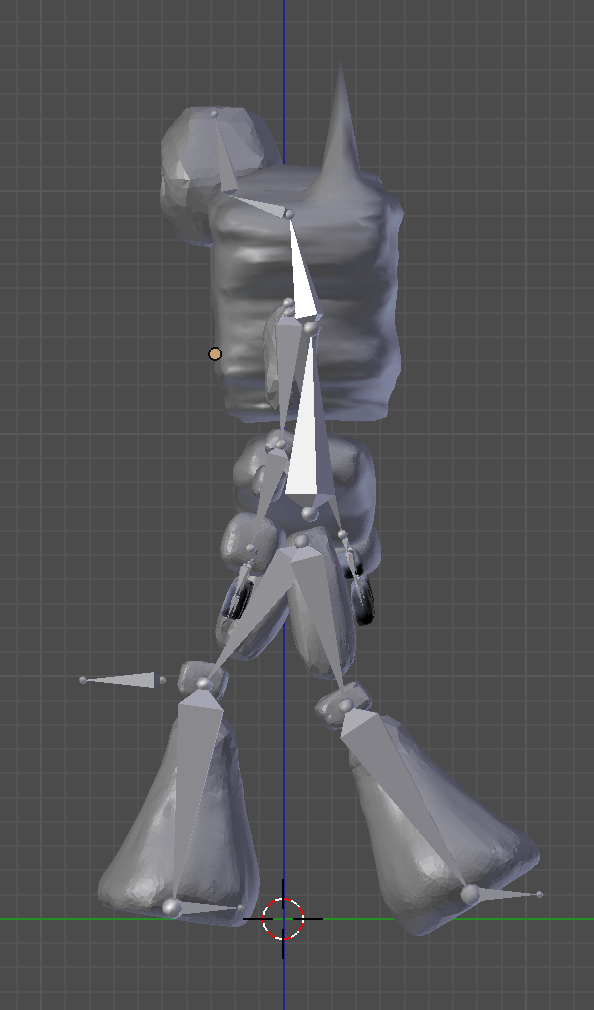
Frame 8:
After doing so, I duplicated and reversed frame 1, placing it at frame 16 using the shift+ctrl+V shortcut. I then changed the interpolation to constant to gain a static view of the poses at each keyframe, helping me to block out a more accurate animation. Now I needed to repeat the reverse duplication, but this time of frame 1 and frame 8. I decided against adding any more keyframes than the amount I already had per walk cycle, as the result I gained from this created a smooth and consistent animation. My model is a creature made of rock, so too much movement would break away from his reality. Once I was happy with the animation, all the was left to do now was create a path for the animation to follow.
Here was the result:
Creating a Path:
To create a path, I first opened an NLA Editor window and opened the animation for my Armature and set the repeat option under Playback Settings to a large enough number to cover the number of frames I wanted in my final animation. Adding a new path under the mesh option curve, I lengthened it to the desired size and parented the armature to the Path Constraint. I needed to alter the position of my model before moving along, so did so and made sure it was facing the direction of the path.
Under the constraints tab on the right-hand toolbar, I clicked on ‘Animate path’ and ticked ‘Follow curve’, which caused my model to walk along the path I had created.
I then moved on to composting this animation onto my final image. Find a time-lapse in the post I dedicated to my final animation.
Leave a comment