Parenting My Model To Armature | Development

Because my character is not human, and his limbs aren’t all attached, I had to alter how and where I placed certain bones in the armature structure.

When I originally parented my mesh to its skeleton, I realised that I needed to move the endpoints in the limbs away from the pelvis and shoulders so the joints didn’t bend the mesh. Once I reloaded and reparented the mesh, I individually altered the weight as follows:

– I didn’t alter the Torso and Pelvis’ weight as when I changed the pose of my creature, it seemed to move reasonably well and I didn’t want to risk losing this.

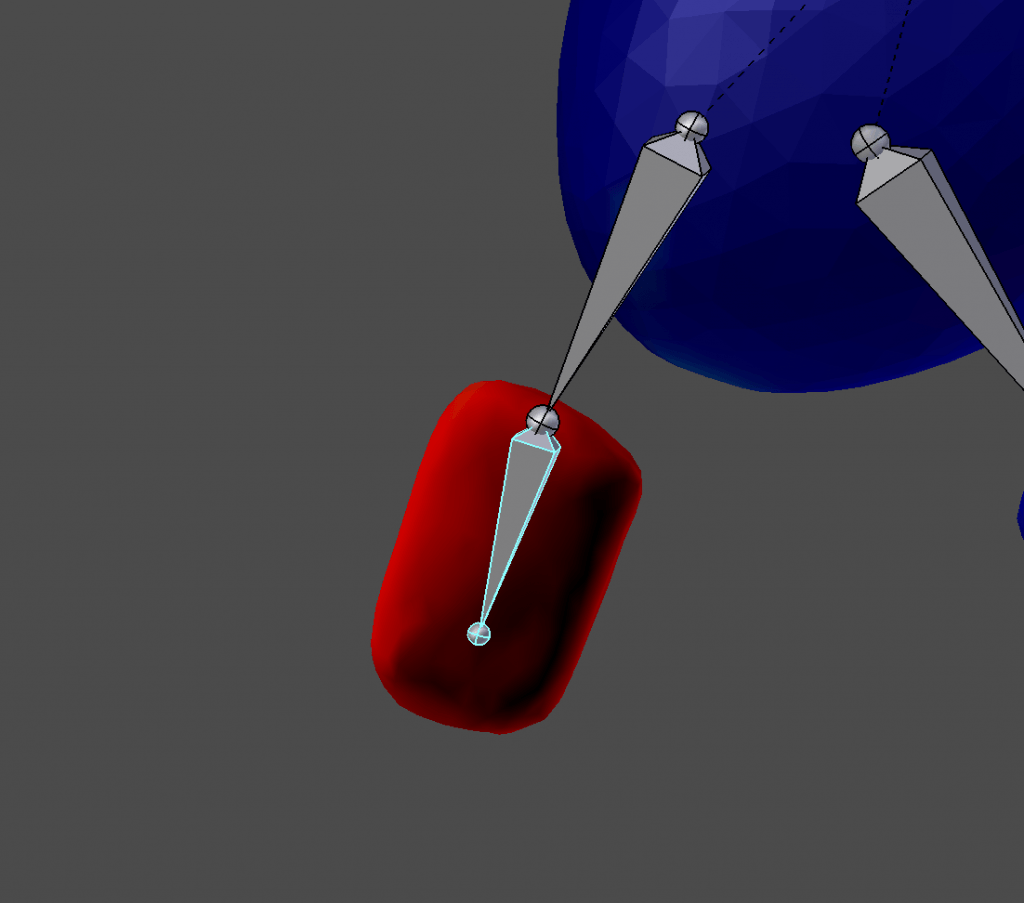
– I made sure the finger bones were unattached from the hand and only weighted the fingers on the second bone, leaving the weight paint empty on the first finger bone.
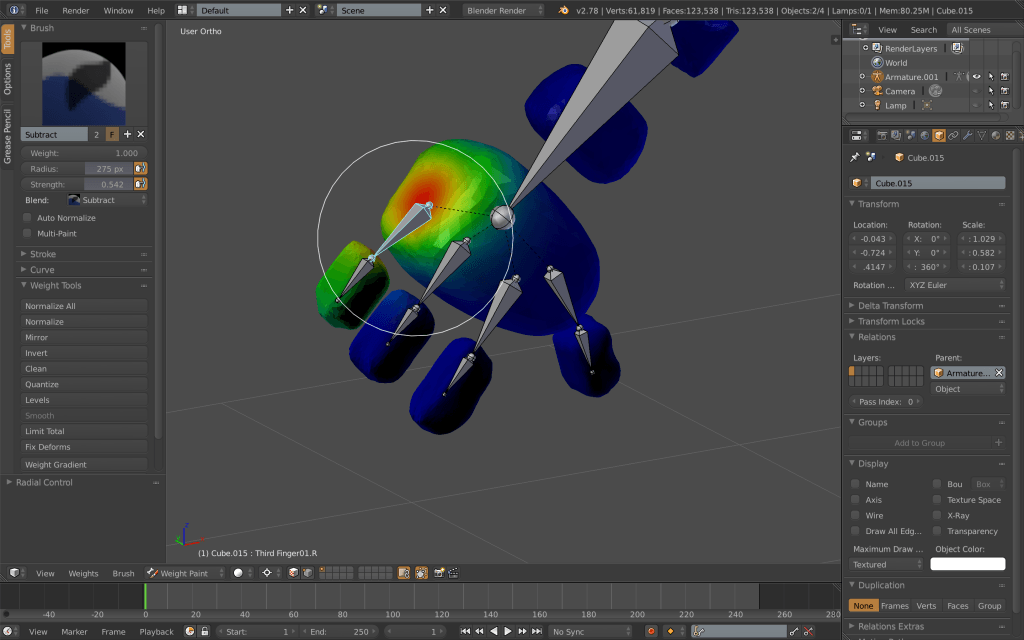
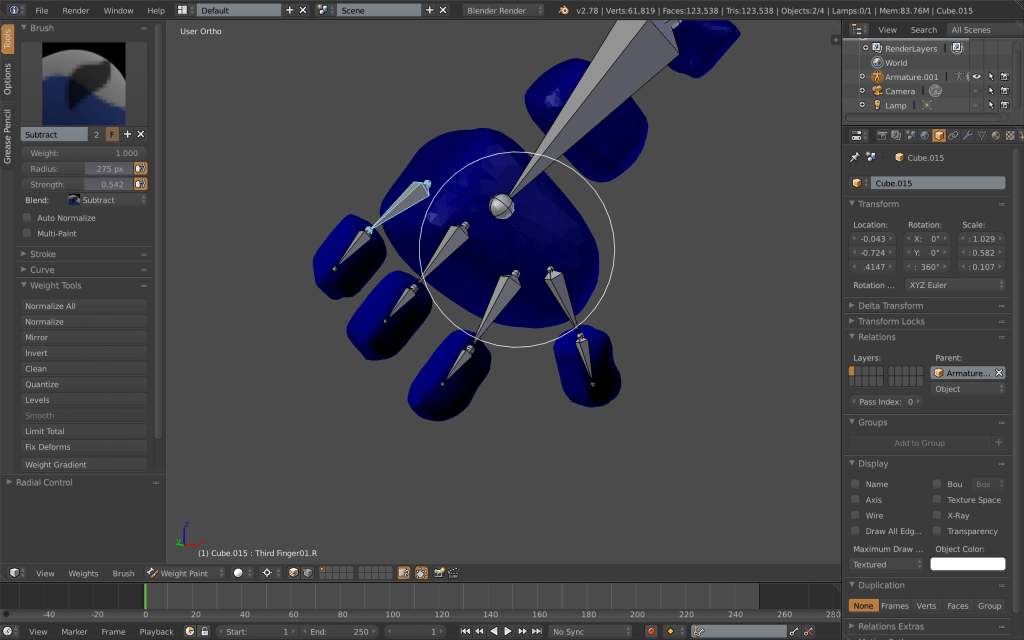
Weighting 3 Weighting 4

– The lower arm bone is weighted to the elbow and the lower arm, the upper arm bone is attached only to the upper arm of the creature. This does effect the way the arm moves, however the stocky nature of my creatures figure justifies the stiffness in his shoulders.
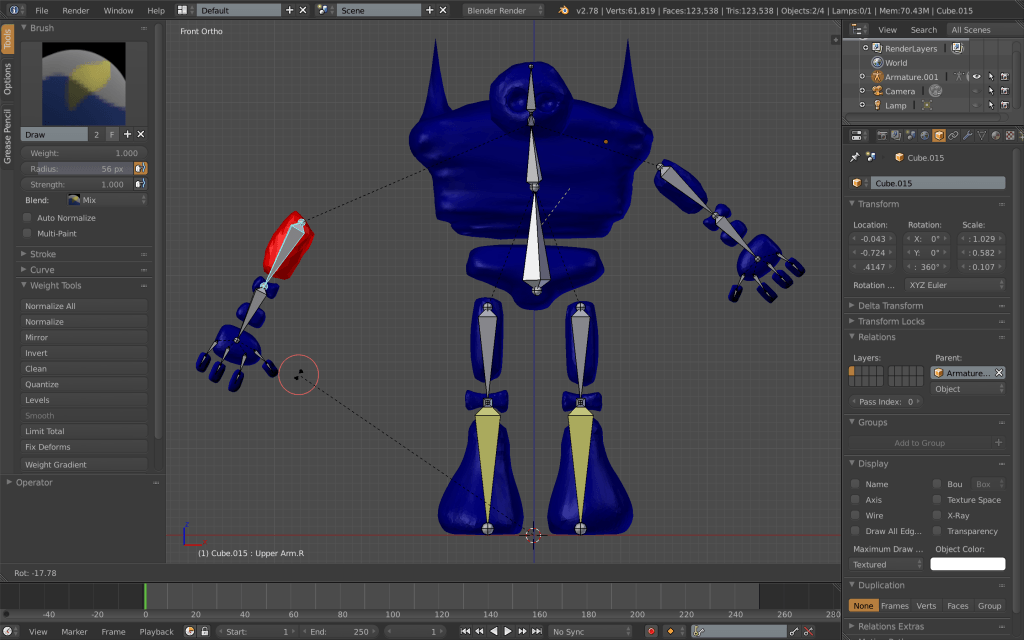
Weighting 6

– The Neck bone has no weight as my creature does not have a visible neck, therefore it does not effect how the character’s head moves.

– The head is weighted solely to the head/skull bone. It was hard to be precise when paint selecting the parts of the mesh I wanted to attach to this bone, however I could risk this (again) due to the stiff and stocky nature of my character. I was still as accurate as I could be when using the tool.
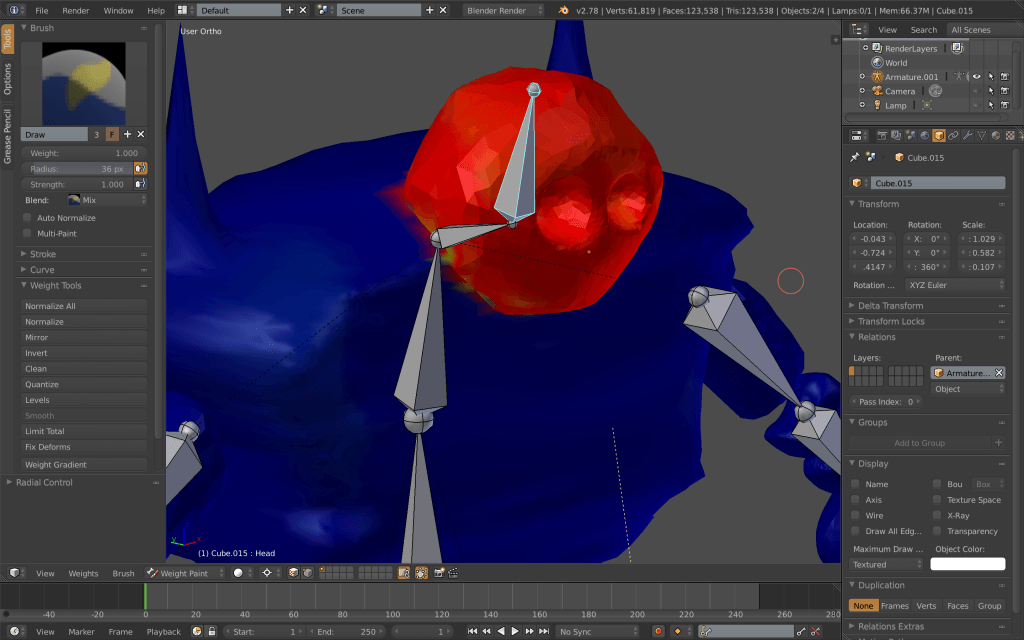
Weighting 2

– The lower leg bone includes the mesh of my creatures knee, and the upper part just the top part of the leg. I made sure the knee was strongly connected by painting it until it was all red.
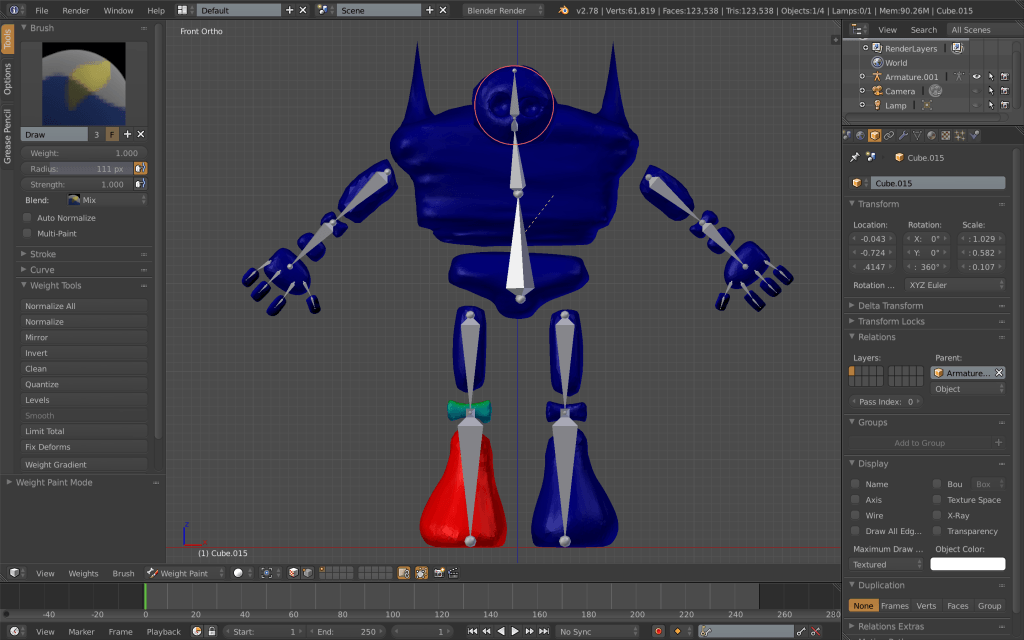
Weighting 1

After I went through and connected each part of my skeleton appropriately, I made sure to move the bone to ensure everything looked and moved nicely. When moving my model, I would sometimes experience weird deformities that made spikes for on my mesh when it moved. I realised that this was due to a mistake when weight painting certain parts of my mesh. To stop this, I checked the way each bone moved every time I painted, and made any appropriate alterations to ensure specks of weight like in the image below were all gone. This is what lead my final weigh paint to be solely Blue or Red.

Weighting 5 Weighting 7

In the end,  I removed the bones I attached to the fingers and kept them static as I was unable to get the fingers to be fully functioning in the way I had hoped. This did not limit my possibility too much, however it did disable the ability to create complex poses. If needed, I would return to my model and add these bones in, making sure they were accurate, however for now, I chose to continue without including this armature.
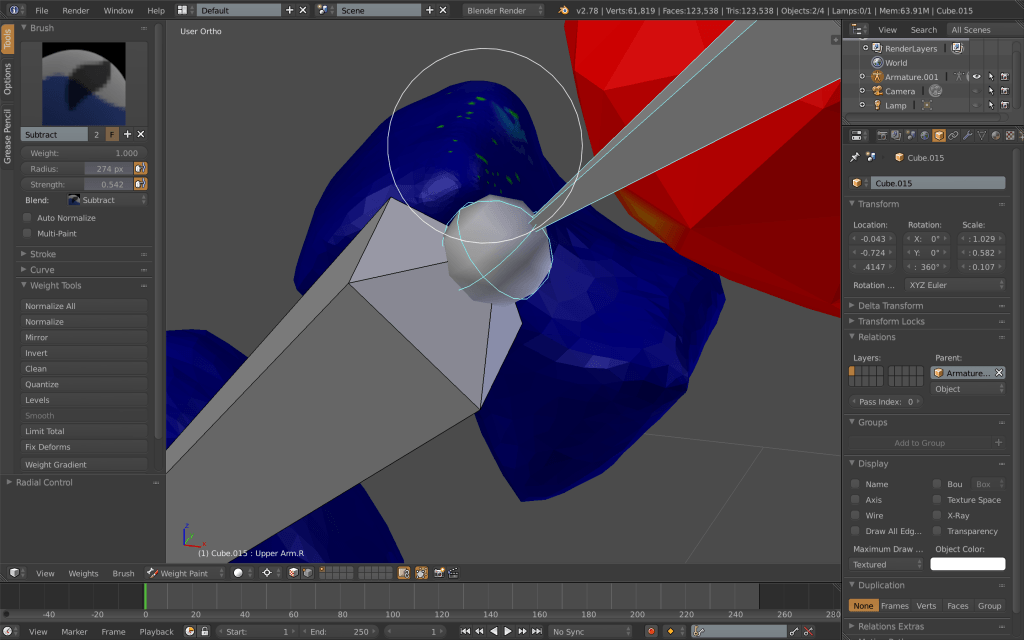
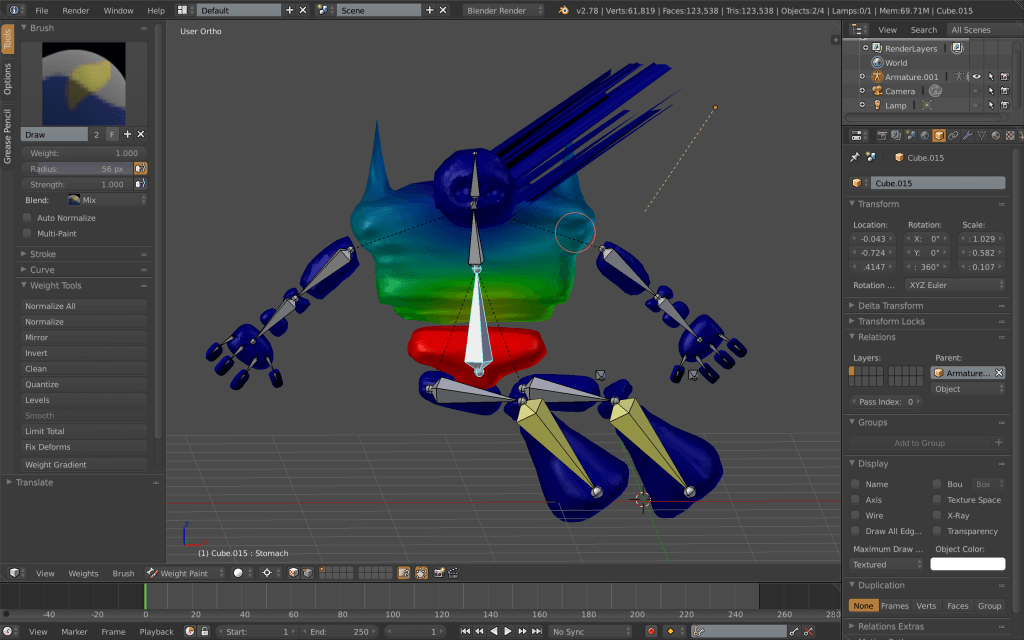
Weighting Finger 1 Weighting Finger 2

The Final Result:

Weight Paint Mode in Blender | Research

Part two of Sebastian Lague’s tutorial focuses on parenting my mesh to the armature and making them move cohesively. To do so, I would have to use the Weigh Paint Mode.

Weight Painting Mode

‘Weight Painting is a method to maintain large amounts of weight information in a very intuitive way. It is primarily used for rigging meshes, where the vertex groups are used to define the relative bone influences on the mesh. But we use it also for controlling particle emission, hair density, many modifiers, shape keys, etc.

The basic principle of the method is: the weight information is literally painted on top of the Mesh body by using a set of Weight brushes.’

When you enter Weight Paint mode, the selected Mesh Object is displayed slightly shaded with a rainbow color spectrum. The colour visualises the weights associated to each vertex in the active Vertex Group. Blue means unweighted; Red means fully weighted, as shown in the image below. You assign weights to the vertices of the Object by painting on it with weight brushes.

Weight_Spec


Sources:

– Blender. (2017). Weight Paint Mode — Blender Reference Manual. [online] Available at: http://blender-manual-i18n.readthedocs.io/ja/latest/modeling/meshes/vertex_groups/weight_paint.html [Accessed 15 Nov. 2017].

Armature in Blender | Research

The Blender manual describes the function as follows:

‘An Armature in Blender can be thought of as similar to the armature of a real skeleton, and just like a real skeleton an Armature can consist of many bones. These bones can be moved around and anything that they are attached to or associated with will move and deform in a similar way.

An “armature” is a type of object used for rigging. A rig is the controls and strings that move a marionette (puppet). Armature object borrows many ideas from real life skeletons.

An armature is like any other object type in Blender:

  • It has a origin, a position, a rotation and a scale factor.
  • It has an Object Data data-block, that can be edited in Edit Mode.
  • It can be linked to other scenes, and the same armature data can be reused on multiple objects.
  • All animation you do in Object Mode is only working on the whole object, not the armature’s bones (use the Pose Mode to do this).

As armatures are designed to be posed, either for a static or animated scene, they have a specific state, called “rest position”. This is the armature’s default “shape”, the default position/rotation/scale of its bones, as set in Edit Mode.’ – (Blender, 2017)

I had no experience of this feature in Blender, and I only found out about it when looking at character design in Blender earlier in my research. Youtube user Sebastian Lague uploaded detailed tutorials on character creation, part of which included a step-by-step walkthrough on how he rigged his model for animation. Following this, I will need to alter it to fit my model, however, the results should be just as effective.

Why add Armature?

As my final output, I will be placing my creature into different environments, and in doing so I wanted to have it looking somewhat different in each situation to prevent repetition. To achieve this, I decided to alter the pose of my creature for each image, and the most efficient way of doing this was to add Armature and rig my model.

I chose to add armature to my character to ensure its movement is fluid and realistic. The main aim of my project is to create realism, and armature will ensure this is kept true. Because my creature resembles the anatomy of a human, it would be obvious if its movements are jolted and anything but move, this function in Blender allows me to prevent any chance for viewers to escape from the scenes my creature are in.


Sources:

– Blender (2017). Introduction — Blender Manual. [online] Available at: https://docs.blender.org/manual/en/dev/rigging/armatures/introduction.html [Accessed 15 Nov. 2017].