Modelling Process Part 5 – The Arms [3] | Development

Intended Outcome:

  • Complete the Arms of my creature.

Problems I encountered and how I overcame them:

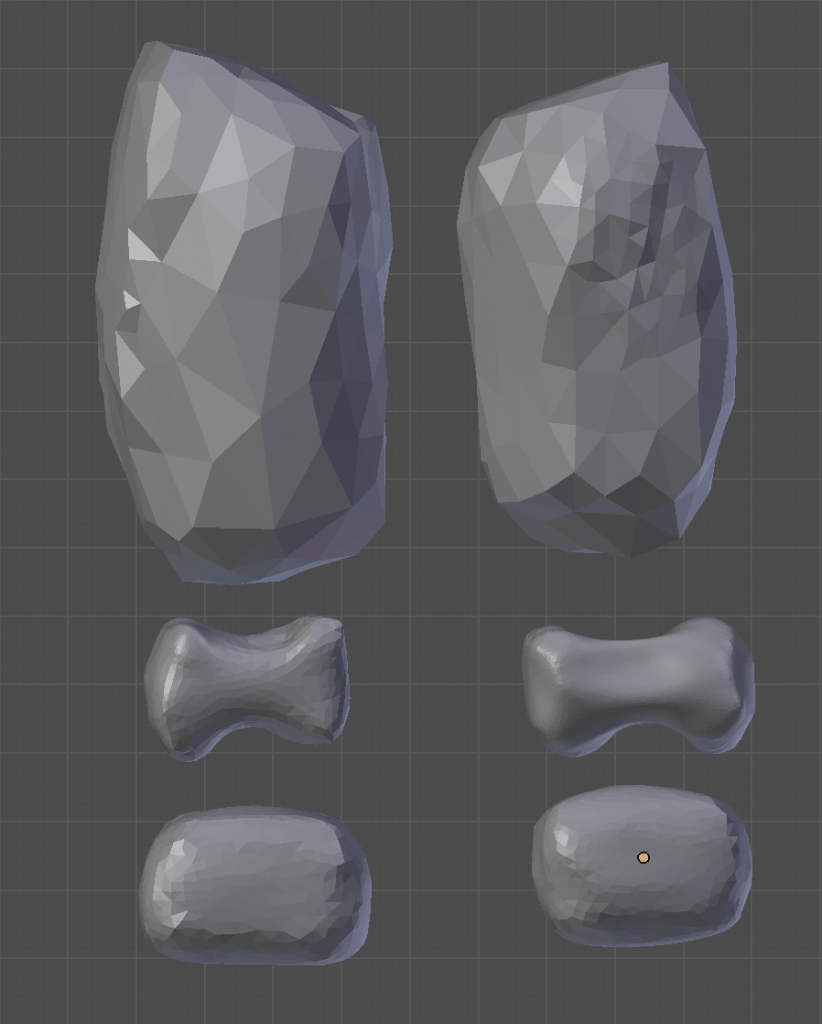
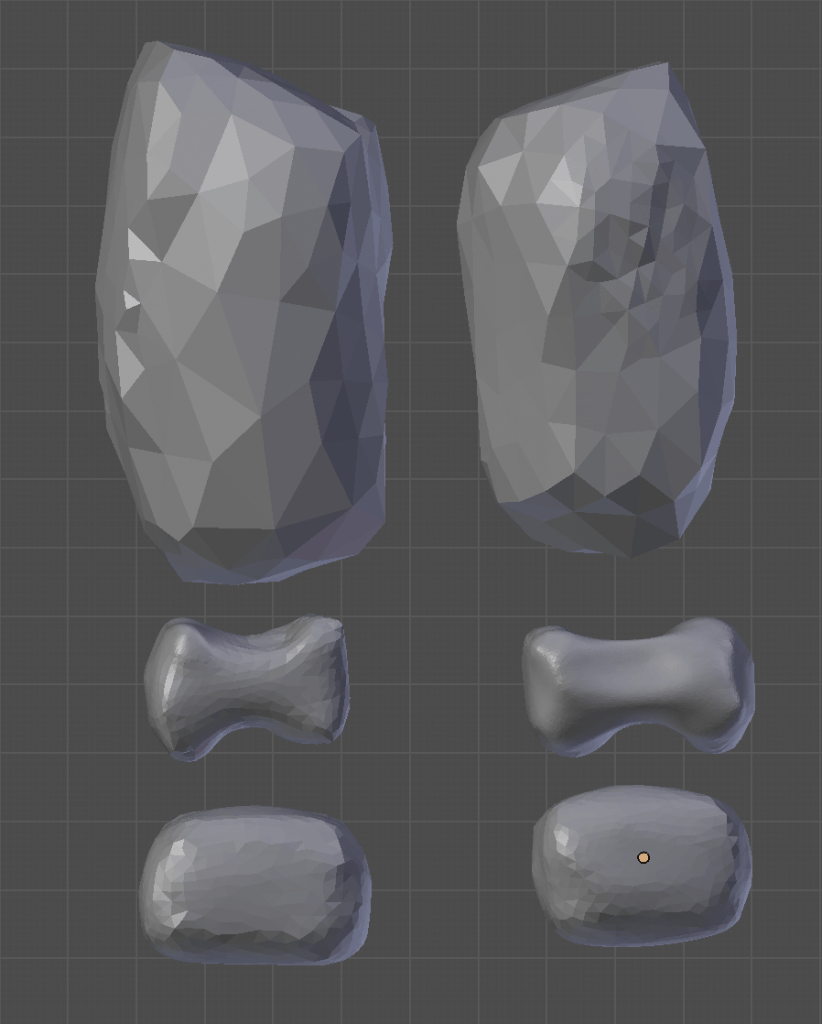
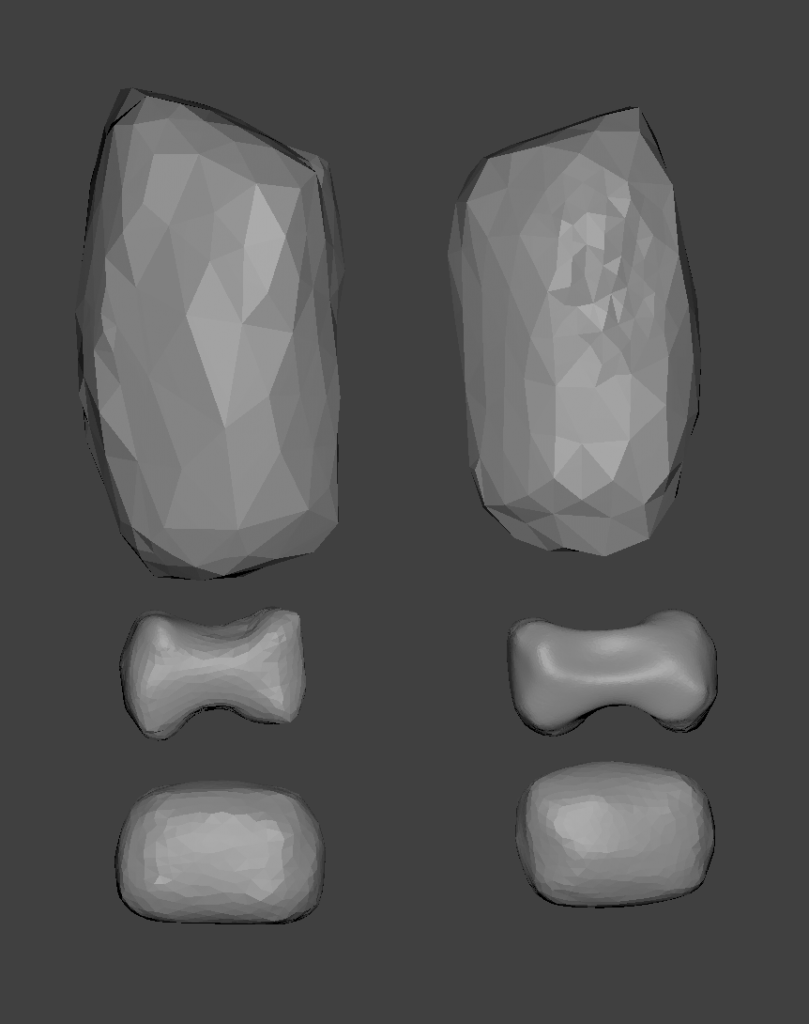
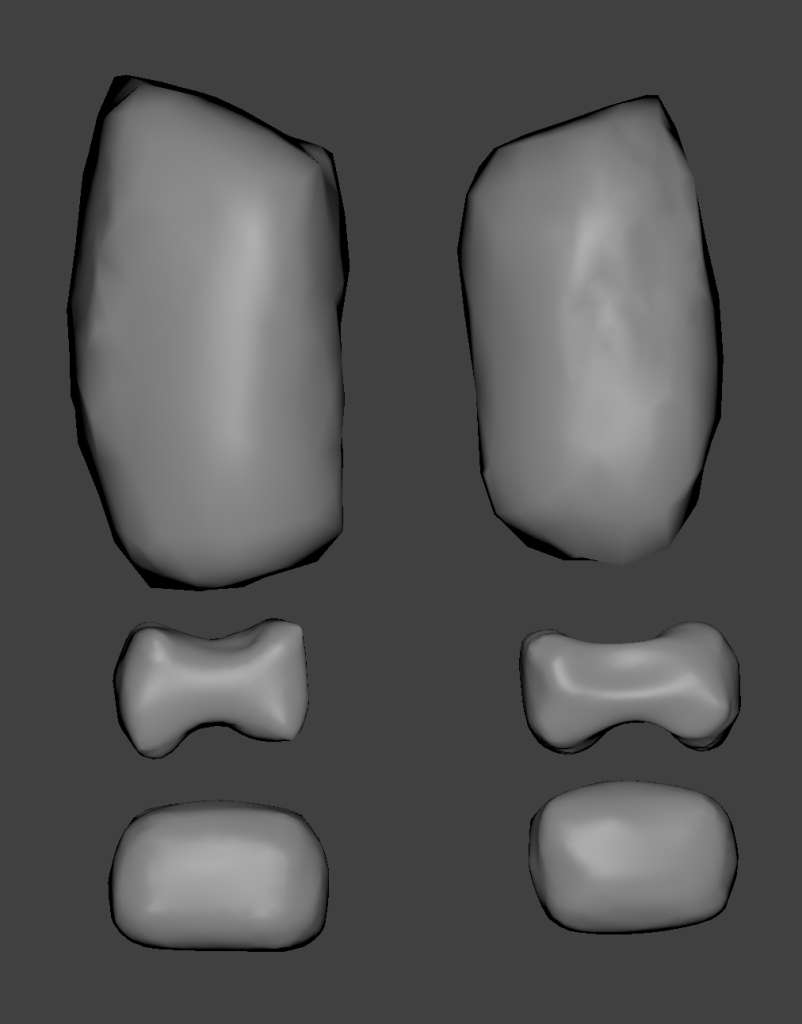
  • The only things left to create were the fingers, and to do so I began by finding the most appropriate starting shape. I initially tried to use a cylinder mesh, however found that the shapes on my 2D image resembled more of a cuboid, so instantly chose to use this shape. Bevelling the edges made the basic shape look almost identical to what I have used in my initial sketch, and made the modelling much easier.
  • It was hard to create fingers that were unique without drastically changing the shape. I wanted each finger to resemble the shape of a cuboid, but with details that made them look like sedimentary rock. Because there are 8 in total, including the thumbs, I needed each of the fingers to be uniquely sculpted as having identical fingers would be obvious and noticeable to viewers. Originally, I hoped to sculpt each finger from scratch to ensure I wasn’t tempted to keep the fingers looking too similar, and also to prevent the repetition of notable details from on to another, for example, had I created a dint on one finger, there would be no trace of it on the next finger. Before beginning to do this, however, it was clear it would be unnecessarily time consuming, so I chose to create the same finger of each hand (thumb, thumb, finger 1, finger1, etc.) so any accidental similarities weren’t as noticeable. I eventually chose to duplicate one finger and sculpt all 6 fingers next to each other so I could see hoe similar/different they looked before arranging them around the hand. Was I to model something like this again, I would begin with 8 cuboids and model them next to each other from the beginning.
  • During modelling, I also changed the width of the pelvis to better fit the initial sketch, and in comparison to the arms final form. This could still be changed according to the final Torso shape, but for now it made my proportions look closer to my intended outcome. Throughout most modelling sessions, I am constantly referencing my initial image for the truest shapes and sizes of my creature. After doing this, I also straightened the arms pose to help with the future posing of my creature.

Finished Arms 1 Finished Arms 6 Finished Arms 7

Finished Arms 5Finished Arms 8

Where to go from here:

  • Complete the Torso of my creature to get the proportions correctly.

Finished Arms 2Finished Arms 3


Modelling Process Part 4 – The Arms [2] | Development

Intended Outcome:

  • Complete the Arms.

Problems I encountered and how I overcame them:

  • This session was rather short, and I only managed to complete the arms and the hands. One difficulty I found when sculpting was getting the size of the hands to look right. As I had the image next to my modelling window, I could estimate the size from the front, but making the thickness look proportional was difficult. I Experimented with different thicknesses before deciding on the outcome below, and I could still alter it if I decide it looks too thin or too thick when placed next to the completed Torso.

Hand Thickness 1 Hand Thickness 2 Hand Thickness 3

Hand Thickness 6 Hand Thickness 5 Hand Thickness 4

  • As I have mentioned in previous posts, I wanted to get used to the basics of Blender again. To do so, I watched Blender Guru’s Anvil tutorial, which taught me a lot. I had previously learnt that sculpting is much easier if you start with a mesh that is as close to the shape of your intended outcome as possible, so learning how to do so made me more comfortable in modelling. I also became more comfortable with he controls and shortcuts in Blender, which helped with the speed of this session

The main tools and tips I learnt in this tutorial was using the G shortcut to move vertices, and using O to enable and disable proportional editing when appropriate.

I unfortunately lost the footage to this modelling session, however I have included as many screenshots as I felt necessary to show you my progress.

Hands 1 Hands 2 Hands 3

Arm and Hand 1 Arm and Hand 2 Arm and Hand 3

Where to go from here:

  • Create the fingers making sure they are all unique.
  • Use the view shortcuts more to make things more proportional.

Sources:

Guru, B. (2017). Available at: https://youtu.be/yi87Dap_WOc [Accessed 01 Dec. 2017].

Modelling Process Part 3 – The Arms [1] | Development

Intended Outcome:

  • Begin modelling the limbs of my creature.
  • Complete the upper arm.
  • Alter the objects to make them as close to the shape of the piece I am modelling before sculpting.

Problems I encountered and how I overcame them:

  • When modelling the arms of my creature, it became clear that simply duplicating the left and using it as the right would make them look obviously identical. In any other situation where I would be modelling a character, having identical left and right sides would be fine, however I am hoping to create a creature that looks to have been created by natural material, helping him to blend into his environments. His body would most likely be effected by the places he finds himself in, therefore it would seem unrealistic to have him look too ‘perfect’. To correct this, I did duplicate each part of his arm, but made sure to slightly alter them with the sculpt tool.

Arms

  • As I chose to leave sculpting the torso until later, It was rather hard to estimate what size to make my arms, so I decided to make them proportional to each other, making sure to resize them once I have completed the rest of my creature.
  • I also had some difficulty with the detail size when using the sculpt tool, making the upper arm noticeable different in texture to the lower arm. This will not effect my final outcome, as when smoothed out and rendered, the differences aren’t noticeable. It did, however, make if difficult to predict how much I would take away with each stroke.

Arms 3 Arms 1 Arms 2

Where to go from here:

  • In the next modelling session, I hope to complete the arms, including the hands and fingers.
  • Try to stay consistent with detail size.

Camera Mapping Experiment | Development

As an attempt to be ambiguous, I chose to try camera map my animated scene. This idea could have been conducted had I take more time to reflect on the tutorial I had originally used to camera map a scene in my research, however I failed to do so and quickly scrapped this idea. Had I chosen to do this earlier in my development process, I believe I would have been able to complete the scene, however my lack of knowledge on UV unwrapping at the time of me attempting this process lead me to leaving this out of my final piece.

Modelling Process Part 2 – The Pelvis and Torso | Development

Intended Outcome:

  • Create a pelvis for my creature.
  • Create the torso for my creature.
  • Use other techniques past the sculpt tool to define the torso.

Problems I encountered and how I overcame them:

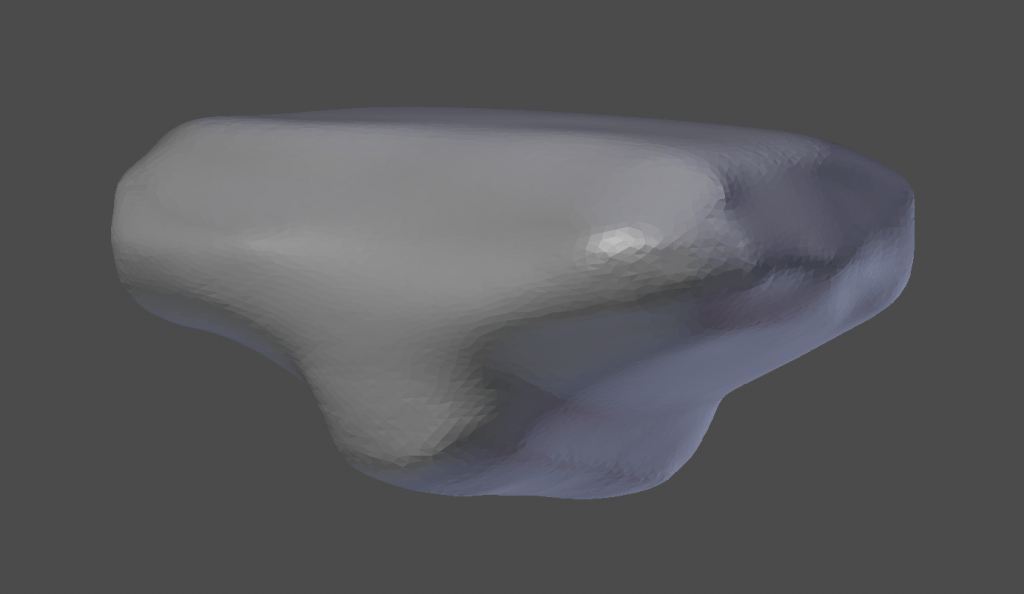
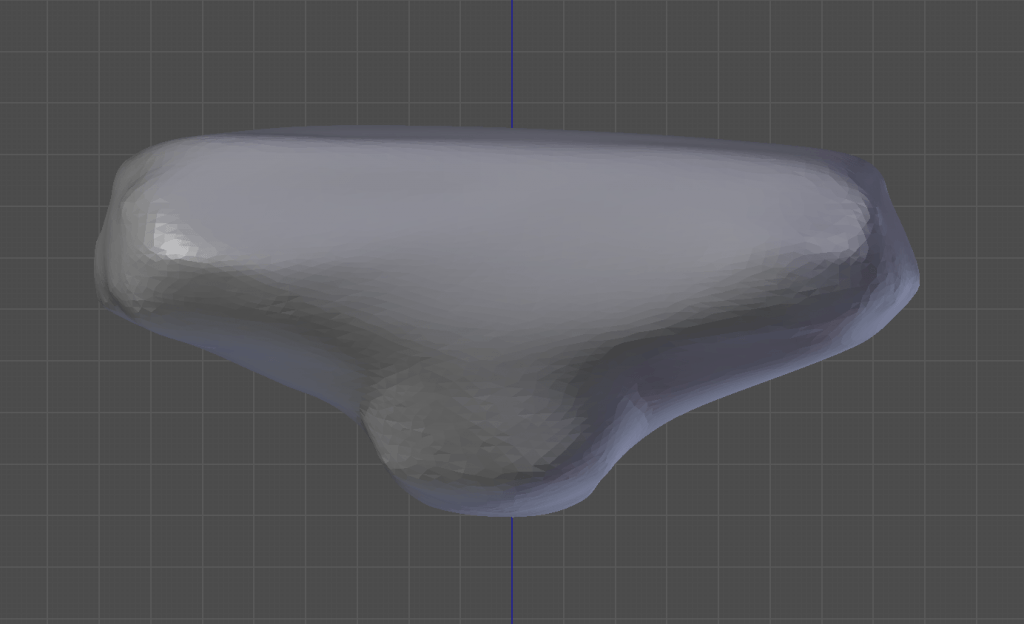
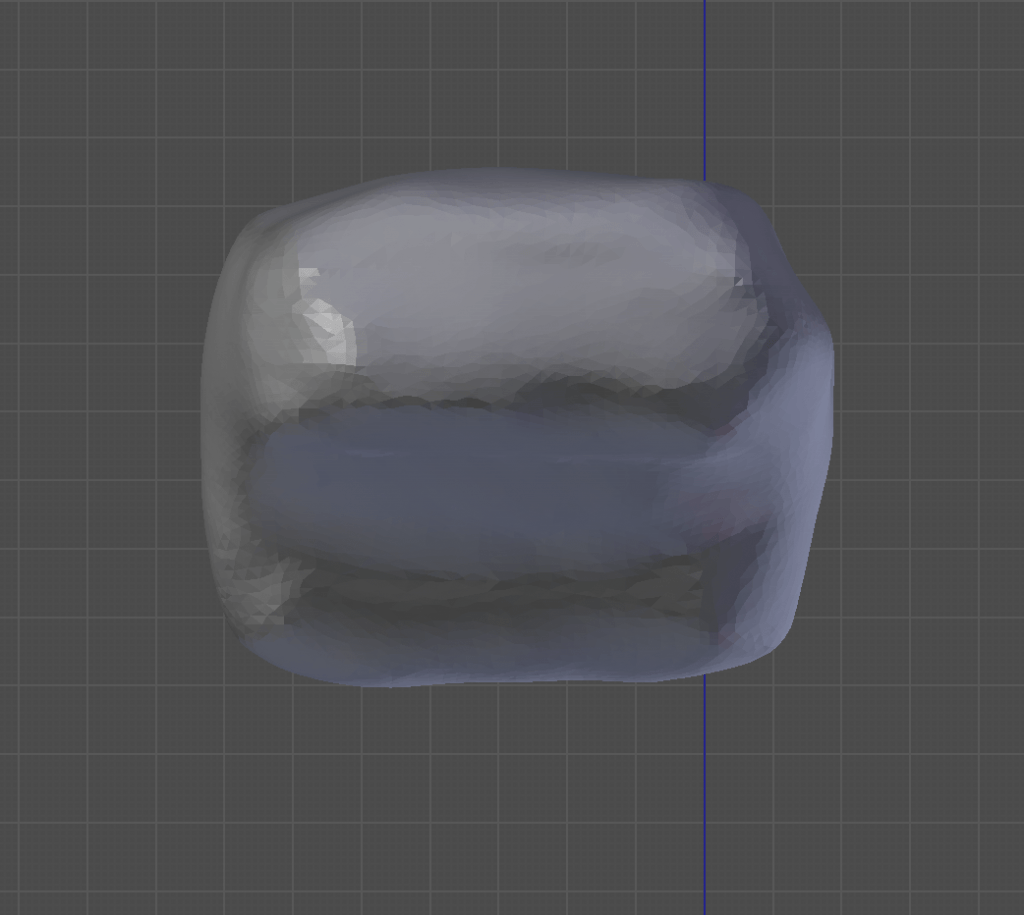
  • During this modelling session, I chose to try and use the Boolean modifier to create divots in the pelvis where the legs are going to go. Whilst the end result proves this was a good decision, I found it difficult to use the modifier, despite being comfortable with the way it worked. I was originally tempted to try making this part by creating loop cuts in the side of the initial cube, splitting the mesh in half, then extruding the top part as I saw fit, but thought this would create a more complicated mesh, something that can be avoided completely with the Boolean modifier. The difficulty i found with this modifier was choosing which operation to apply, as well as which object to apply that operation to. Once I overcame this confusion and became familiar with the tool, however, I was able to create the result I had hoped.

Crotch 1 Crotch 2 Crotch 3

  • When I began on the Torso, I realised I needed more practice in the basic functions Blender has to offer. I attempted to create the correct shape a few times, firstly trying the indent function, but I failed to make a mesh that was easy to work with, therefore I chose to leave this until I had experimented more with the functions I needed to use to make the process easier and more efficient. Once I had decided this, I experimented more with the boolean tool again, choosing to use the union option to create the shoulders and see what happened. Because I was not accurately scaling and sizing the objects, the result was very warped, however it did help me to understand the Boolean.

Where to go from here:

  • Begin on the smaller and simpler components to my creature.
  • Revise the basics of Blender again.