Choosing Different Environments | Research

The pure aim of modelling a creature is in order for me to texture paint it in different types of environments. Because of this, I need to decide where I am going to be placing my creature in order to begin looking for resources that are appropriate. The ideal environments for me to use would have to be unique from one another, showing variations in the textures and lighting I will be using. Within the environments there may be elements that can interact with my creature, forcing me to position the creature differently. These can be anything from animals, to water, or even different temperature or weather elements.

Environment 1 – Desert

Screen Shot 2017-11-22 at 20.51.12 1389180_b9faa811c0_o

5505540358_e0e34153cb_o

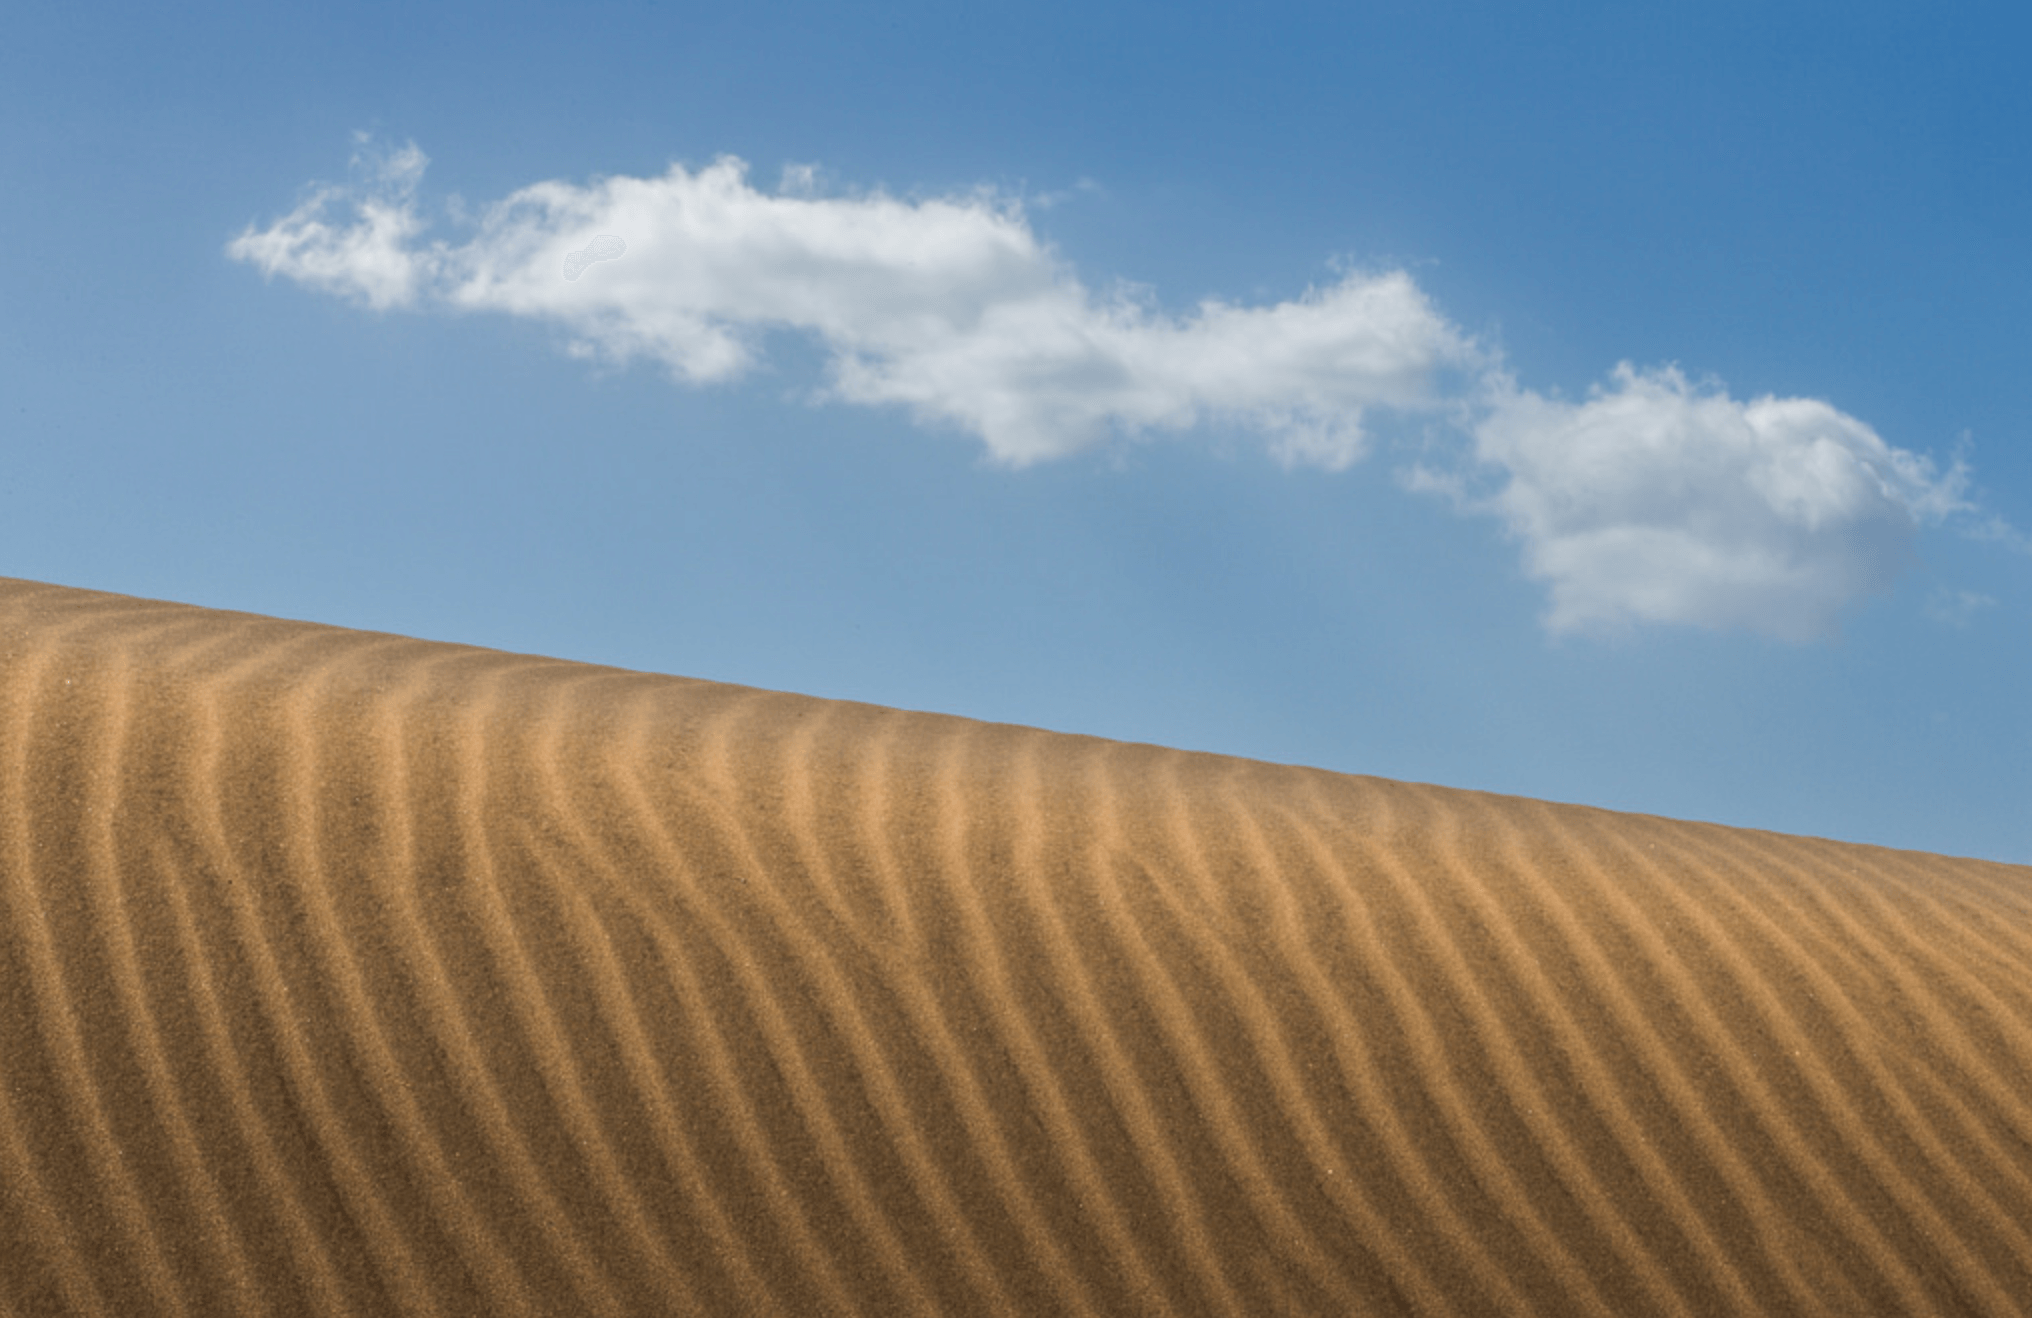
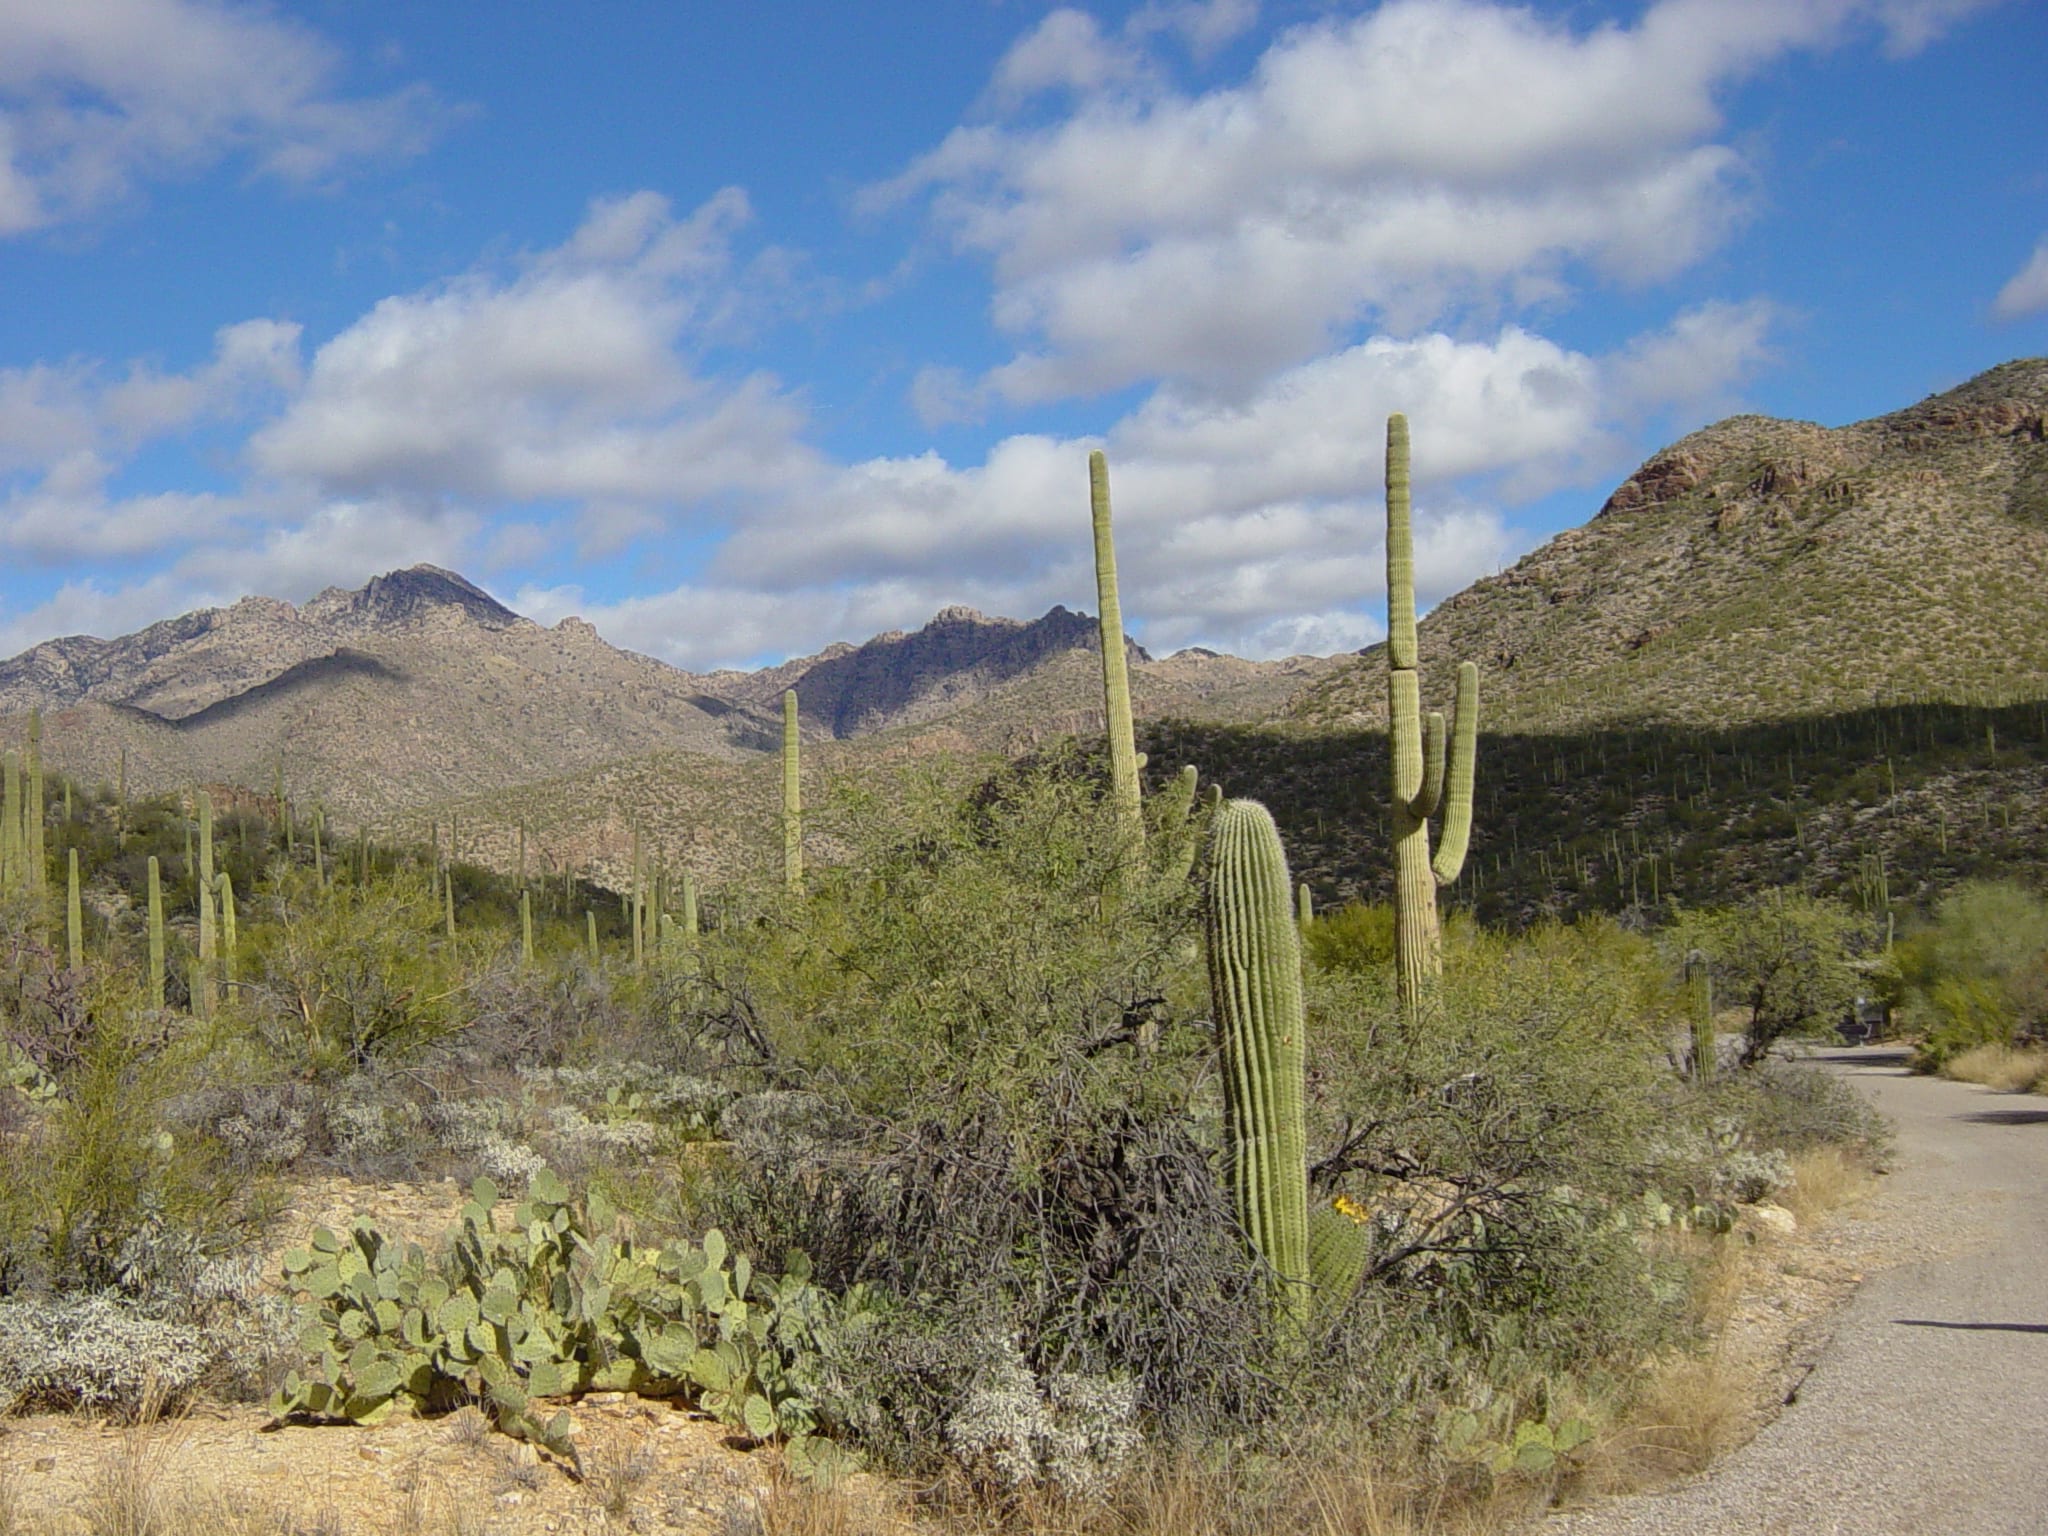
The desert environment can be anything from complete emptiness to having mountain-like aspects. It can include sand and rock as its foundation, with plants such as cacti, weathered trees, tumbleweed and wildflowers littering the terrain. Little precipitation occurs in the desert, and the temperature is often high, meaning the landscape is most often dry and hostile for most animal life. The heat and lack of rain can affect the lighting of a desert environment, making it warmer and brighter. The barren nature of this environment also means there will be fewer objects to obstruct light and cast shadows, making it a rather basic environment to light.

Tutorials that may prove useful:

The following tutorials all have instructions on things I could add to my creature before placing him into a barren landscape.

The above tutorial contains techniques I could use to alter the look of my creature in order to blend him into the environment.

Pebbles could also be littered onto and around my creature to insinuate the idea of sandstorms, and that my creature has been in that environment for a while.

This tutorial could help me to reshape the body of my creature to make him seem more appropriate for a desert landscape.

Environment 2 – Snowy Mountain

Screen Shot 2017-11-22 at 20.51.37 32178659904_6a00df5957_o

Screen Shot 2017-11-22 at 20.51.26

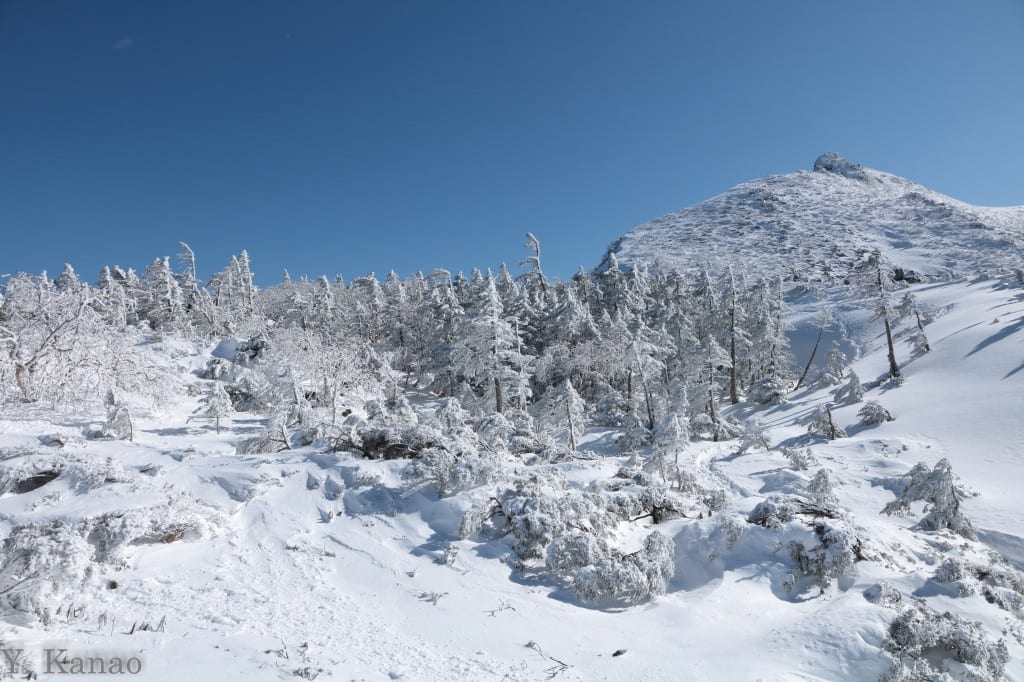
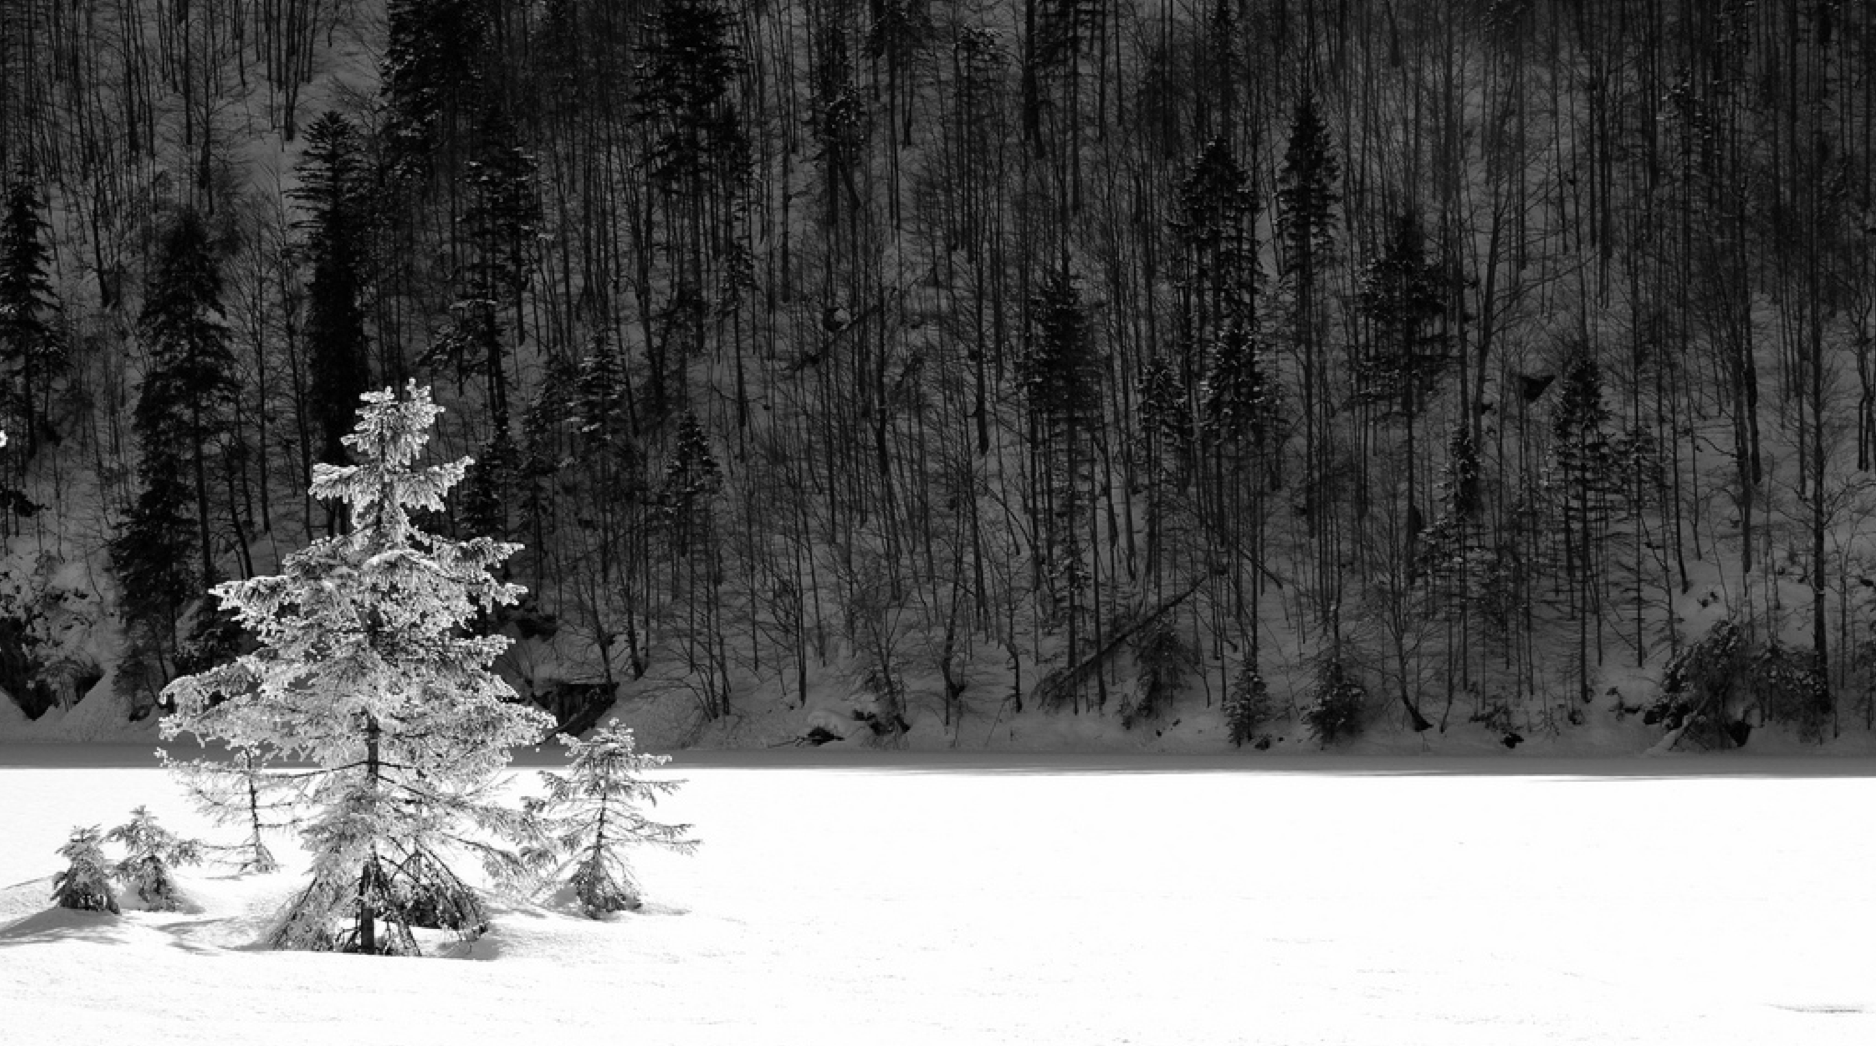
A snowy landscape completely unique from a desert. It can be anything from a snowy wood to a mountaintop, to even a city, and can alter the form of my creature significantly. Due to the nature of my creature, I would most likely base this environment around a snowy mountaintop, as a city may be too public, and a woodland may be too similar to my third and final environment. A snowy mountaintop also gives me more of a chance of incorporating my creature into the environment easier, with the structure of him resembling rock-like materials. This environment will include large landforms, snow, trees and foliage, and it will be very isolated, with the option to include a hiker or two. The mountain may be surrounded by a water source and can refrain from being completely covered in snow. This would be ideal as an environment as I can use my creatures original material and add snow to appropriate places. Piles of snow may also form on the creature.

Tutorials that may prove useful:

Environment 3 – Forest

14714309603_36bd318364_o 6066732779_8758c67bd4_o

Screen Shot 2017-11-22 at 20.50.27 23977204738_5dc28dda8a_o

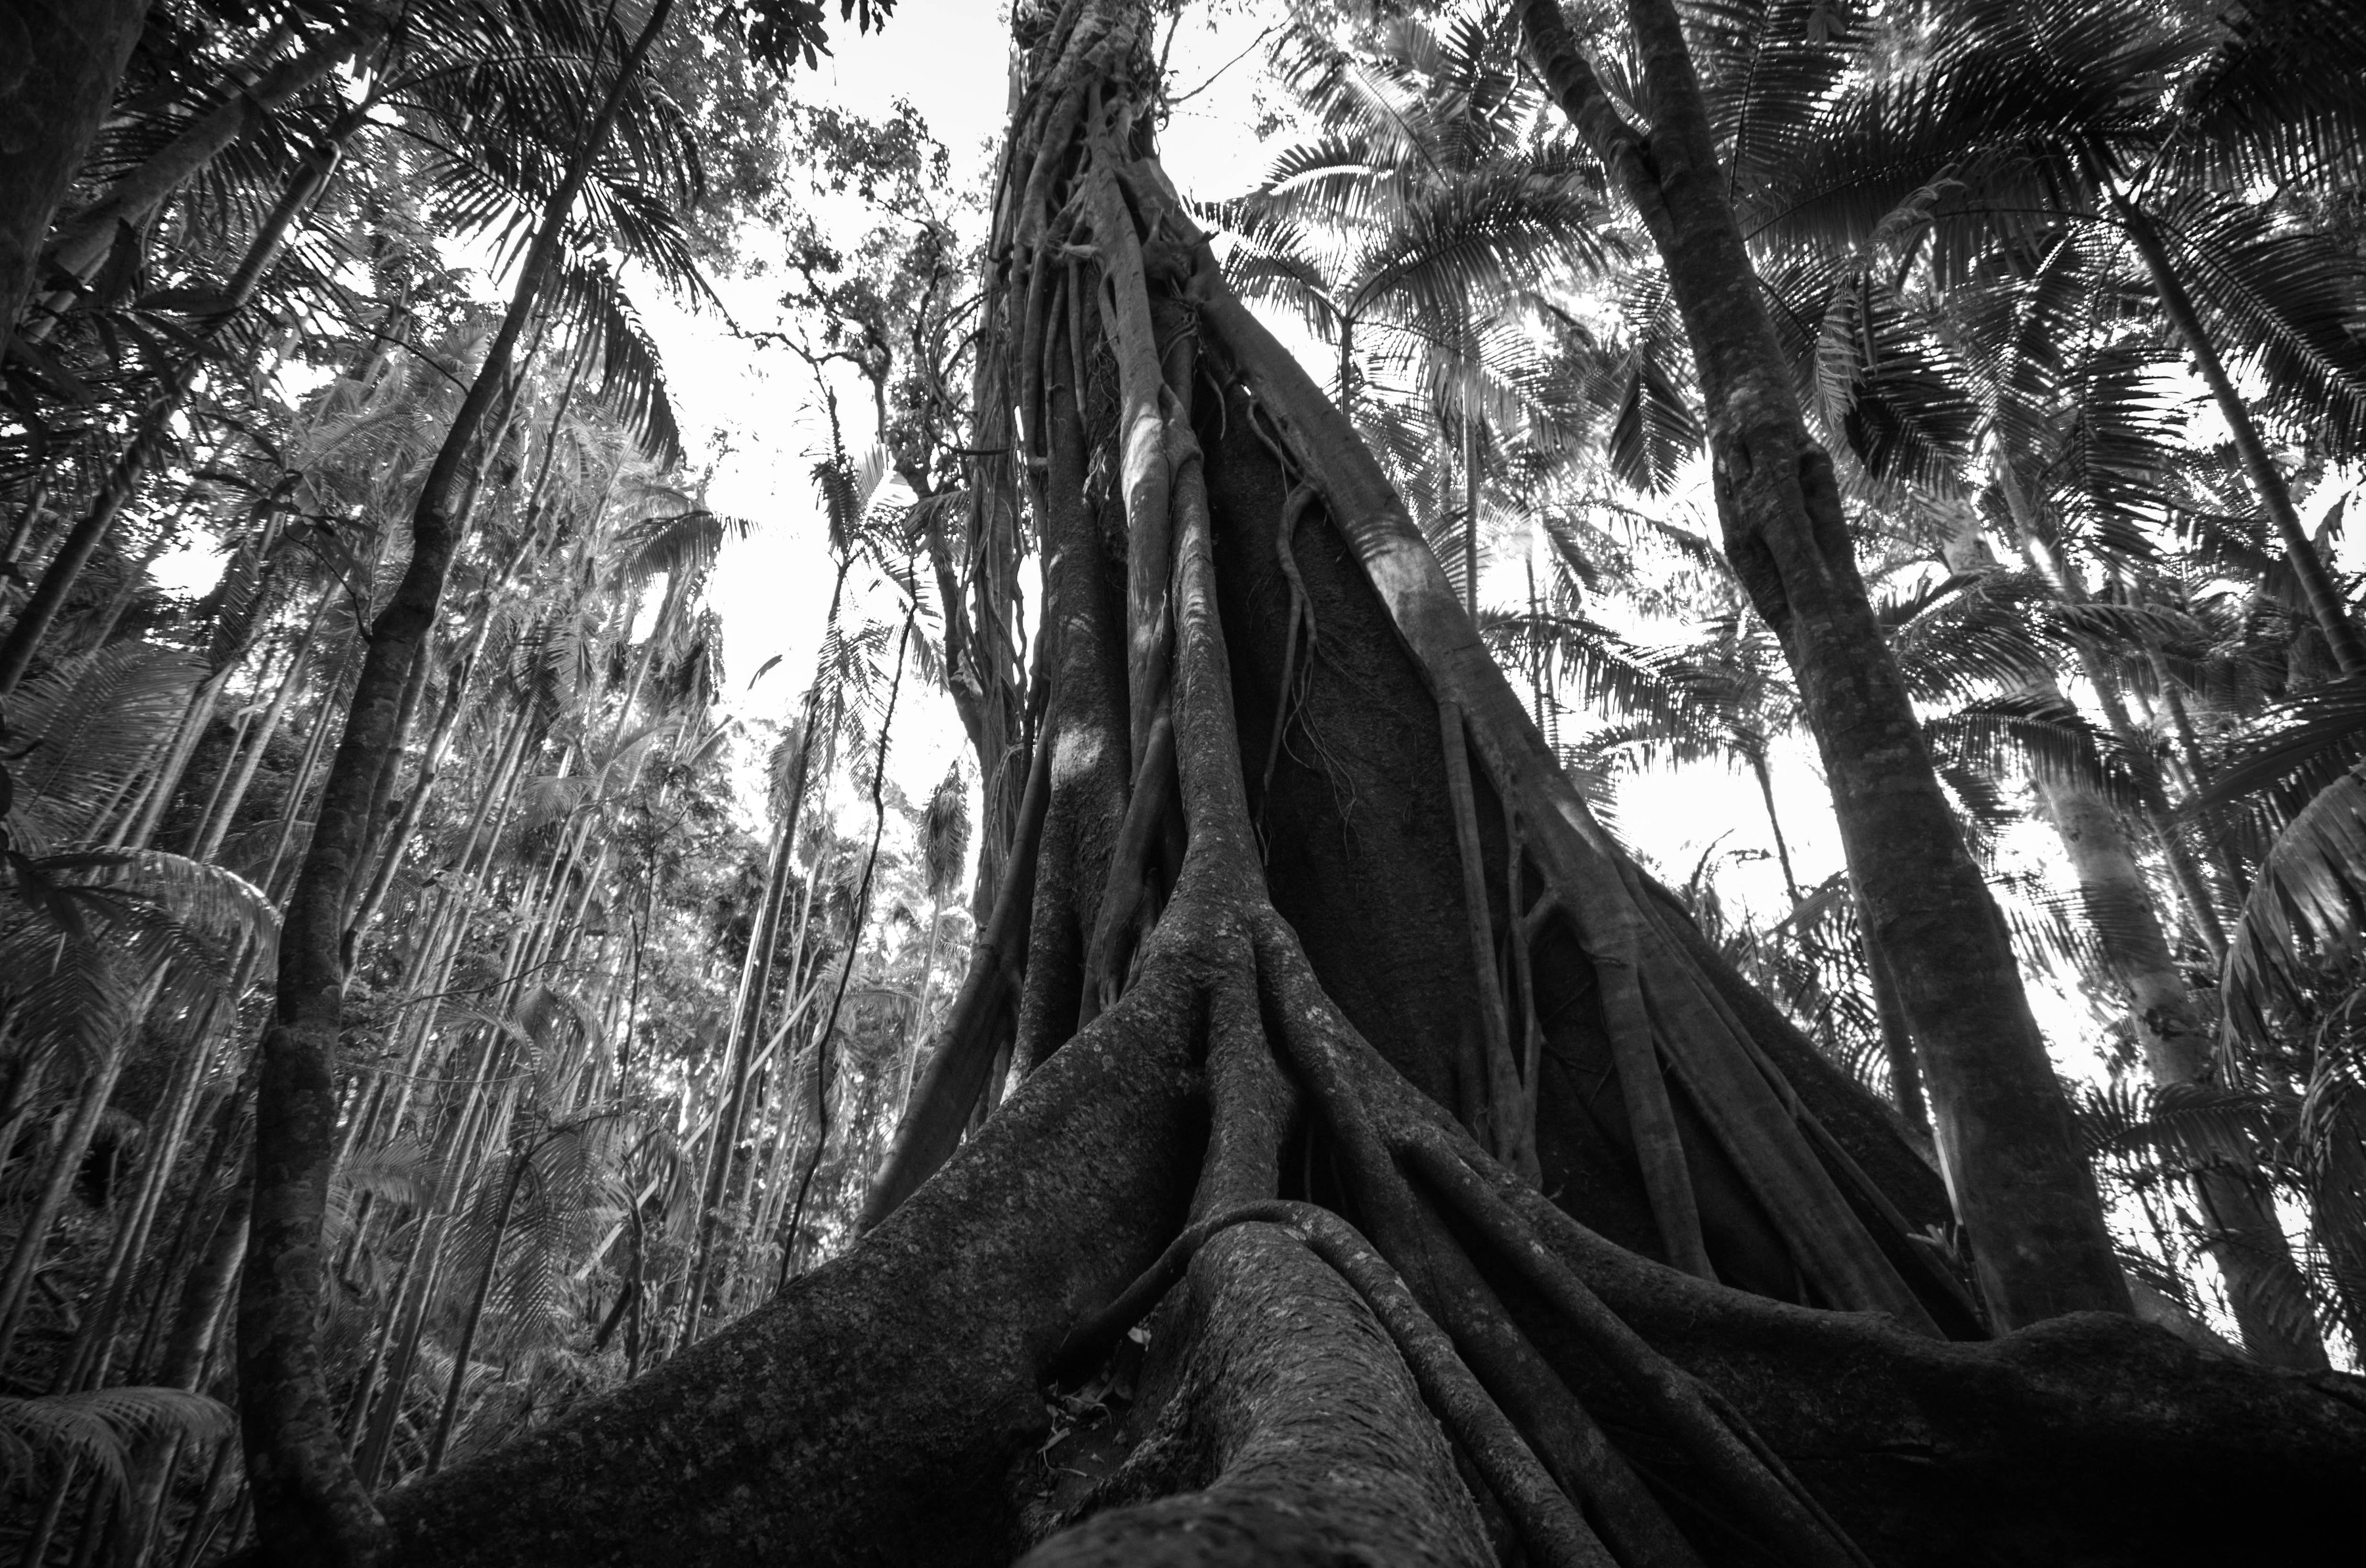
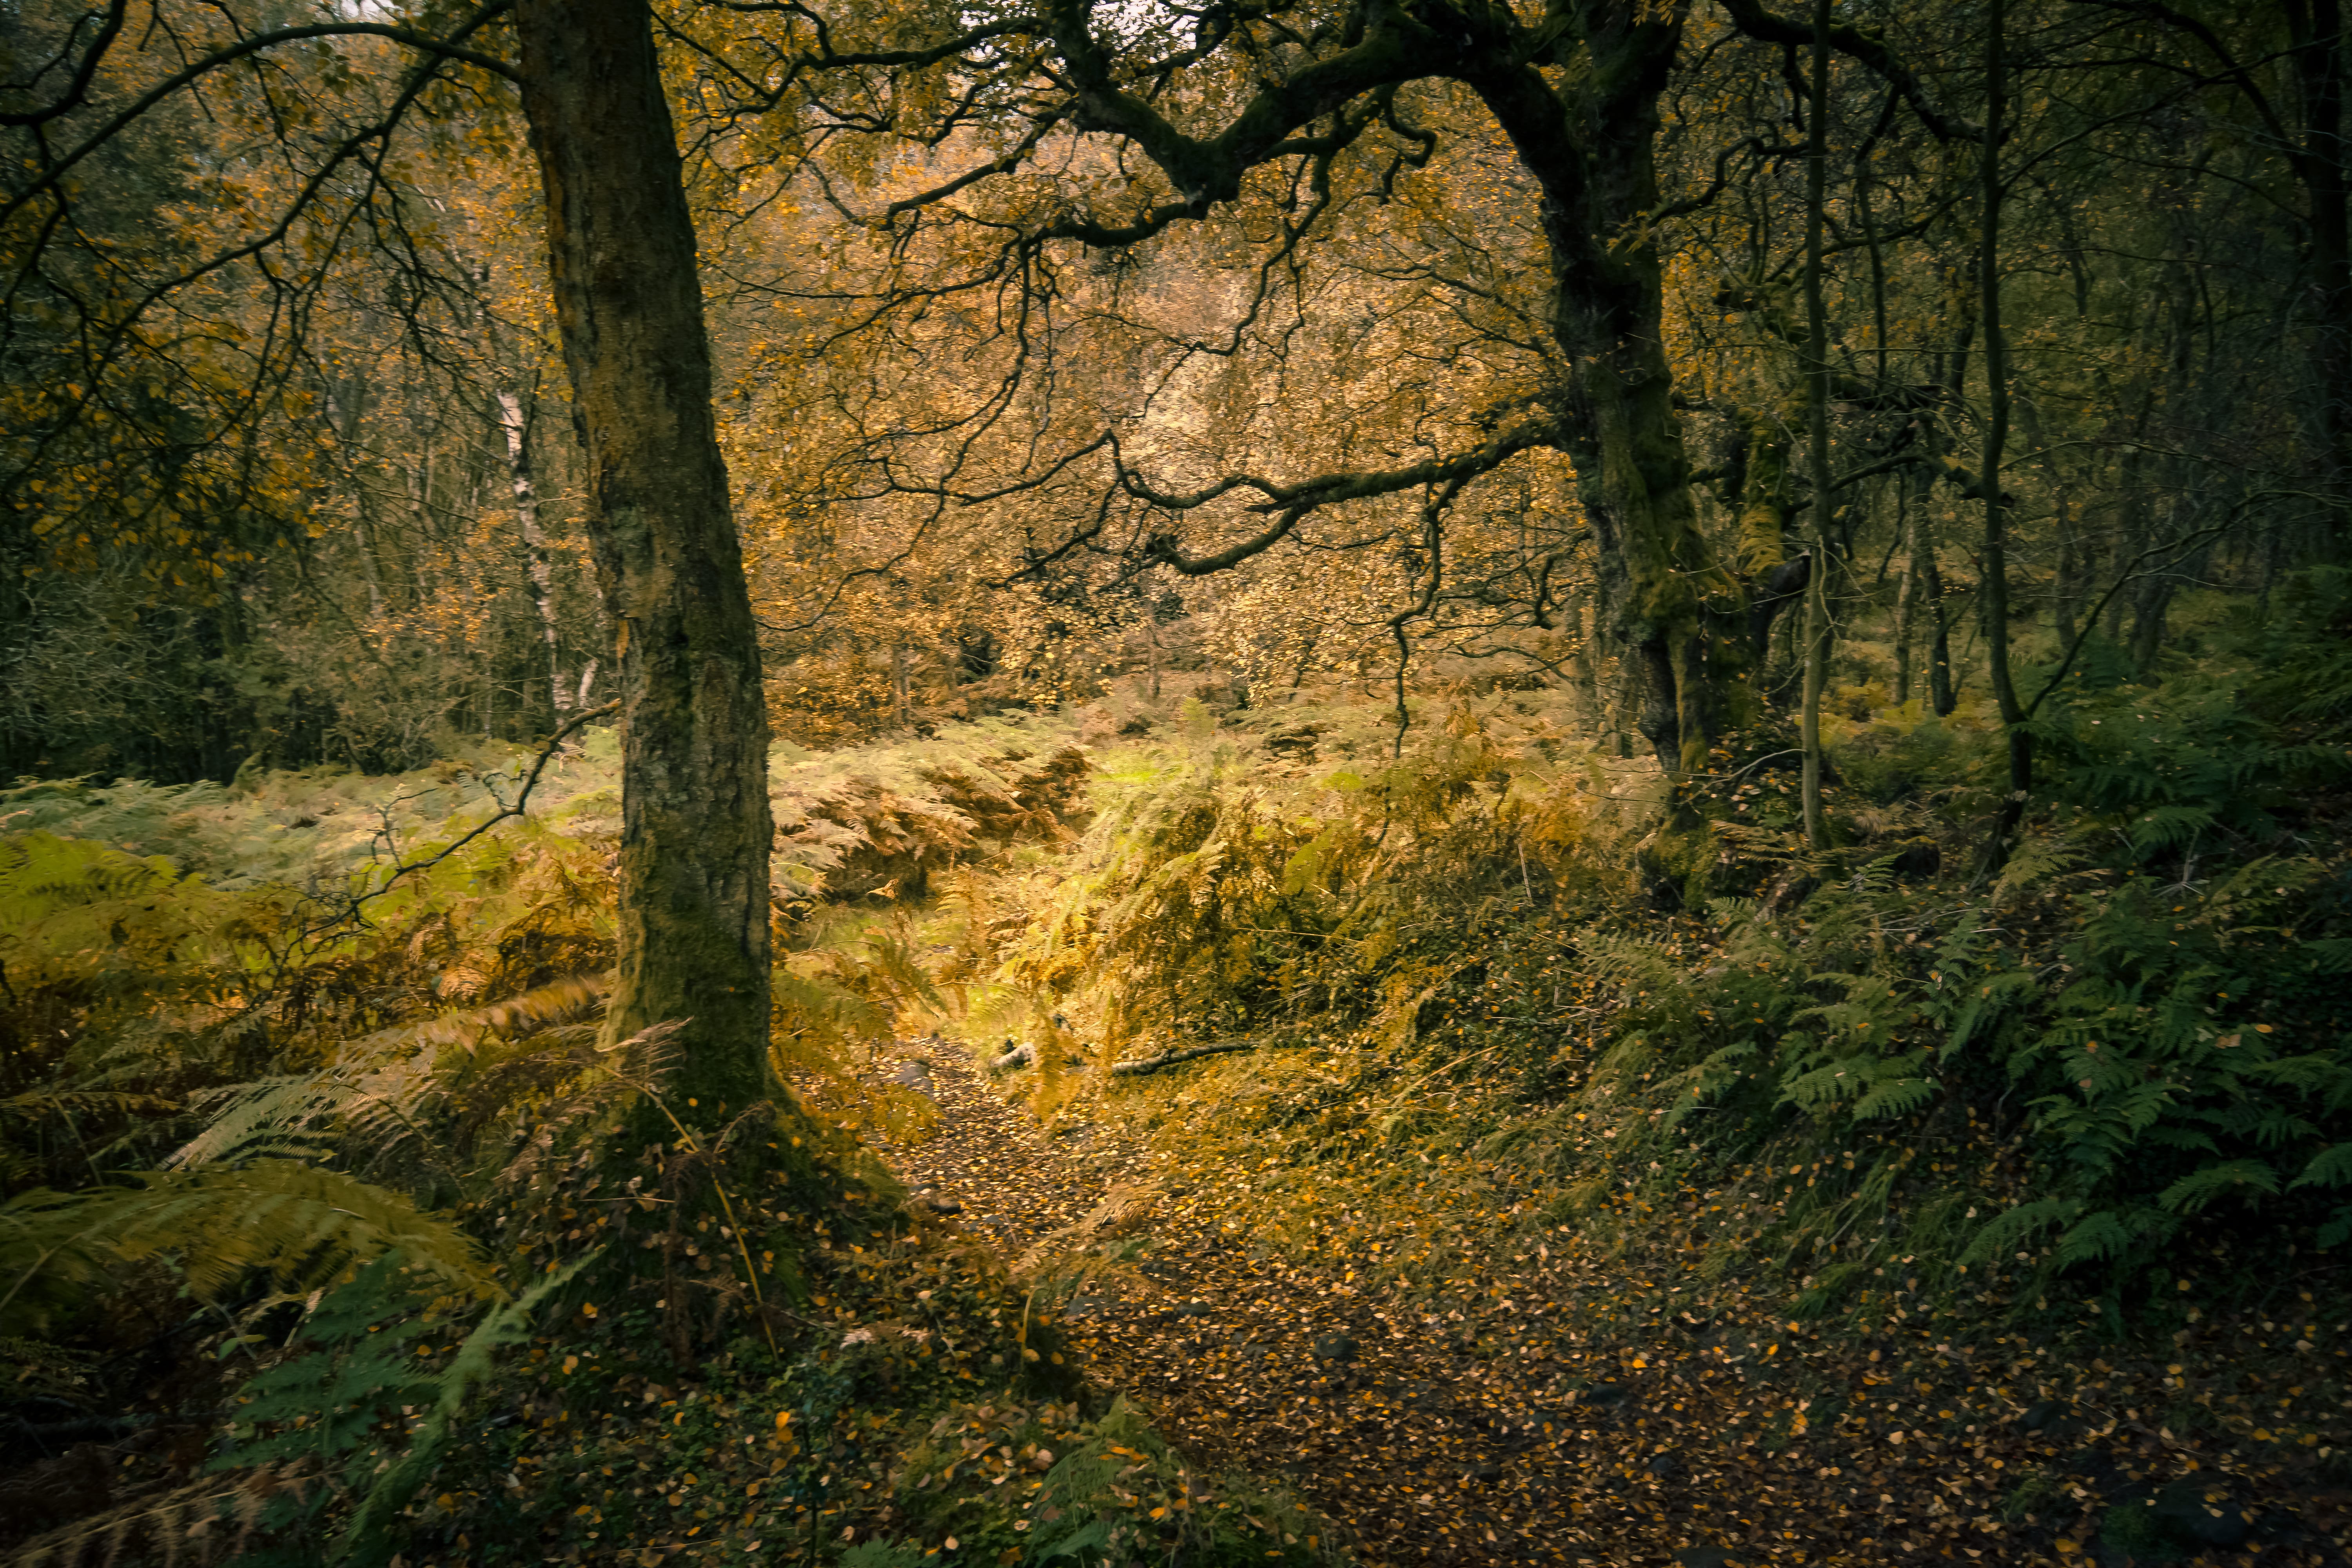
A forest is not limited to an exotic location. It can include terms such as a wood, woodland, rainforest, and even just trees. Whichever route I decide to take this environment down, it will be one filled with life, with vines and trees growing everywhere, and animals wandering throughout, elements I could make my creature interact with. Some forests include water such as a waterfall or stream running throughout, which is something I could consider looking for when searching for a suitable image. Any these factors could be found somewhere my creature may settle, so my options are extremely open. Based purely on preference, I would like to use an image that resembles a rainforest more than a typical woodland, purely for the variety of contents and the colours would probably more vibrant, this decision is subject to change and relative to the images I find during my search.

 Tutorials that may prove useful:

Rainforests have a lot of humidity, so including mist around my model may be quite fitting.

This explains how to create a log with moss on it, from start to finish. Parts of this tutorial may help me to create an ideal texture and shape to my characters look.

Environment 4 – Sea

27488378534_729071d57b_o divers-123286_1920 italy-1614931_1920 panorama-2098812_1920

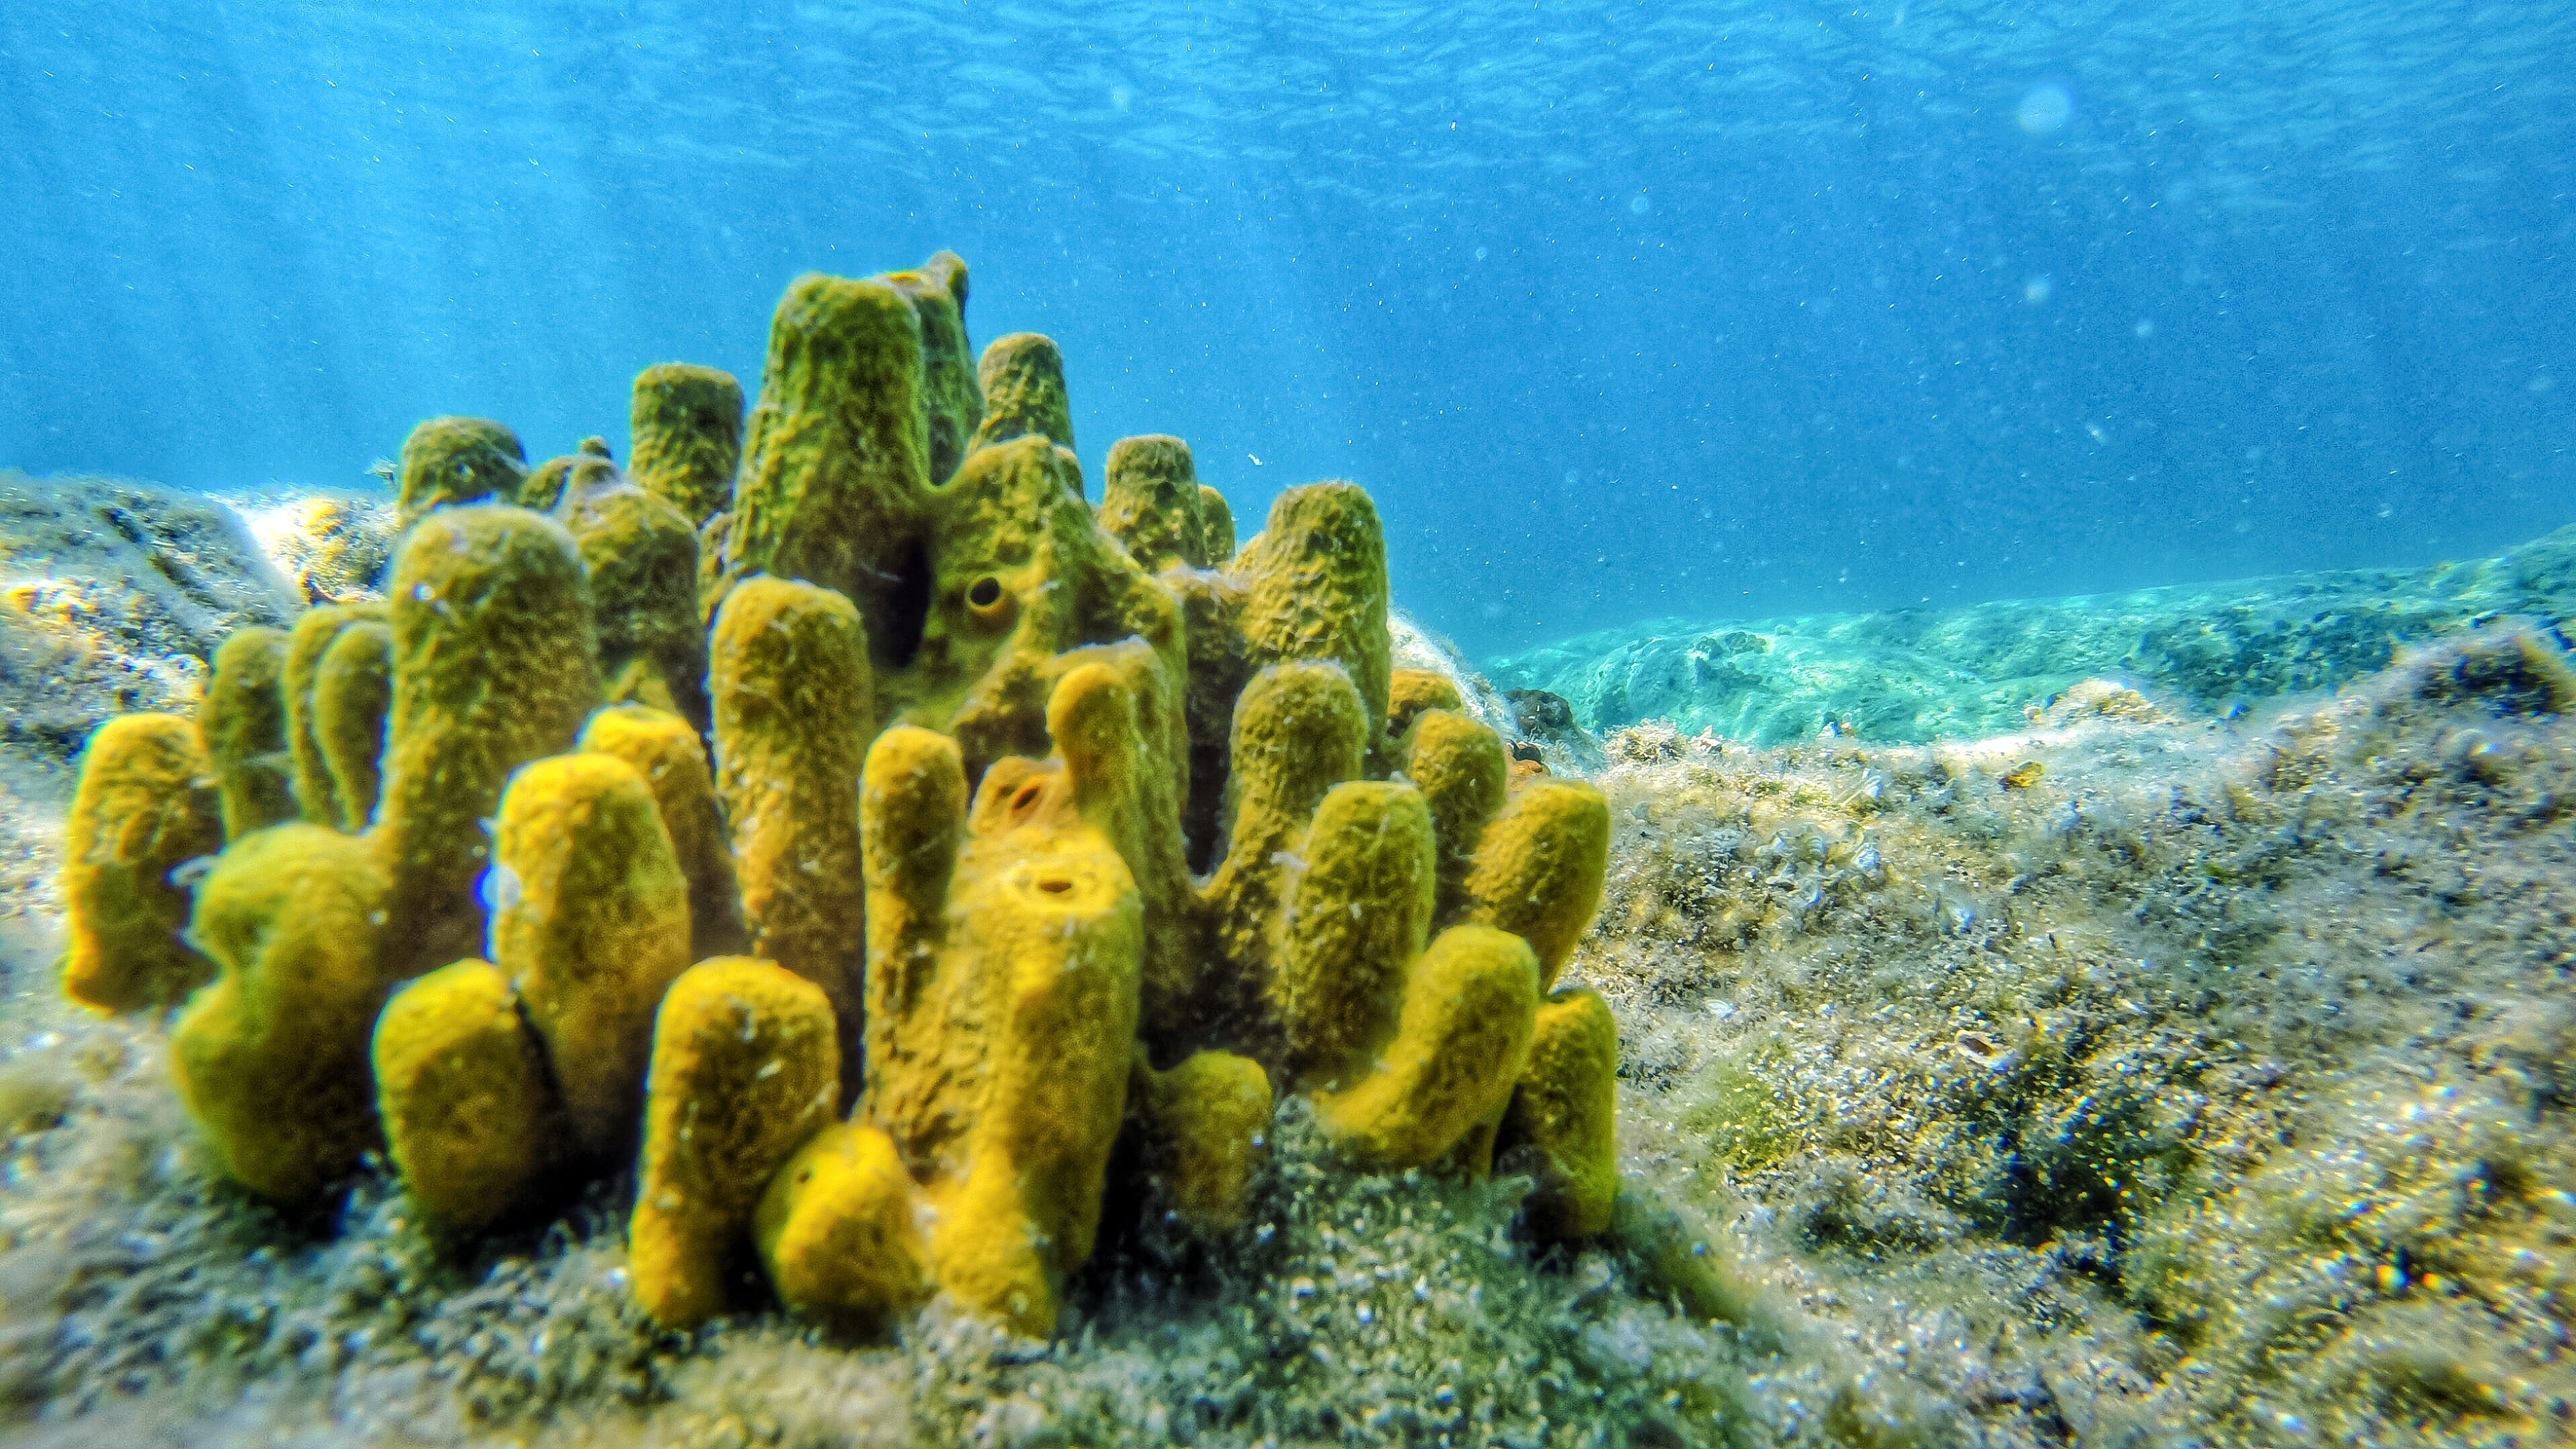
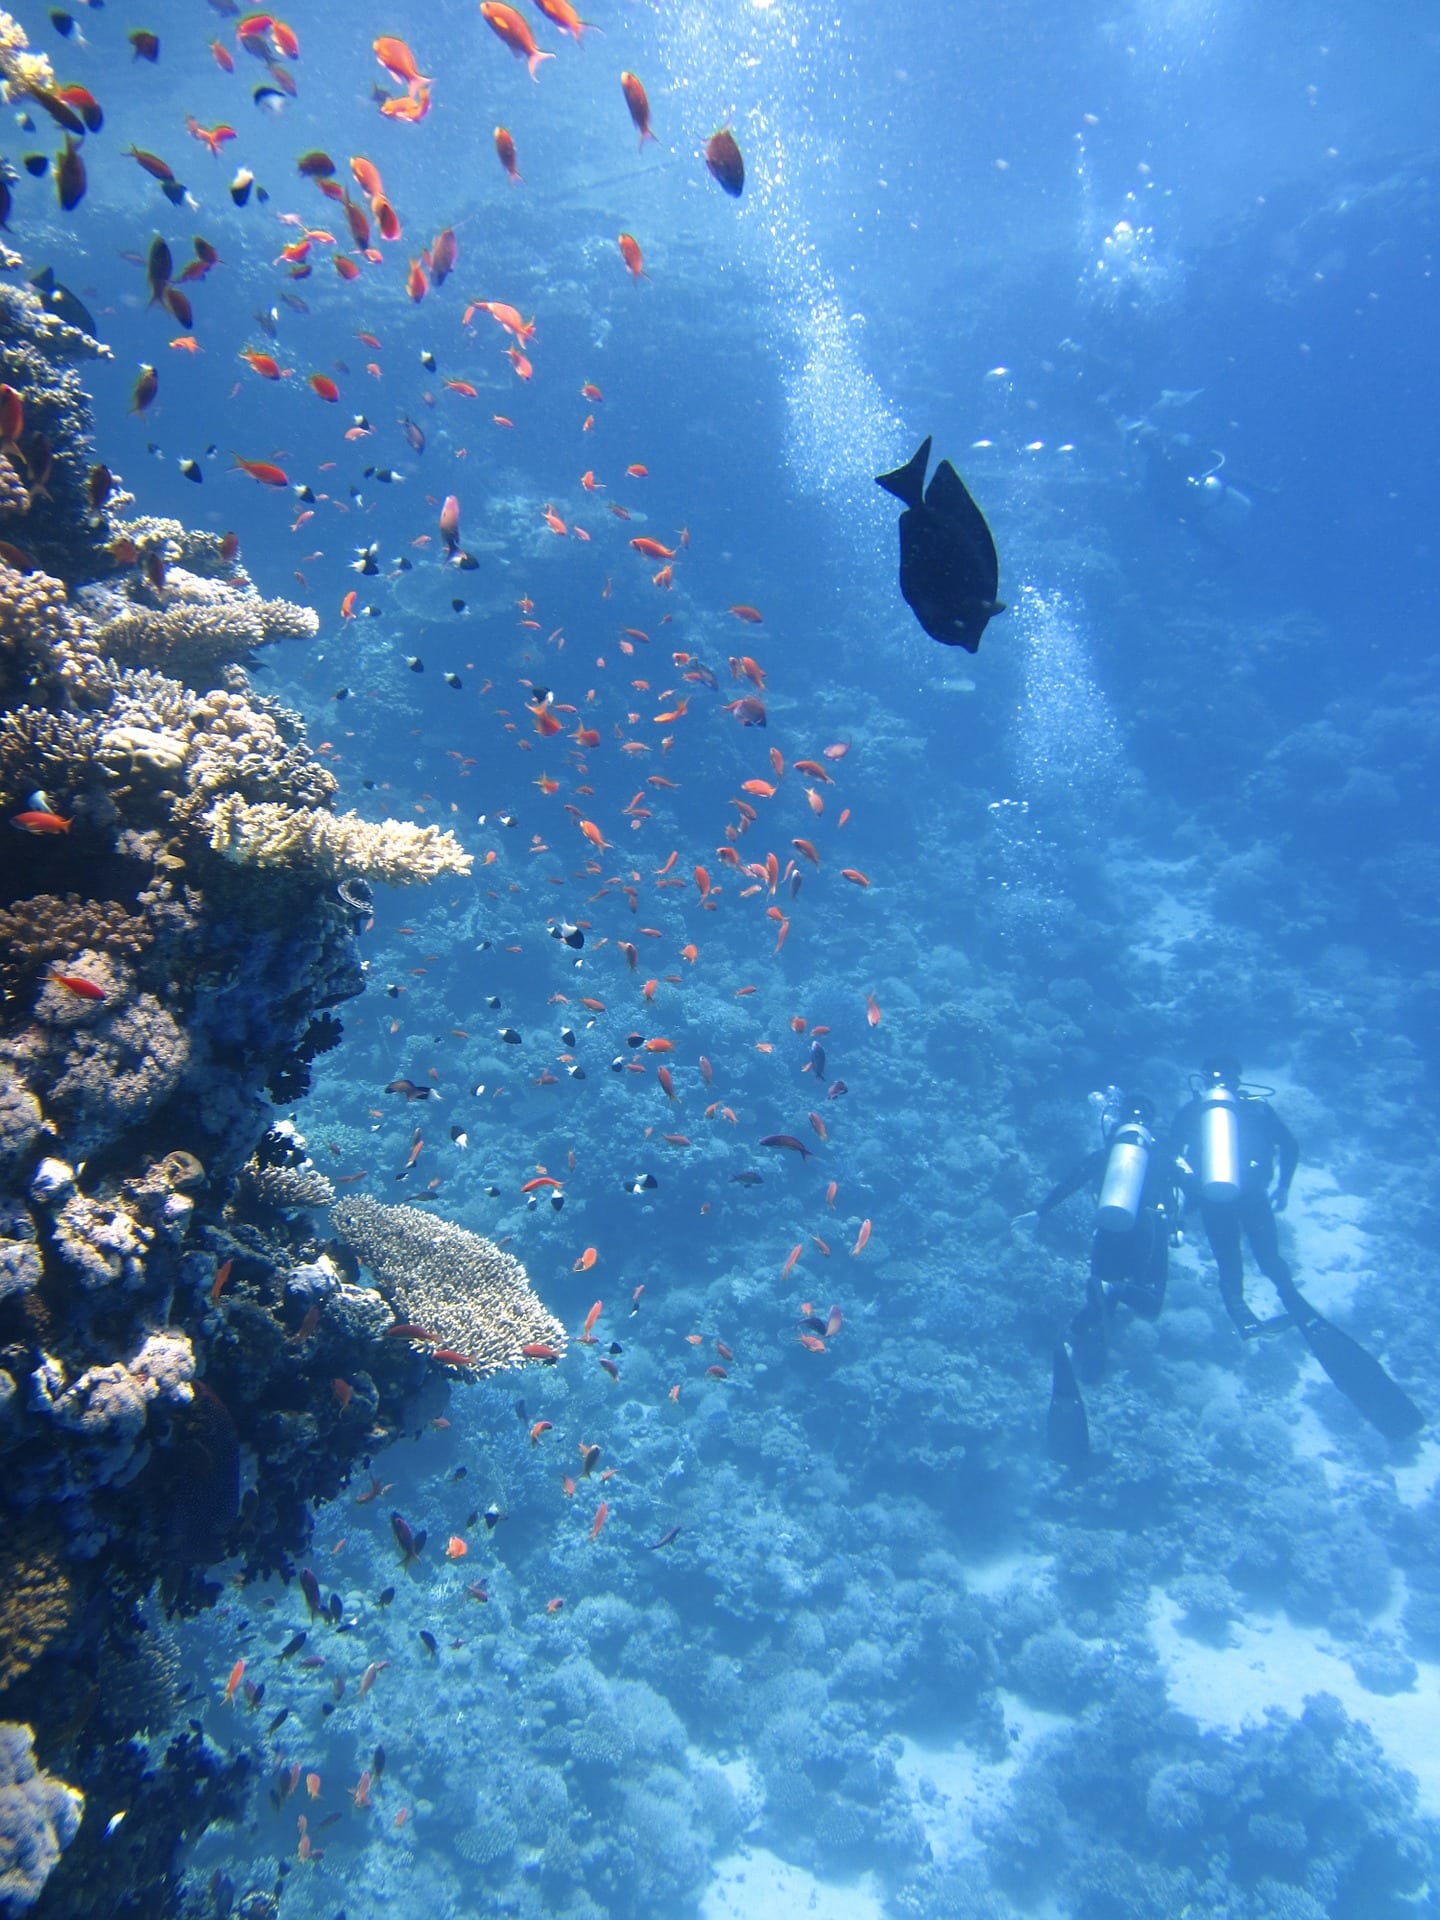
For a sea type environment, I could either place my model by the sea on either a cliff or the equivalent of or place it underwater. Both settings have the potential to create entities that interact with y character, underwater has sea creatures and plant-life to consider, whereas next to a water source as large as the sea has the possibility of lighting shifts and reflections. By the sea is also rather windy, which would probably not affect my actual creature, but could affect things around him such as dust/sand particles or water spray. Underwater can be either dark or clear depending on how deep and where the scene is set in the world, both of these could change the clarity of my characters textures and shape differently.

Tutorials that may prove useful:

https://www.youtube.com/watch?v=yq0y8J59GJs

Modelling Process Part 9 – Sculpting the Torso| Development

Intended Outcome:

  • Have a completed creature ready for Texturing.

Problems I encountered and how I overcame them:

  • During our masterclass, I met with my tutor and asked about the error I encountered in Blender. He suggested I may need to find a save where the error isn’t apparent, which would most defiantly be before I had modelled my torso. He also suggested I address another member of staff who has more experience n this program. Because I spent a rather large amount of time on the torso, I decided to try and find where the error was and if it could be solved without pulling up an old save. As i investigated, I found the below message and hoped it would help solve the issue.

Error source?


The error:

Torso Final - Error

  • While waiting to meet with another tutor, I decided to see if the error would really effect the outcome of my sculpting significantly, so I tried to work around the error and sculpted the torso in spite of it.
  • Because the shape of the brush was different to what I would have liked, I needed to play around with what brushes I was using. I began by doing as I would normally would and attempted to smooth round the edges of the model. The top of the torso wasn’t effected badly, but as I got to the shoulders, it was rather hard to control and large dints were being made. I still decided to go with it and see how it ended up.
  • I tried to enlarge the brush size to impact more surface area at one time, and initially I did not like the look it gave. When I tried to smooth this out, I accidentally created a dint in the top of the creatures torso that didn’t look all that bad. It wasn’t in my initial sketches, but the dint made the creature look older and as if it had been impacted by its environment over the years it has been on earth, so I began to work my sculpting around the indentation and incorporate it into the design.

Accidental dint

  • Although tedious, working with the sculpt tool and its error still managed to give me an effect I was hoping for. The elongated brush acted like the divots you would see in rock and cliffs, so I decided to work with the error and confront it if possible. The key to working with the error was to make dramatic alterations with the inflate/deflate and draw brushes, then smooth them out. I also changed the spacing of the brush to make each effect as close as possible. I also modelled with the model in smooth shading to see if the effect affected the final outcome.

Where to go from here:

  • Move onto texturing research.

Modelling Process Part 8 – The Legs | Development

Intended Outcome:

  • Create a final mesh before meeting with my tutor by creating the legs to my creature.

Problems I encouraged and how I overcame them:

  • Because I had time before I was meeting with my tutor, I decided to complete the final model of my creature in preparation for the sculpting of its torso. To do this, I needed to create the legs and feet.
  • For the feet, I decided to start with a cone, removing the sharp and tapered edge with a boolean. It became apparent once creating the feet that this could have been created with a cylinder, but the effect seemed to work so i decided to stick with the method I had gone through with.
  • I wanted the bottom of the foot of my creature to remain flat, however keeping it completely flat made it look too flawless, so I still ran over the base of each foot with the sculpting tool, using as small as a detail size as I felt appropriate.
  • When sculpting the feet, I initially made them too short and stumpy. Instead of altering the initial shape and therefore starting again, I decided to use different sculpting brushes to extrude and lengthen the top of the model.
  • When creating the second foot, I chose to just duplicate the first and change its shape slightly with the sculpting tool. I did this as I felt I wanted the feet to look vaguely identical, but still have noticeable different shapes. Finding this balance was prominent throughout modelling this creature, and I felt  I did this effectively.
  • To make the upper part of the creatures leg I used the same techniques as I described in the creation of the upper part of the arm. I didn’t bother to alter the second leg as I felt once smoothed over, they didn’t look obviously identical as their shape is rather simple, with not noticeable individuality such as dints or detail sizes. The rotation of the leg also makes them look different from the front.

Upper Legs 1 Upper Legs 2

  • The knees were created as the elbows were. I used booleans to remove large portions of a squished cylinder, and used the sculpting tool to make both the left and right knee look different.

Where to go from here:

  • Fix the error in your sculpting tool settings.
  • Complete the whole creature.

Legs final2 Legs final1

Modelling Process Part 7 – The Torso [2]| Development

Intended Outcome:

  • Create a mesh that is a close to my 2D drawing as possible.
  • Create a mesh that is ready for sculpting

Problems I encountered and how I overcame them:

  • Although my creature is not completely symmetrical, I decided it would be easier to start with a shape as equal as possible and alter it with the sculpting tool. To do this, instead of making estimates when moving edges, I typed distances whilst moving them along an axis to create equal distances between each side.
  • When using the loop cut tool in the previous session, I split the whole object, making unnecessary cuts. To prevent this, I hid parts of the mesh I didn’t want to split, so the loop cuts didn’t effect the whole of the object, just the face I wanted to alter. Below is a step-by-step example of what I did in the time-lapse. I also used this technique so that when I moved parts of the mesh with proportional editing, it didn’t alter the rest of the model, example being when creating the bump on the top of the creatures torso, as well as in the shoulders.

Step-by-step 1 Step-by-step 2 Step-by-step 3 Step-by-step 4

  • To create the spikes on top of the mesh, I subdivided parts of the top of the torso, hiding the rest of the mesh again to prevent effecting parts I didn’t want to edit. When I tried to do this separately, I found it hard to make each spike equal in height, so chose to alter them at the same time.
  • When I began to prepare the model I was happy with for sculpting, I noticed that the mesh was all over the place. There were many diagonal edges and it all look rather messy. I was about to begin fixing this by using the knife tool to make each face contain just 4 edges, something I learnt was possible in the Anvil tutorials, but the mesh was so large I knew it would be very time consuming, so looked for an alternative method. When experimenting with the knife tool, it became apparent this issue was caused by me creating a boolean with the a sphere, something I did co make the head and the torso of my creature separate. On finding this out I undid alterations Made until the mesh was fixed and worked with the sculpting tool from there.
  • When I began to use the sculpting tool, the brush seemed to be rather long instead of the rounded shape I expected. I spent a rather long time trying to figure out where the error was, but decided to leave this until another time. I would also attempt to discuss this error with a tutor during my next meeting, which was very soon. To finish off the session, I made the whole of my model proportional and similar to the initial image I had been working off of.

Where to go from here:

  • Create legs for my creature to have a completed model.
  • Discuss the error with my sculpting tool with a tutor.