Modelling Process Part 4 – The Arms [2] | Development

Intended Outcome:

  • Complete the Arms.

Problems I encountered and how I overcame them:

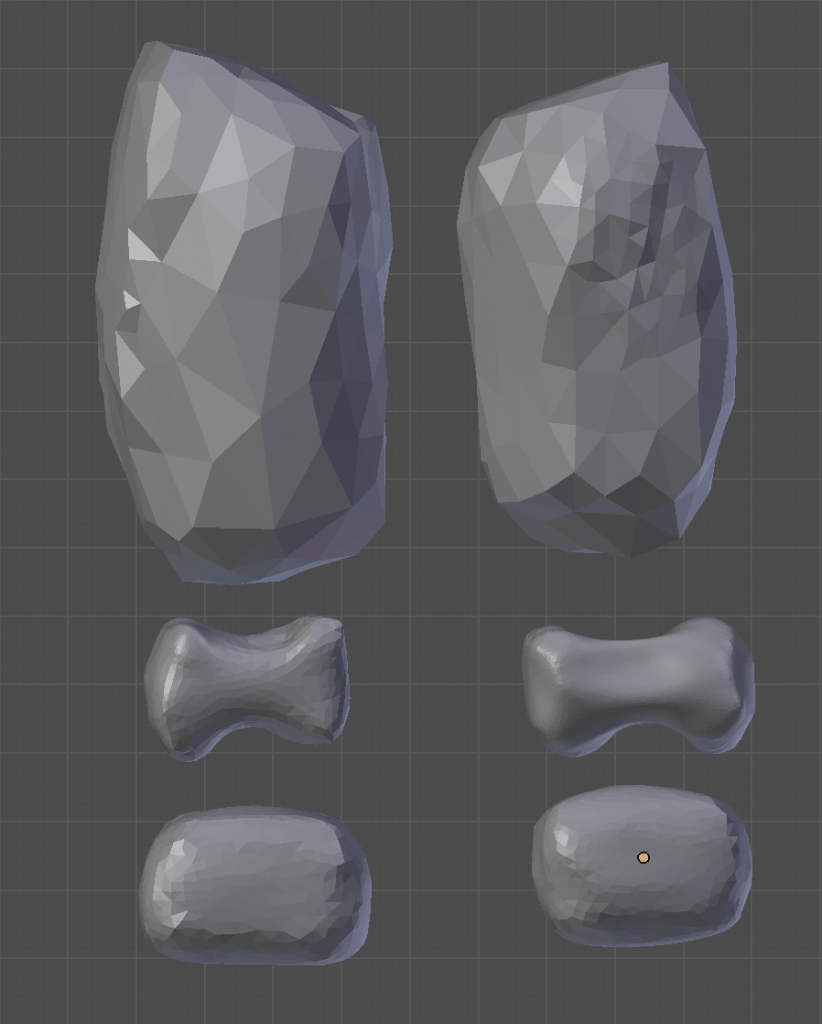
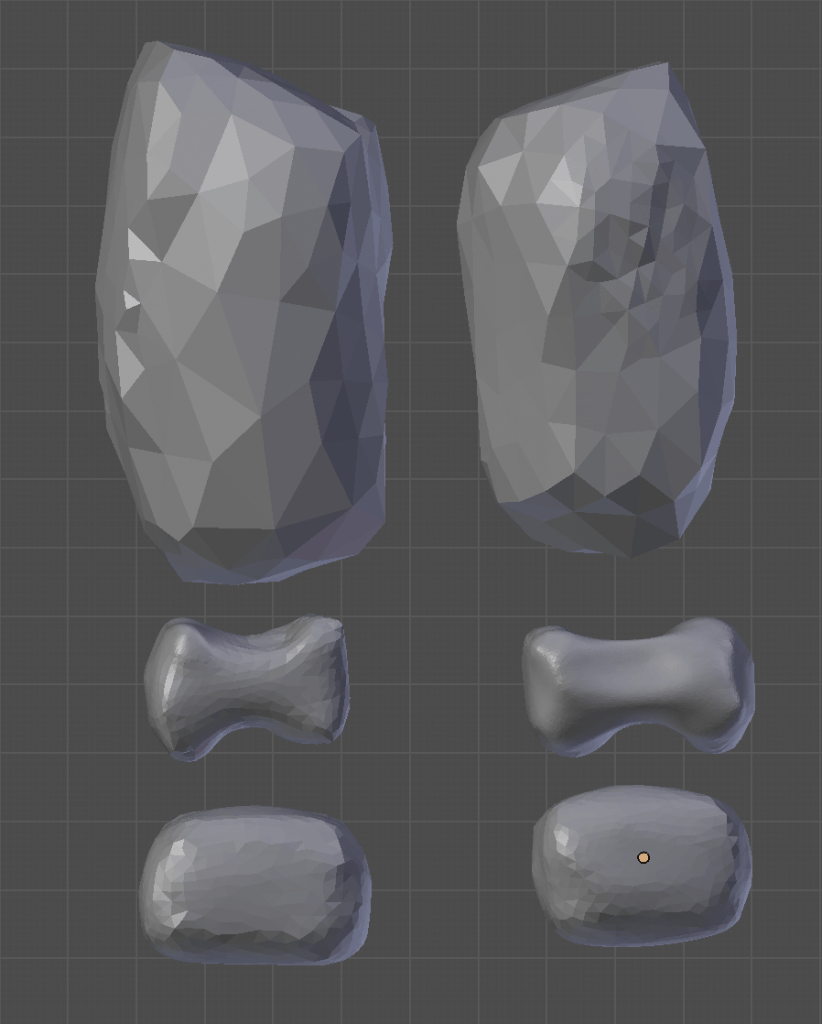
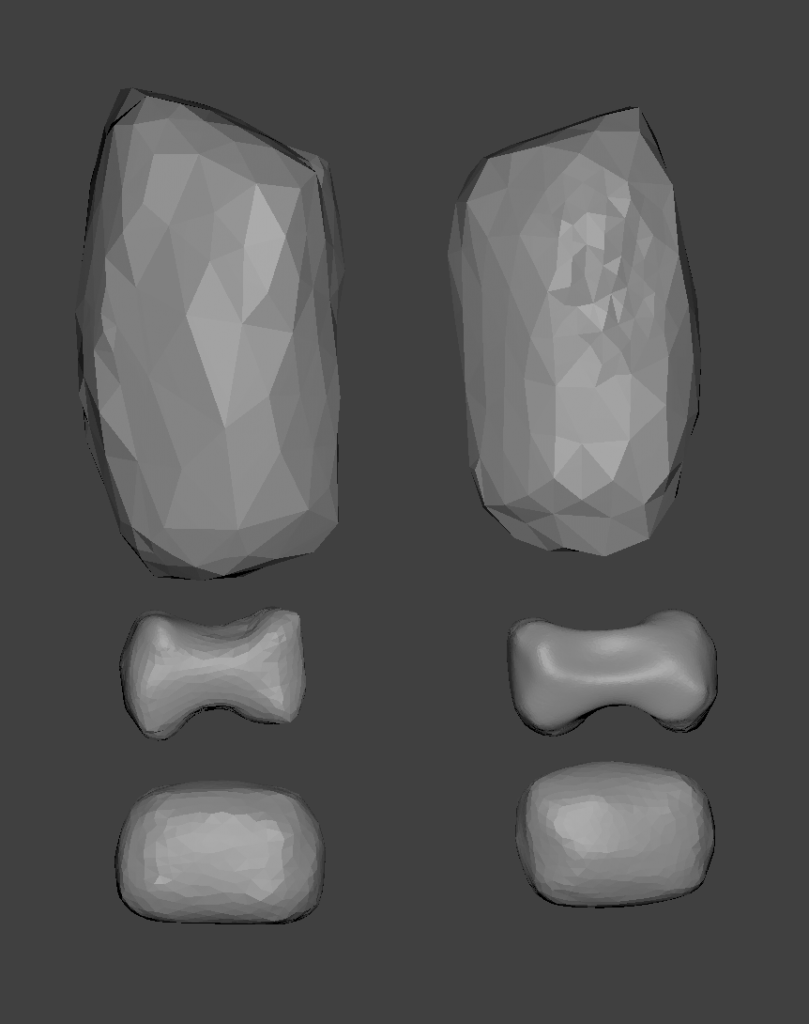
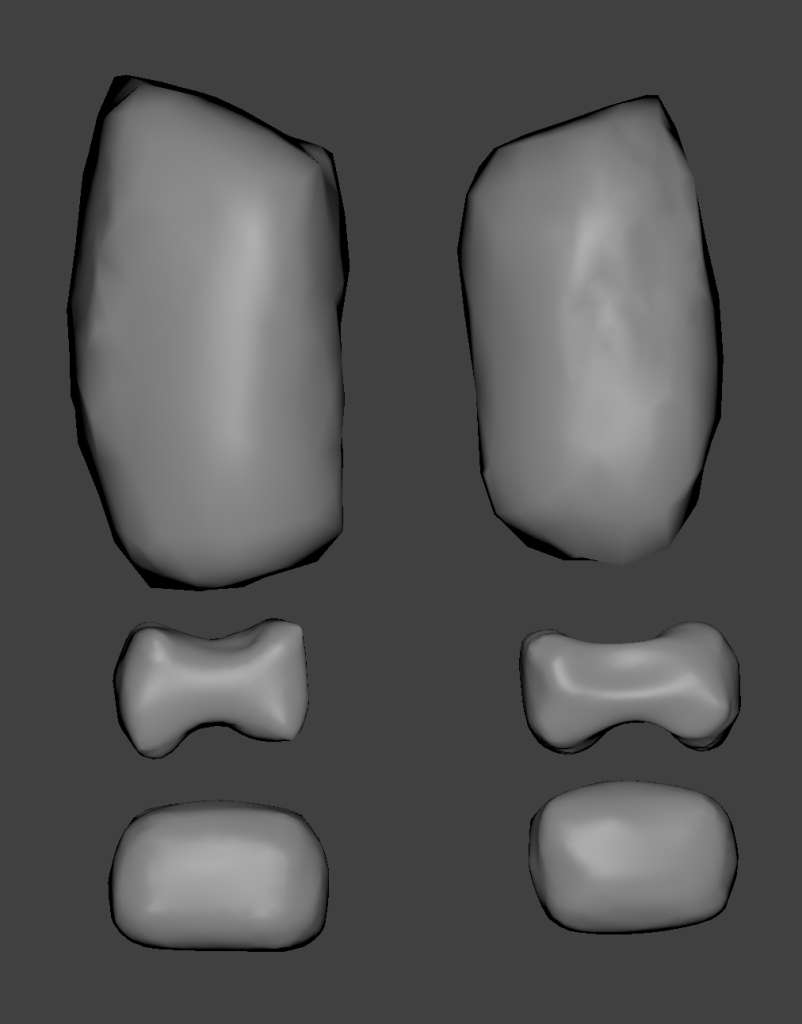
  • This session was rather short, and I only managed to complete the arms and the hands. One difficulty I found when sculpting was getting the size of the hands to look right. As I had the image next to my modelling window, I could estimate the size from the front, but making the thickness look proportional was difficult. I Experimented with different thicknesses before deciding on the outcome below, and I could still alter it if I decide it looks too thin or too thick when placed next to the completed Torso.

Hand Thickness 1 Hand Thickness 2 Hand Thickness 3

Hand Thickness 6 Hand Thickness 5 Hand Thickness 4

  • As I have mentioned in previous posts, I wanted to get used to the basics of Blender again. To do so, I watched Blender Guru’s Anvil tutorial, which taught me a lot. I had previously learnt that sculpting is much easier if you start with a mesh that is as close to the shape of your intended outcome as possible, so learning how to do so made me more comfortable in modelling. I also became more comfortable with he controls and shortcuts in Blender, which helped with the speed of this session

The main tools and tips I learnt in this tutorial was using the G shortcut to move vertices, and using O to enable and disable proportional editing when appropriate.

I unfortunately lost the footage to this modelling session, however I have included as many screenshots as I felt necessary to show you my progress.

Hands 1 Hands 2 Hands 3

Arm and Hand 1 Arm and Hand 2 Arm and Hand 3

Where to go from here:

  • Create the fingers making sure they are all unique.
  • Use the view shortcuts more to make things more proportional.

Sources:

Guru, B. (2017). Available at: https://youtu.be/yi87Dap_WOc [Accessed 01 Dec. 2017].

Modelling Process Part 3 – The Arms [1] | Development

Intended Outcome:

  • Begin modelling the limbs of my creature.
  • Complete the upper arm.
  • Alter the objects to make them as close to the shape of the piece I am modelling before sculpting.

Problems I encountered and how I overcame them:

  • When modelling the arms of my creature, it became clear that simply duplicating the left and using it as the right would make them look obviously identical. In any other situation where I would be modelling a character, having identical left and right sides would be fine, however I am hoping to create a creature that looks to have been created by natural material, helping him to blend into his environments. His body would most likely be effected by the places he finds himself in, therefore it would seem unrealistic to have him look too ‘perfect’. To correct this, I did duplicate each part of his arm, but made sure to slightly alter them with the sculpt tool.

Arms

  • As I chose to leave sculpting the torso until later, It was rather hard to estimate what size to make my arms, so I decided to make them proportional to each other, making sure to resize them once I have completed the rest of my creature.
  • I also had some difficulty with the detail size when using the sculpt tool, making the upper arm noticeable different in texture to the lower arm. This will not effect my final outcome, as when smoothed out and rendered, the differences aren’t noticeable. It did, however, make if difficult to predict how much I would take away with each stroke.

Arms 3 Arms 1 Arms 2

Where to go from here:

  • In the next modelling session, I hope to complete the arms, including the hands and fingers.
  • Try to stay consistent with detail size.