Modelling Process Part 2 – The Pelvis and Torso | Development

Intended Outcome:

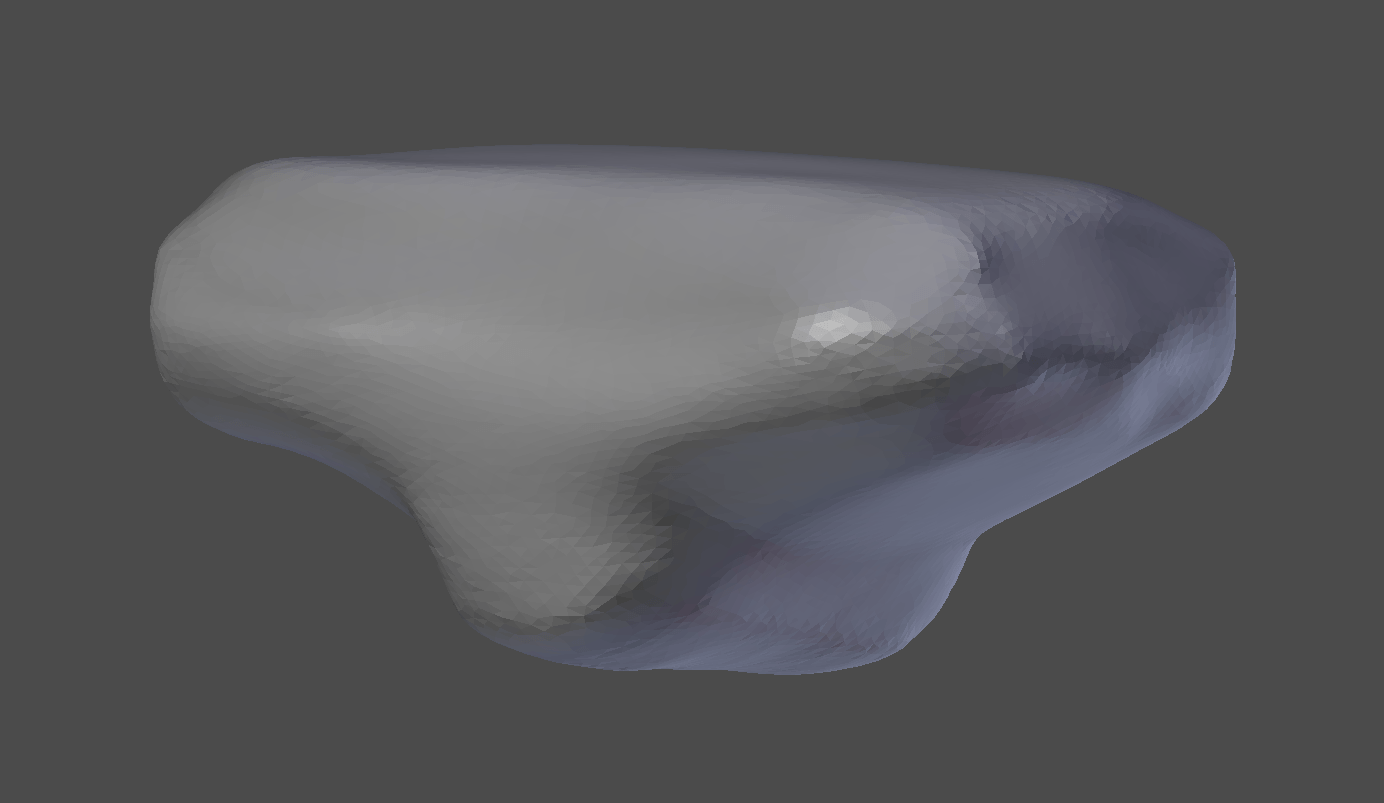
  • Create a pelvis for my creature.
  • Create the torso for my creature.
  • Use other techniques past the sculpt tool to define the torso.

Problems I encountered and how I overcame them:

  • During this modelling session, I chose to try and use the Boolean modifier to create divots in the pelvis where the legs are going to go. Whilst the end result proves this was a good decision, I found it difficult to use the modifier, despite being comfortable with the way it worked. I was originally tempted to try making this part by creating loop cuts in the side of the initial cube, splitting the mesh in half, then extruding the top part as I saw fit, but thought this would create a more complicated mesh, something that can be avoided completely with the Boolean modifier. The difficulty i found with this modifier was choosing which operation to apply, as well as which object to apply that operation to. Once I overcame this confusion and became familiar with the tool, however, I was able to create the result I had hoped.

Crotch 1 Crotch 2 Crotch 3

  • When I began on the Torso, I realised I needed more practice in the basic functions Blender has to offer. I attempted to create the correct shape a few times, firstly trying the indent function, but I failed to make a mesh that was easy to work with, therefore I chose to leave this until I had experimented more with the functions I needed to use to make the process easier and more efficient. Once I had decided this, I experimented more with the boolean tool again, choosing to use the union option to create the shoulders and see what happened. Because I was not accurately scaling and sizing the objects, the result was very warped, however it did help me to understand the Boolean.

Where to go from here:

  • Begin on the smaller and simpler components to my creature.
  • Revise the basics of Blender again.

Modelling Process Part 1 – The Head | Development

After finalising my 2D designs, It was time to begin modelling my character in Blender. My instinct was to begin with the head, here is my evidence and what I encountered during the modelling process.

Intended Outcome:

  • Have a completed head for my creature.
  • Become familiar with the ‘Sculpt’ mode in Blender.
  • Use the ‘Boolean’ modifier to create eye sockets.
  • Apply tools and tips I have learnt in previous experiments and tutorials.

First attempt:

I tried to begin modelling my character before I had done any detailed research and experimenting within Blender, and I was only familiar with basic tools. Because of this, my first attempt at modelling the head failed, as I could not gain the look I was hoping for. It was after this I decided to look into creating natural elements in Blender, and conducted the research shown in my ‘Creating Rocks in Blender’ research post. Here is a time-lapse of my first attempt, showing the struggles I faced.

Final Attempt:

After conducting research I became slightly more confident in when modelling. I was introduced to the sculpt tool which really helped me to create a natural looking form. Here is a time-lapse of my process.

Problems I encountered and how I overcame them:

  • Shaping the head proved harder than I had anticipated. Although my character is made of natural elements such as rock and/or sand and therefore gave me an excuse not to be uniform, creating a surface on which the creatures face would look equal took a few different sculpting tools to perfect.
  • I struggled to use the ‘Boolean’ tool to create natural looking eye sockets. To counteract this, I searched through the different sculpting tools and tested one called ‘Inflate/Deflate’. This left the effect I was struggling to get from a Boolean, allowing me to manipulate the sockets into similar yet non-identical eyes.

Where to go from here:

  • Begin modelling the torso and pelvis of my creature.
  • Seek further advice on using the sculpt tool to ease modelling.
  • Experiment past the sculpt tool, so not to limit what I work with within Blender.