Armature in Blender | Research

The Blender manual describes the function as follows:

‘An Armature in Blender can be thought of as similar to the armature of a real skeleton, and just like a real skeleton an Armature can consist of many bones. These bones can be moved around and anything that they are attached to or associated with will move and deform in a similar way.

An “armature” is a type of object used for rigging. A rig is the controls and strings that move a marionette (puppet). Armature object borrows many ideas from real life skeletons.

An armature is like any other object type in Blender:

  • It has a origin, a position, a rotation and a scale factor.
  • It has an Object Data data-block, that can be edited in Edit Mode.
  • It can be linked to other scenes, and the same armature data can be reused on multiple objects.
  • All animation you do in Object Mode is only working on the whole object, not the armature’s bones (use the Pose Mode to do this).

As armatures are designed to be posed, either for a static or animated scene, they have a specific state, called “rest position”. This is the armature’s default “shape”, the default position/rotation/scale of its bones, as set in Edit Mode.’ – (Blender, 2017)

I had no experience of this feature in Blender, and I only found out about it when looking at character design in Blender earlier in my research. Youtube user Sebastian Lague uploaded detailed tutorials on character creation, part of which included a step-by-step walkthrough on how he rigged his model for animation. Following this, I will need to alter it to fit my model, however, the results should be just as effective.

Why add Armature?

As my final output, I will be placing my creature into different environments, and in doing so I wanted to have it looking somewhat different in each situation to prevent repetition. To achieve this, I decided to alter the pose of my creature for each image, and the most efficient way of doing this was to add Armature and rig my model.

I chose to add armature to my character to ensure its movement is fluid and realistic. The main aim of my project is to create realism, and armature will ensure this is kept true. Because my creature resembles the anatomy of a human, it would be obvious if its movements are jolted and anything but move, this function in Blender allows me to prevent any chance for viewers to escape from the scenes my creature are in.


Sources:

– Blender (2017). Introduction — Blender Manual. [online] Available at: https://docs.blender.org/manual/en/dev/rigging/armatures/introduction.html [Accessed 15 Nov. 2017].

Finding Images Through Creative Commons | Research

Part of my first project includes placing my 3D model into different environments and texture painting it to match its surroundings. Before I can decide on what my creature is going to look like in each environment, I need to decide on what environments I am going to use and find appropriate images to base the texture of my model on for the most photo-realistic outcome. To do this, I chose to use the website Creative Commons.

What is Creative Commons?

creative_commons_cc1

“Creative Commons helps you legally share your knowledge and creativity to build a more equitable, accessible, and innovative world. We unlock the full potential of the internet to drive a new era of development, growth and productivity.”

Creative Commons is a search engine that allows you to search for a term and find high-quality content that can be used as you wish. You can use CC Search to scout websites such as Google, Flickr, and much more to find content that you can legally use as part of your own creation. There are options for you to alter your search filter so you are able to modify, adapt, build upon, or just use your findings as part of any project you are working on. Once filtered, Creative Commons shows you items that creators have shared under the license terms you are using to search. This platform is a great way to find free, high-quality products that are shared by other creators who are passionate about their work.

Creative Common’s CC Search gives you options on what websites to limit your search to, depending on the format you are hoping for. For my project, I will be focusing my search on high-quality images, therefore I chose to only search for terms within the sites ‘Flickr’ and ‘Pixabay’. CC Search does have other image websites you can search including Google Images, but these two websites produced the heifer quality results, so I chose to stick to these.

Flickr

Screen Shot 2017-12-06 at 18.15.18


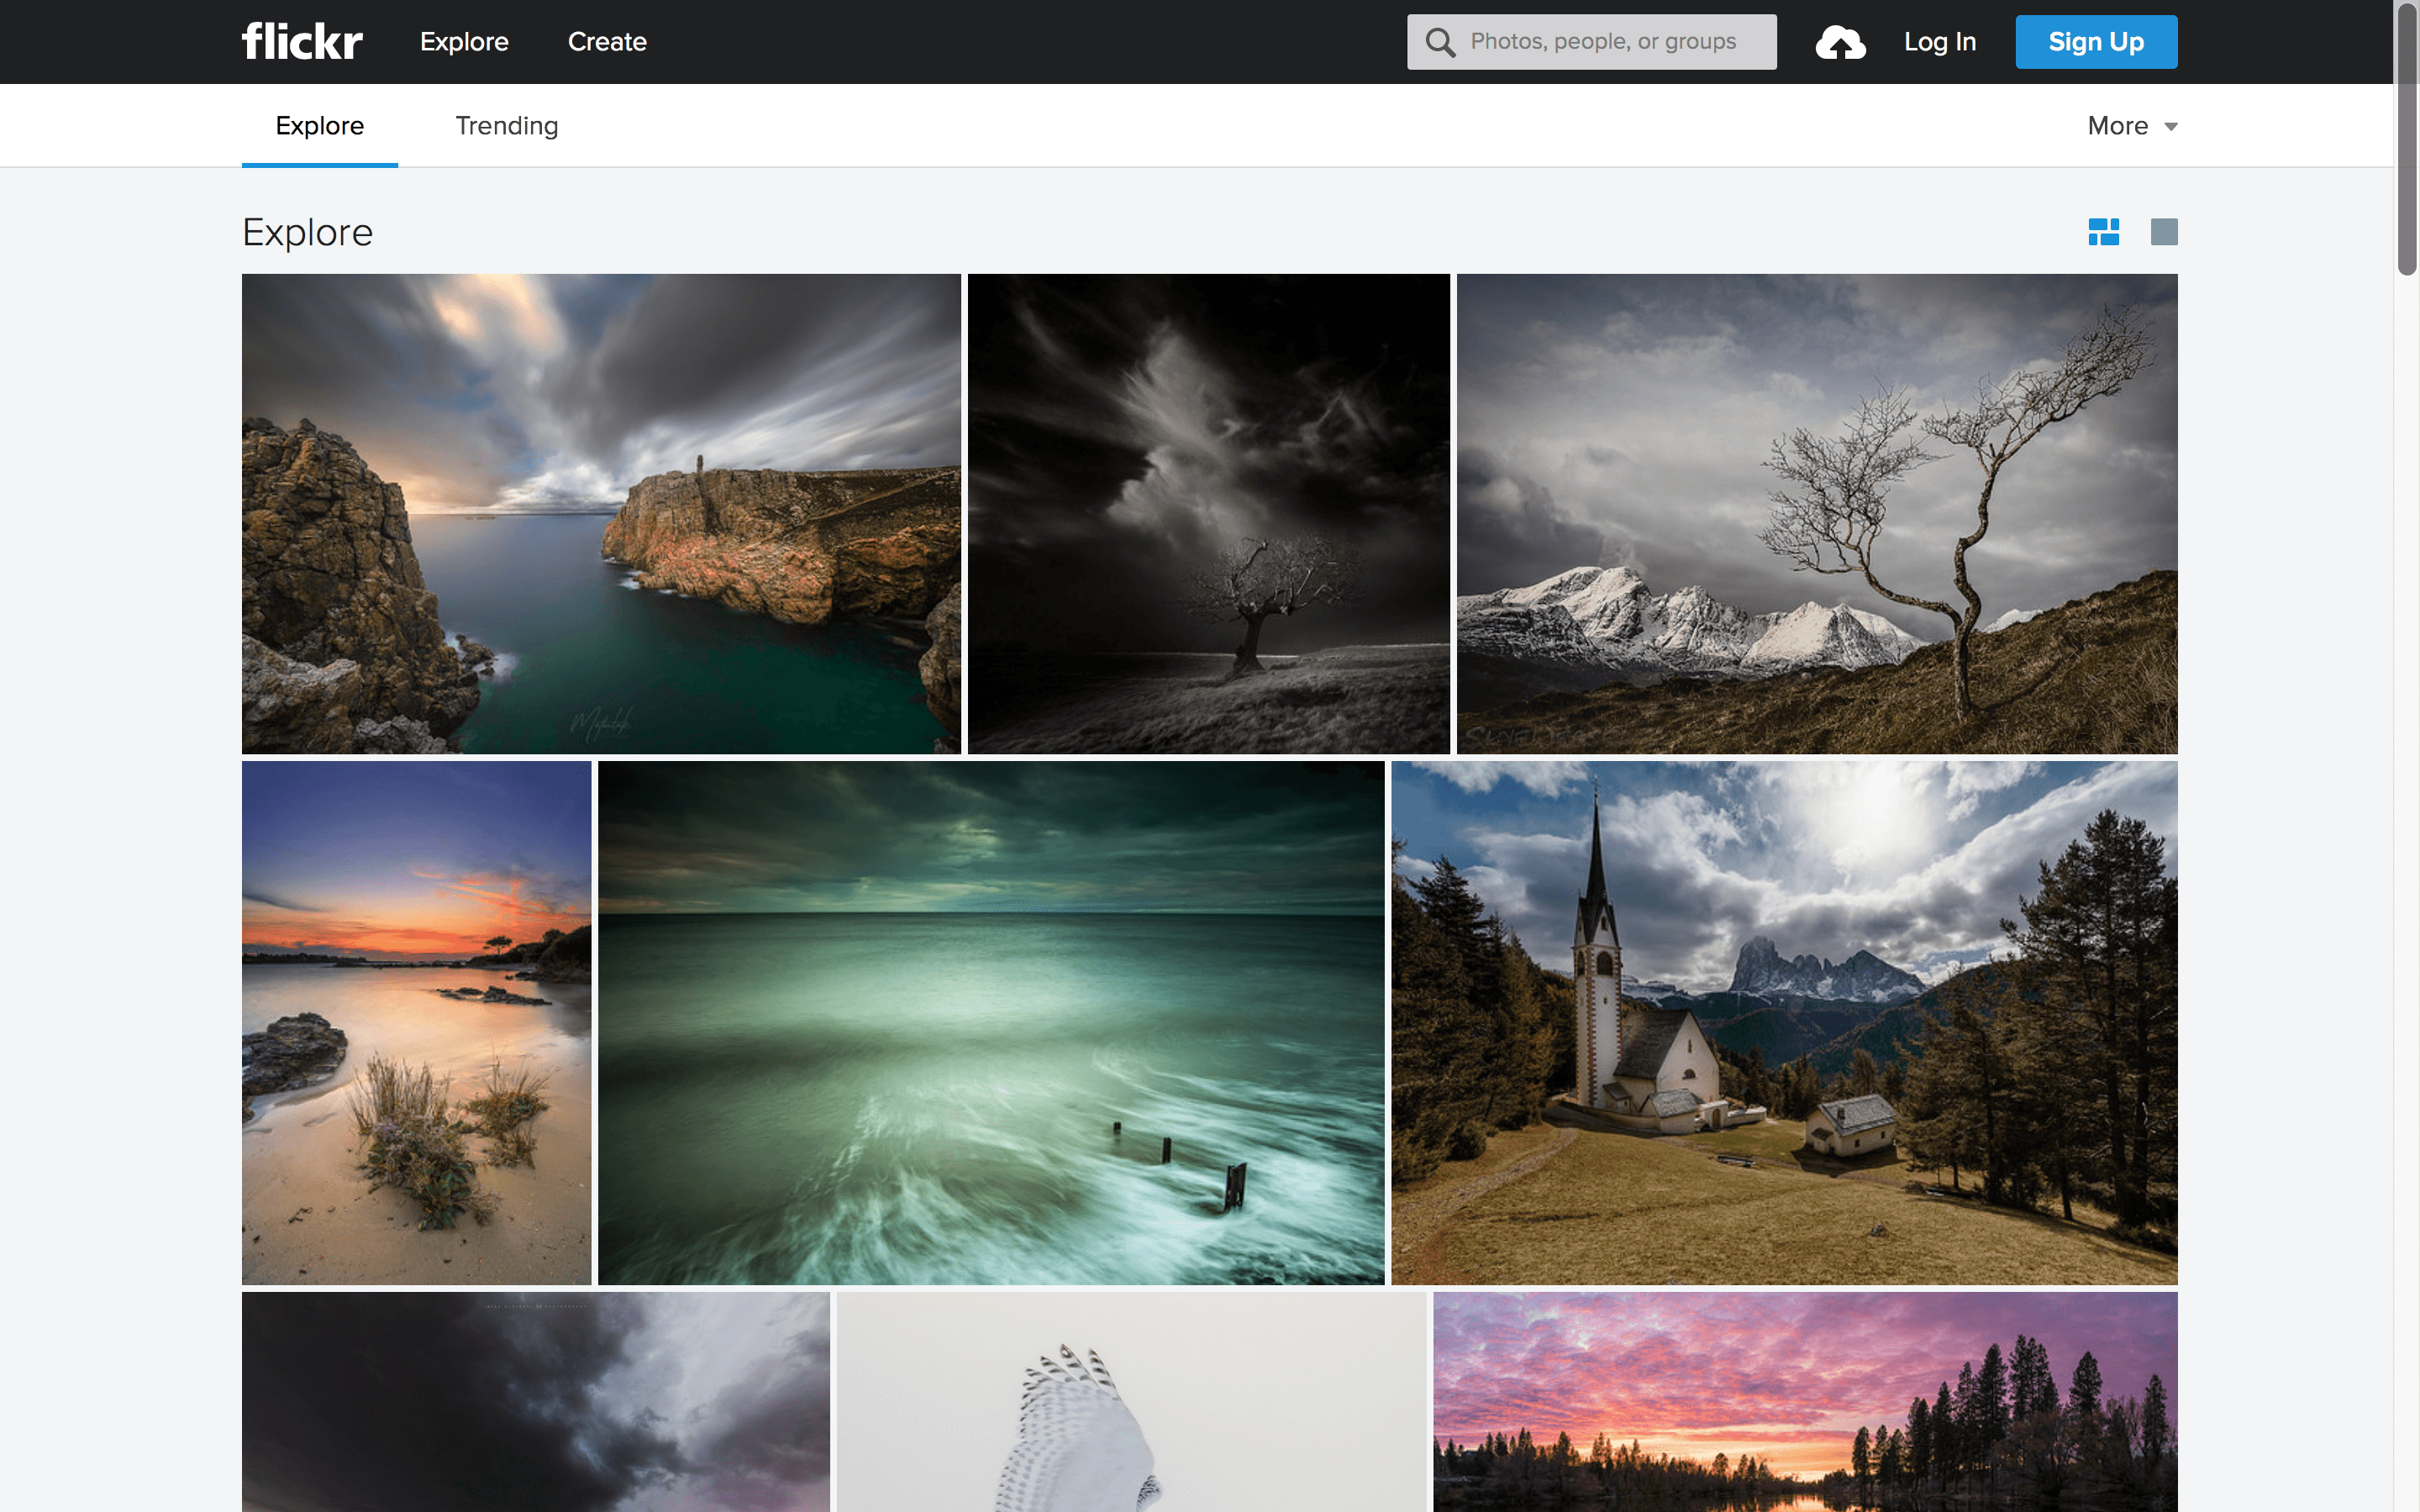
Flickr is an image and video-hosting website widely used by photo researchers and by bloggers to host images that they embed in blogs and social media. It has a total of 87 million registered members and more than 3.5 million new images uploaded daily. Flickr offers users the ability to either release their images under certain common usage licenses or label them as “all rights reserved”. Images can be downloaded directly to the user’s device, and the user can choose the quality of the image, as well as the size/shape.

Screen Shot 2017-12-06 at 18.49.52

Appropriate Results:

The following results fit the criteria of images I hoped to find in Flickr through CC Search – high quality, large dimensions and available to use.

Pixabay

Screen Shot 2017-12-06 at 18.38.40

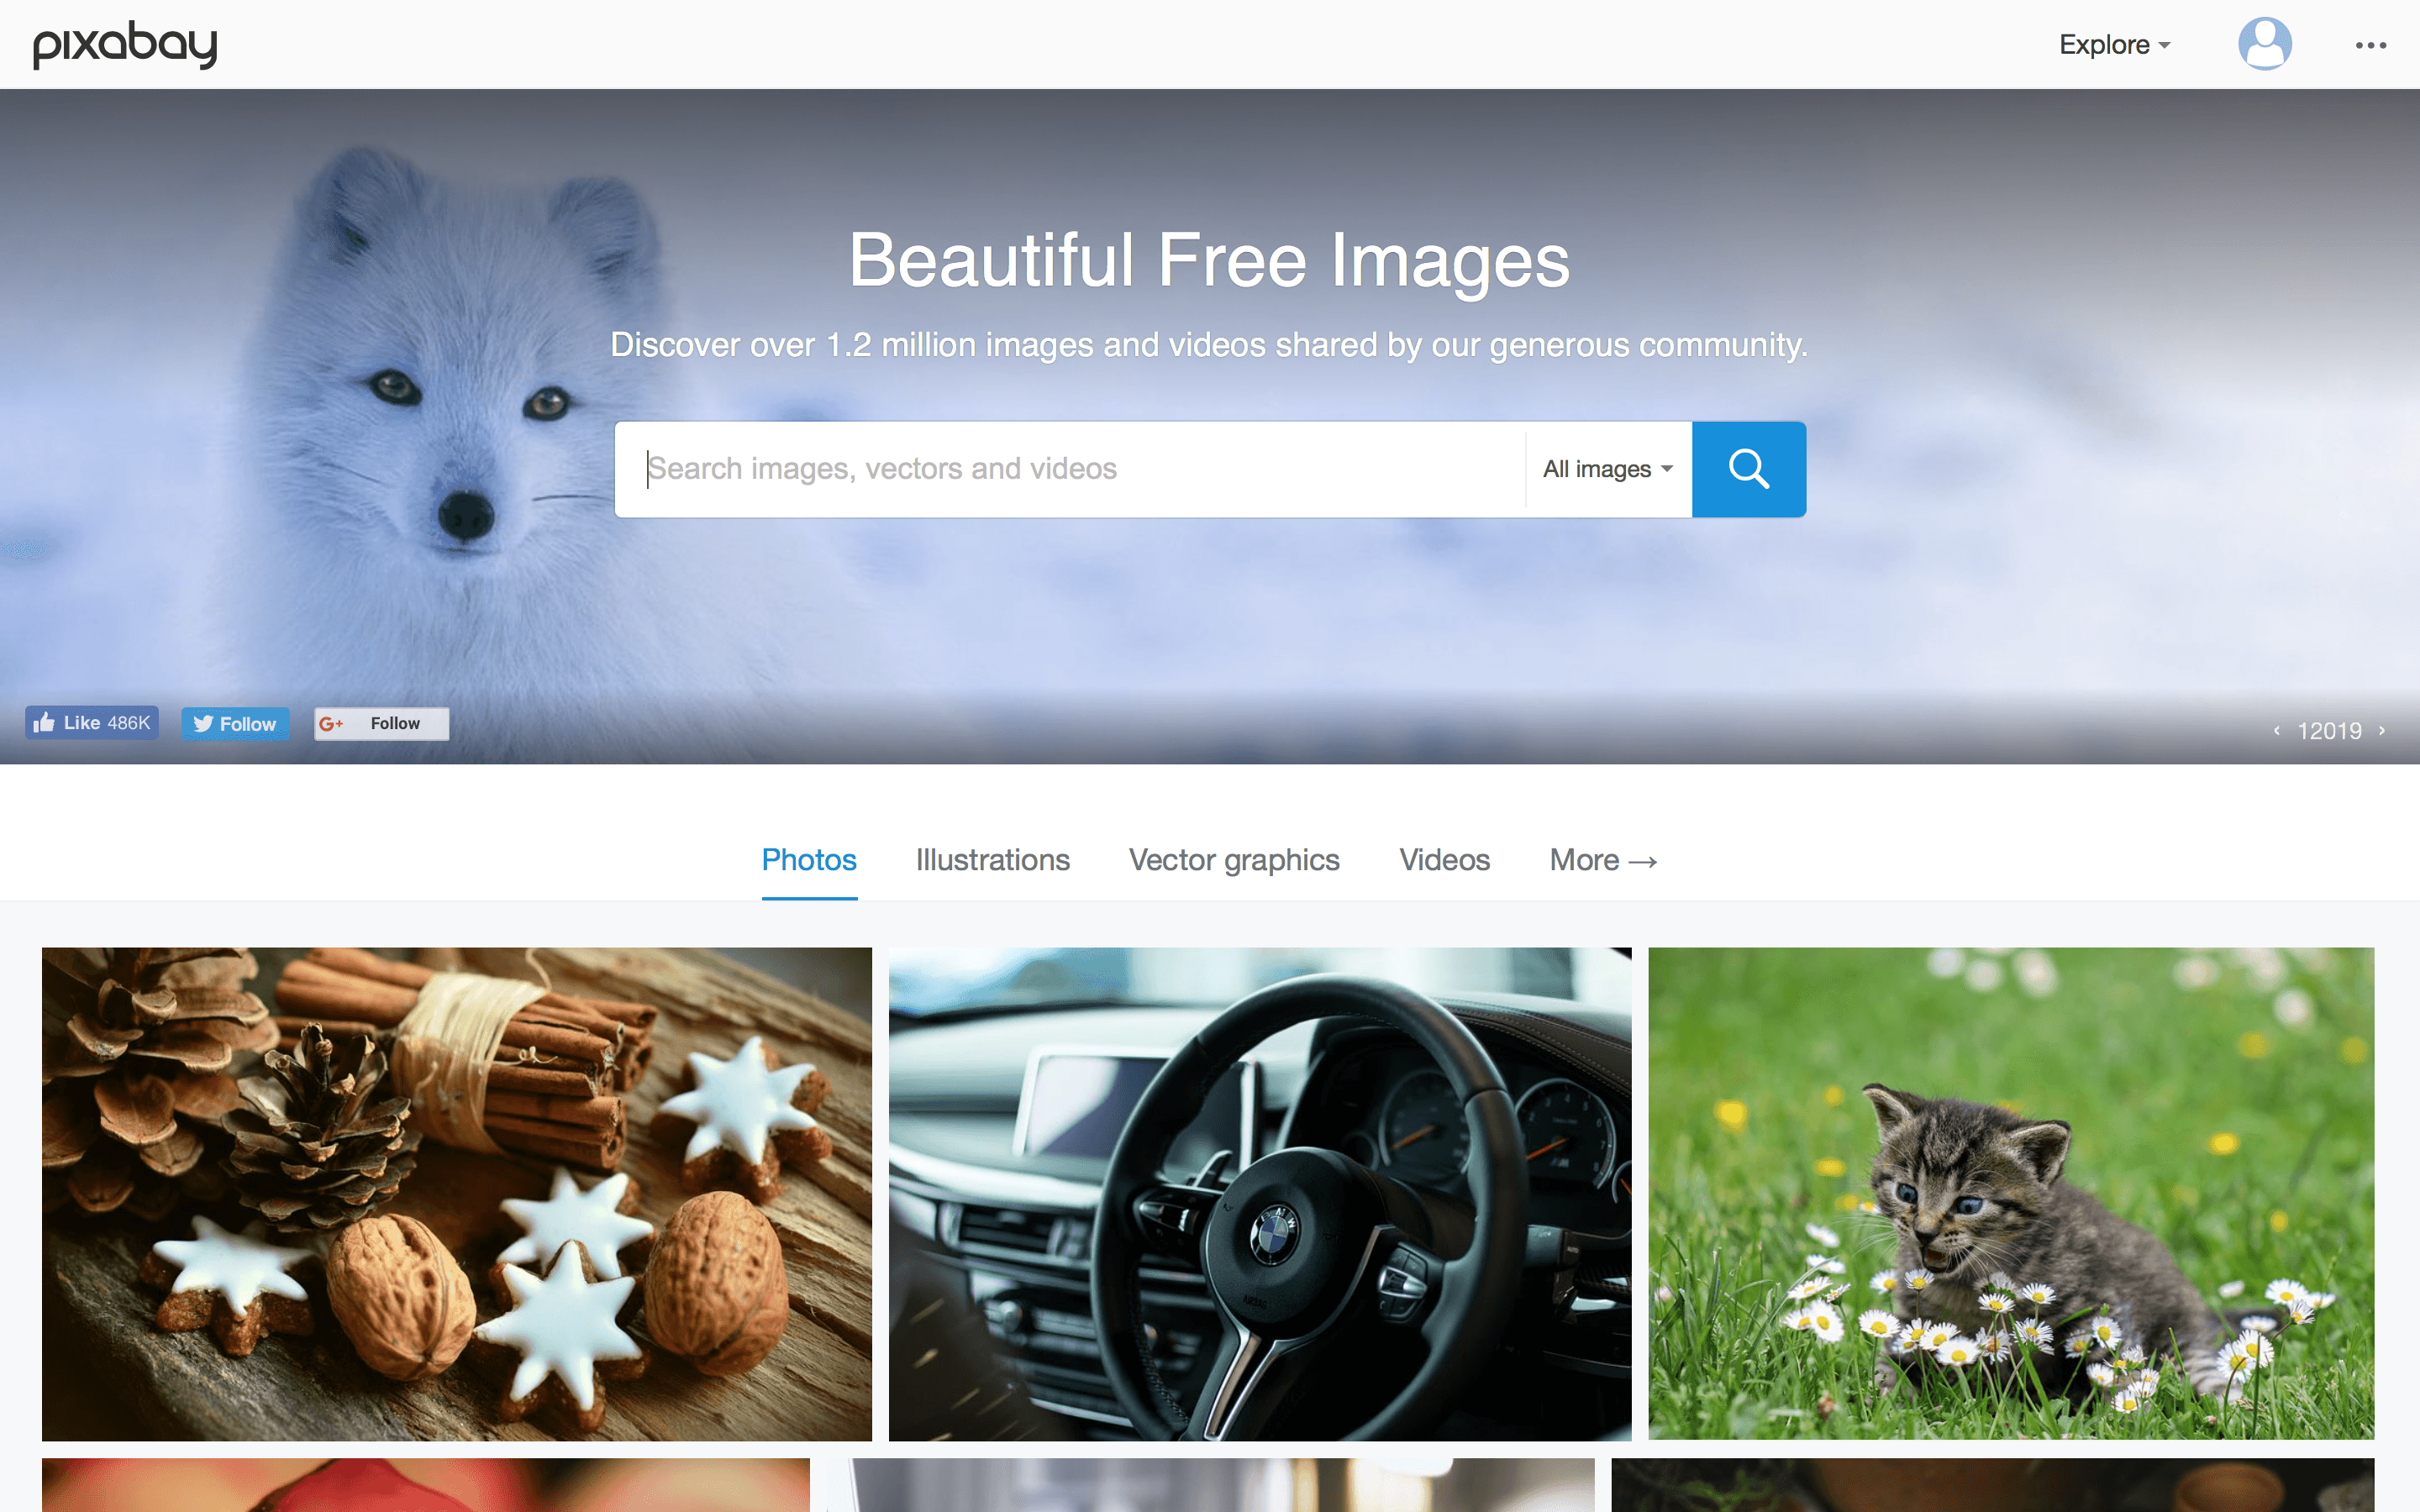
Pixabay is a website for sharing high-quality photos, illustrations, vector graphics, and film footage. It offers over 1,188,454 items, and users can find and contribute quality images and footage films free of copyrights. For uploading files and downloading full-sized images, a free registration is required, and once signed up, users can download their chosen product in the size and quality they need.

Screen Shot 2017-12-06 at 18.19.43

Appropriate Results:

The following results fit the criteria of images I hoped to find in Pixabay through CC Search – high quality, large dimensions and available to use.

Terms Searched: [Environment 1, Environment 2, Environment 3, Environment 4]

– Desert

– Wasteland

– Beach

– Snow

– Snowy 

– Snowy Mountains

– Mountain Top

– Rainforest

– Forest

– Woodland

– Sunset

– Sea

– Sunset Sea

– Underwater


Sources:

– Creative Commons. (2017). When we share, everyone wins – Creative Commons. [online] Available at: https://creativecommons.org/ [Accessed 4 Dec. 2017].

– Flickr. (2017). Flickr. [online] Available at: https://en.wikipedia.org/wiki/Flickr#Filtering [Accessed 5 Dec. 2017].

– Pixabay. (2017). Pixabay. [online] Available at: https://en.wikipedia.org/wiki/Pixabay [Accessed 5 Dec. 2017].

Choosing Different Environments | Research

The pure aim of modelling a creature is in order for me to texture paint it in different types of environments. Because of this, I need to decide where I am going to be placing my creature in order to begin looking for resources that are appropriate. The ideal environments for me to use would have to be unique from one another, showing variations in the textures and lighting I will be using. Within the environments there may be elements that can interact with my creature, forcing me to position the creature differently. These can be anything from animals, to water, or even different temperature or weather elements.

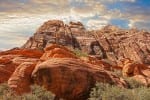
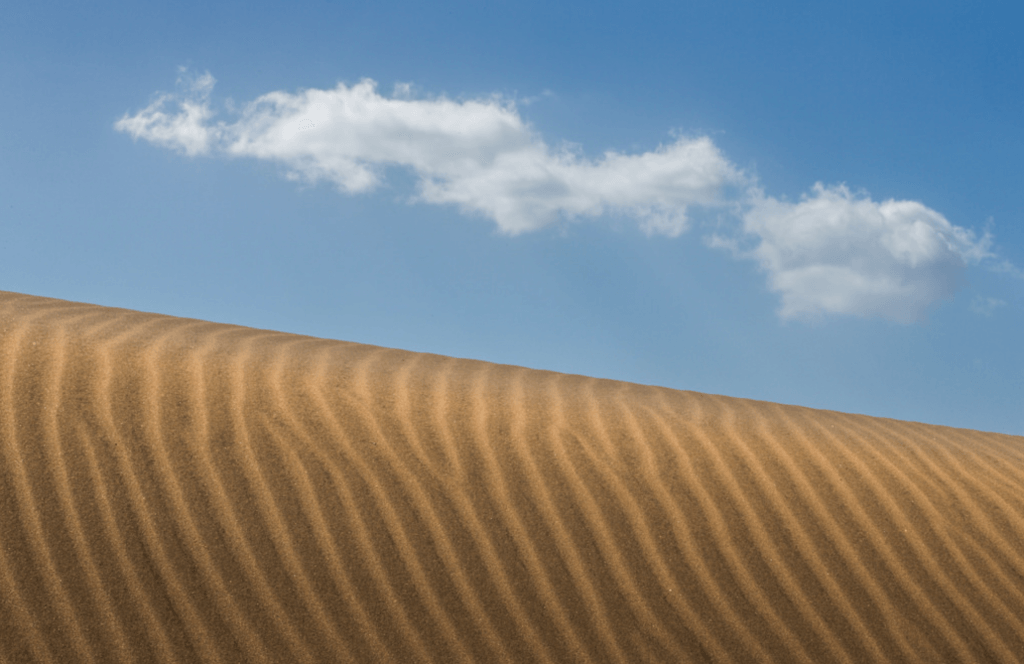
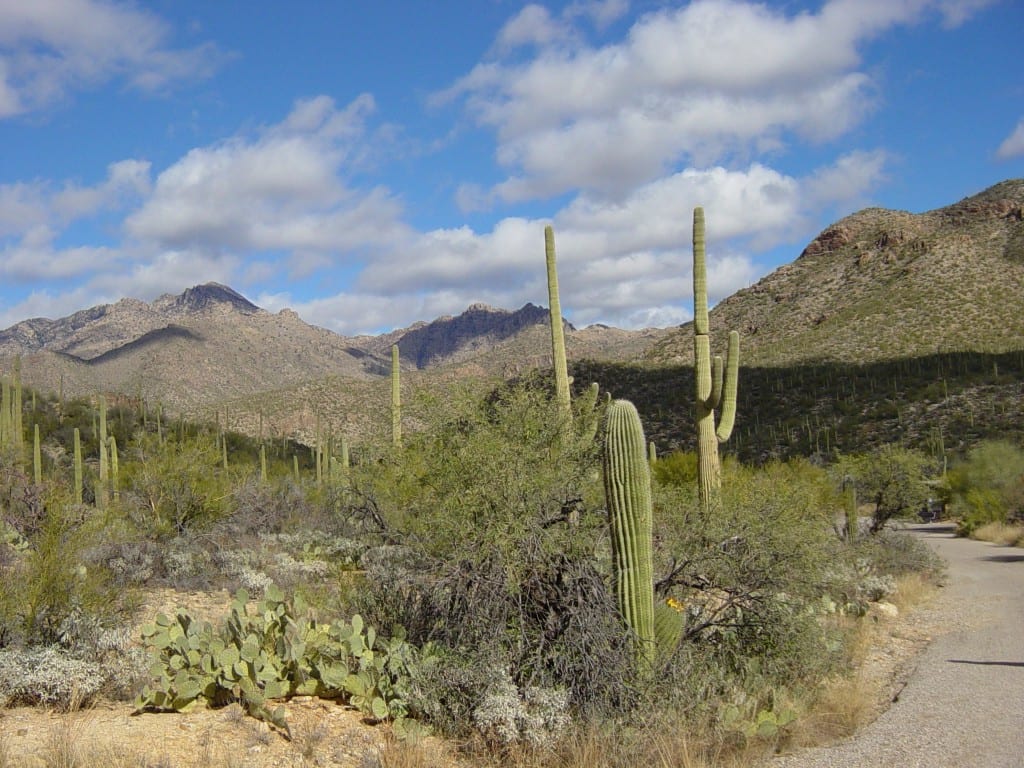
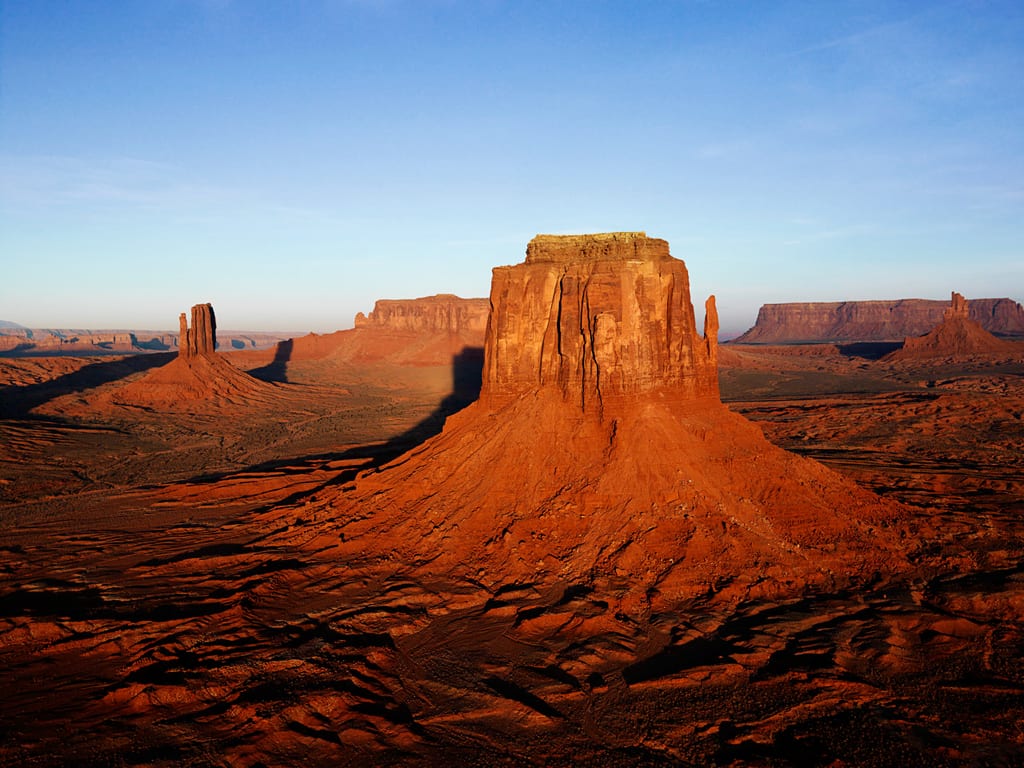
Environment 1 – Desert

Screen Shot 2017-11-22 at 20.51.12 1389180_b9faa811c0_o

5505540358_e0e34153cb_o

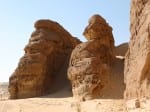
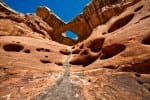
The desert environment can be anything from complete emptiness to having mountain-like aspects. It can include sand and rock as its foundation, with plants such as cacti, weathered trees, tumbleweed and wildflowers littering the terrain. Little precipitation occurs in the desert, and the temperature is often high, meaning the landscape is most often dry and hostile for most animal life. The heat and lack of rain can affect the lighting of a desert environment, making it warmer and brighter. The barren nature of this environment also means there will be fewer objects to obstruct light and cast shadows, making it a rather basic environment to light.

Tutorials that may prove useful:

The following tutorials all have instructions on things I could add to my creature before placing him into a barren landscape.

The above tutorial contains techniques I could use to alter the look of my creature in order to blend him into the environment.

Pebbles could also be littered onto and around my creature to insinuate the idea of sandstorms, and that my creature has been in that environment for a while.

This tutorial could help me to reshape the body of my creature to make him seem more appropriate for a desert landscape.

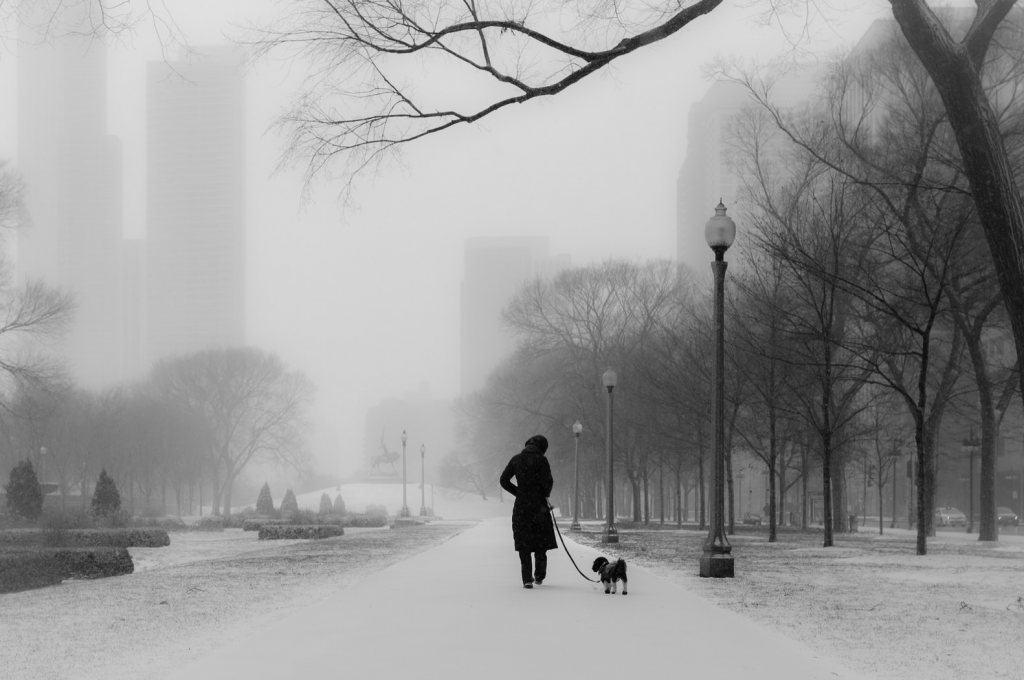
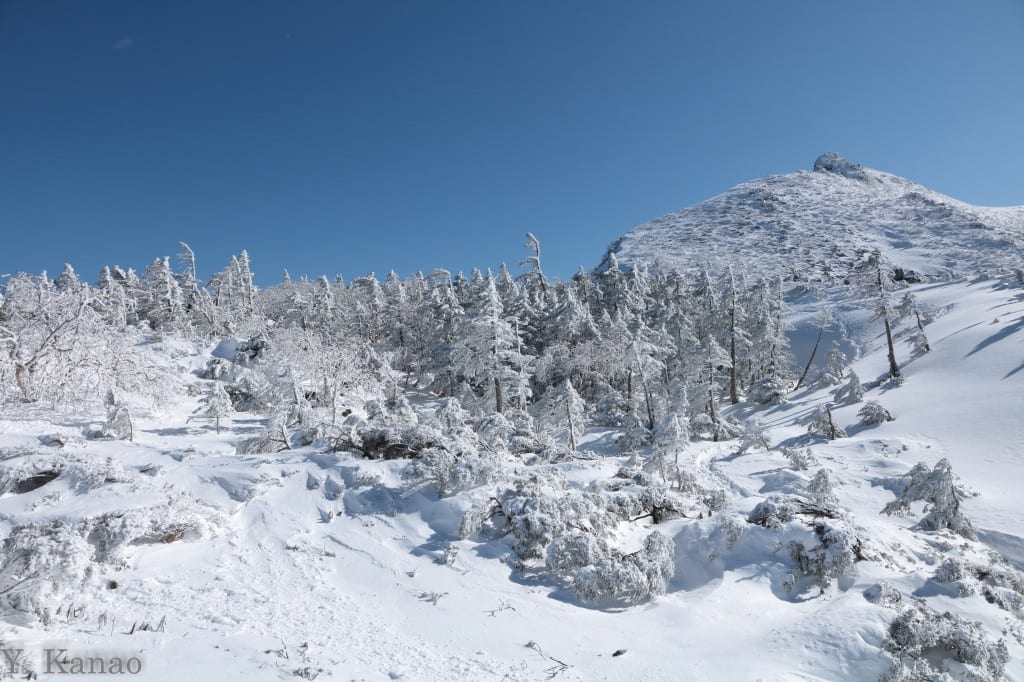
Environment 2 – Snowy Mountain

Screen Shot 2017-11-22 at 20.51.37 32178659904_6a00df5957_o

Screen Shot 2017-11-22 at 20.51.26

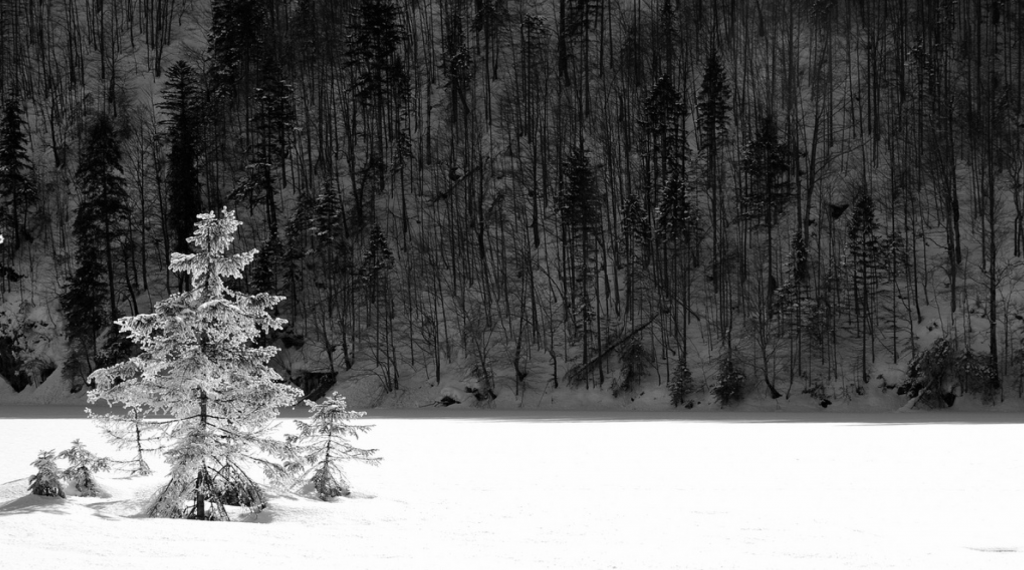
A snowy landscape completely unique from a desert. It can be anything from a snowy wood to a mountaintop, to even a city, and can alter the form of my creature significantly. Due to the nature of my creature, I would most likely base this environment around a snowy mountaintop, as a city may be too public, and a woodland may be too similar to my third and final environment. A snowy mountaintop also gives me more of a chance of incorporating my creature into the environment easier, with the structure of him resembling rock-like materials. This environment will include large landforms, snow, trees and foliage, and it will be very isolated, with the option to include a hiker or two. The mountain may be surrounded by a water source and can refrain from being completely covered in snow. This would be ideal as an environment as I can use my creatures original material and add snow to appropriate places. Piles of snow may also form on the creature.

Tutorials that may prove useful:

Environment 3 – Forest

14714309603_36bd318364_o 6066732779_8758c67bd4_o

Screen Shot 2017-11-22 at 20.50.27 23977204738_5dc28dda8a_o

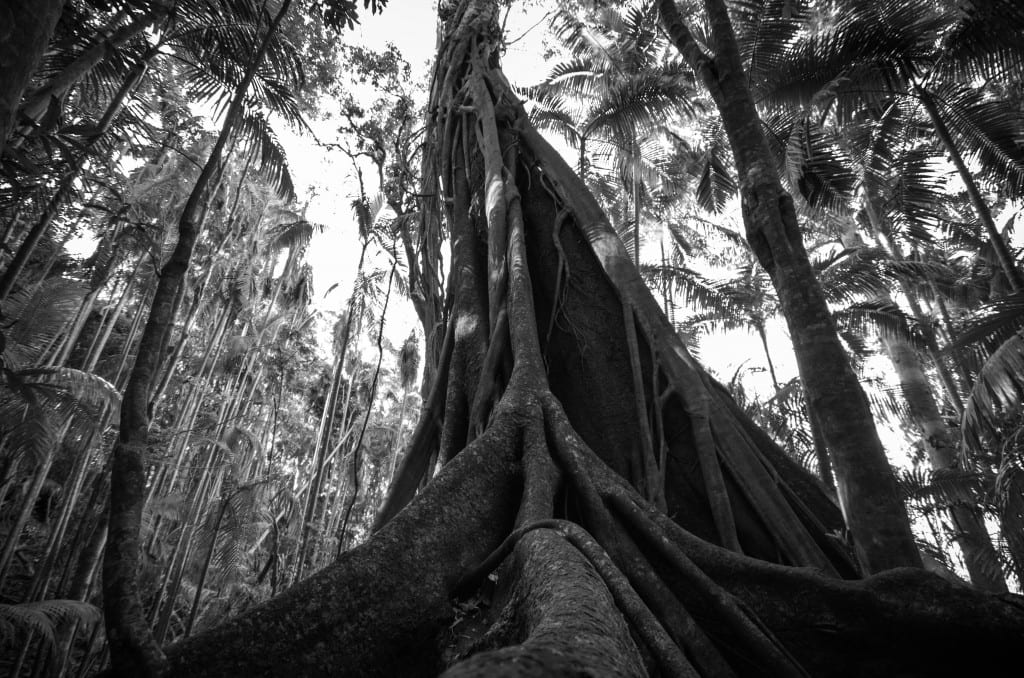
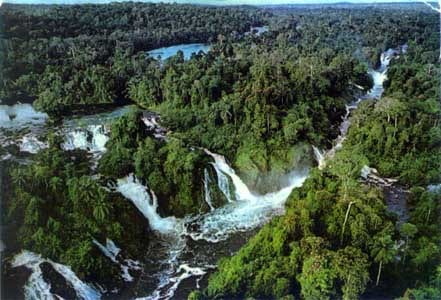
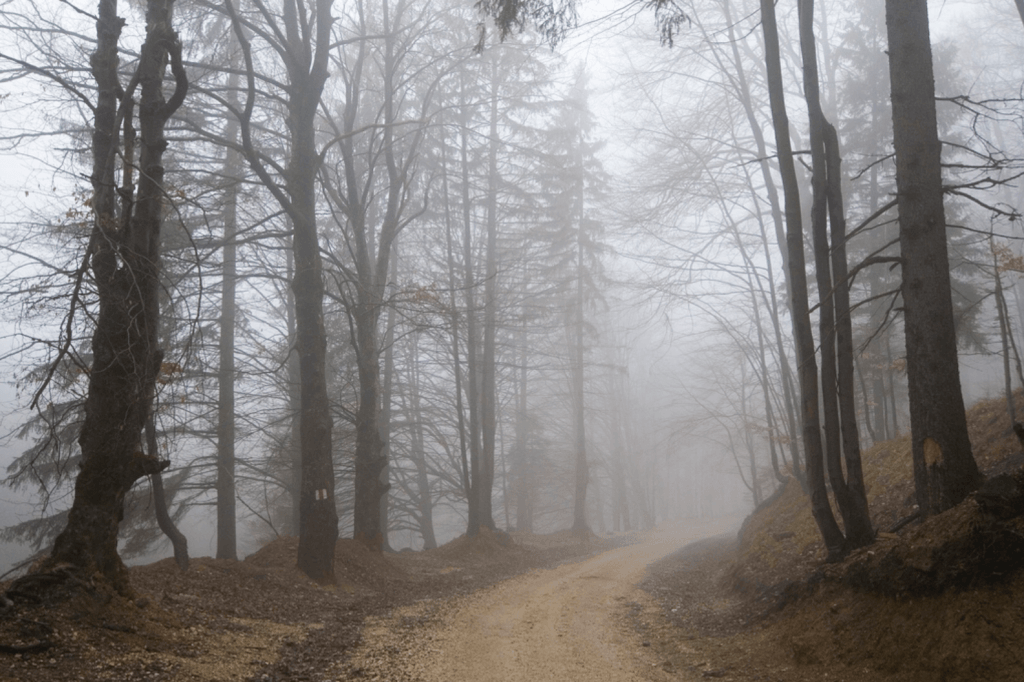
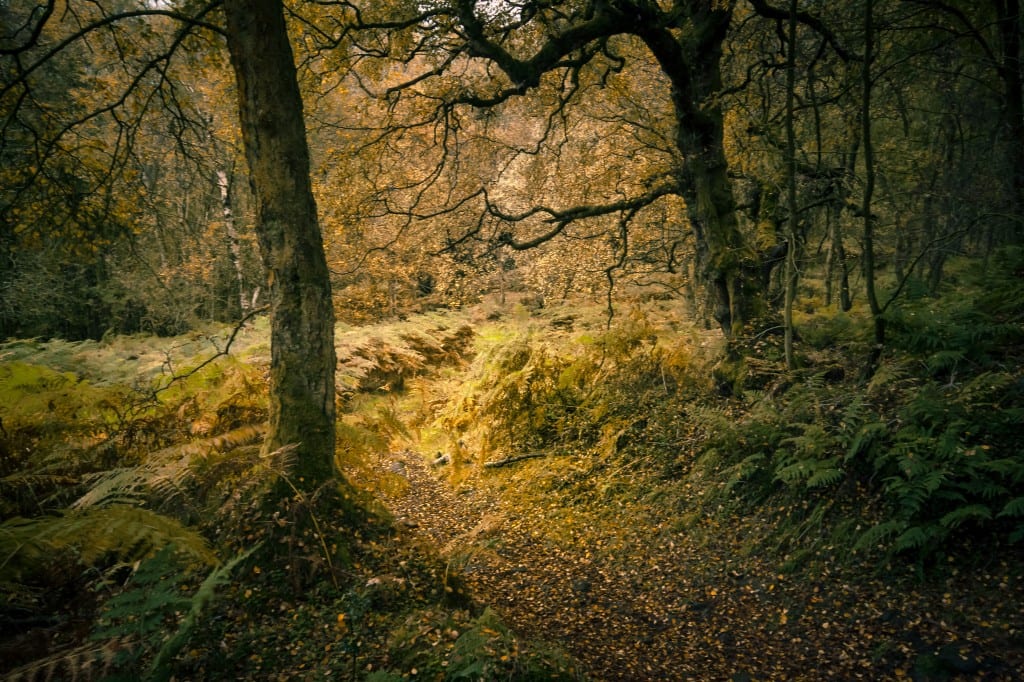
A forest is not limited to an exotic location. It can include terms such as a wood, woodland, rainforest, and even just trees. Whichever route I decide to take this environment down, it will be one filled with life, with vines and trees growing everywhere, and animals wandering throughout, elements I could make my creature interact with. Some forests include water such as a waterfall or stream running throughout, which is something I could consider looking for when searching for a suitable image. Any these factors could be found somewhere my creature may settle, so my options are extremely open. Based purely on preference, I would like to use an image that resembles a rainforest more than a typical woodland, purely for the variety of contents and the colours would probably more vibrant, this decision is subject to change and relative to the images I find during my search.

 Tutorials that may prove useful:

Rainforests have a lot of humidity, so including mist around my model may be quite fitting.

This explains how to create a log with moss on it, from start to finish. Parts of this tutorial may help me to create an ideal texture and shape to my characters look.

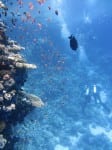
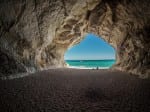
Environment 4 – Sea

27488378534_729071d57b_o divers-123286_1920 italy-1614931_1920 panorama-2098812_1920

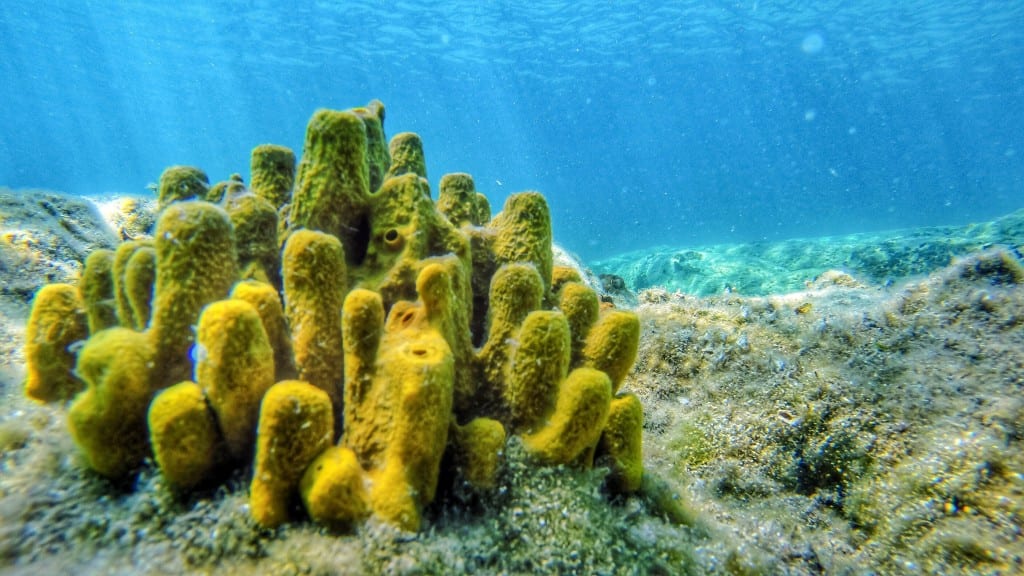
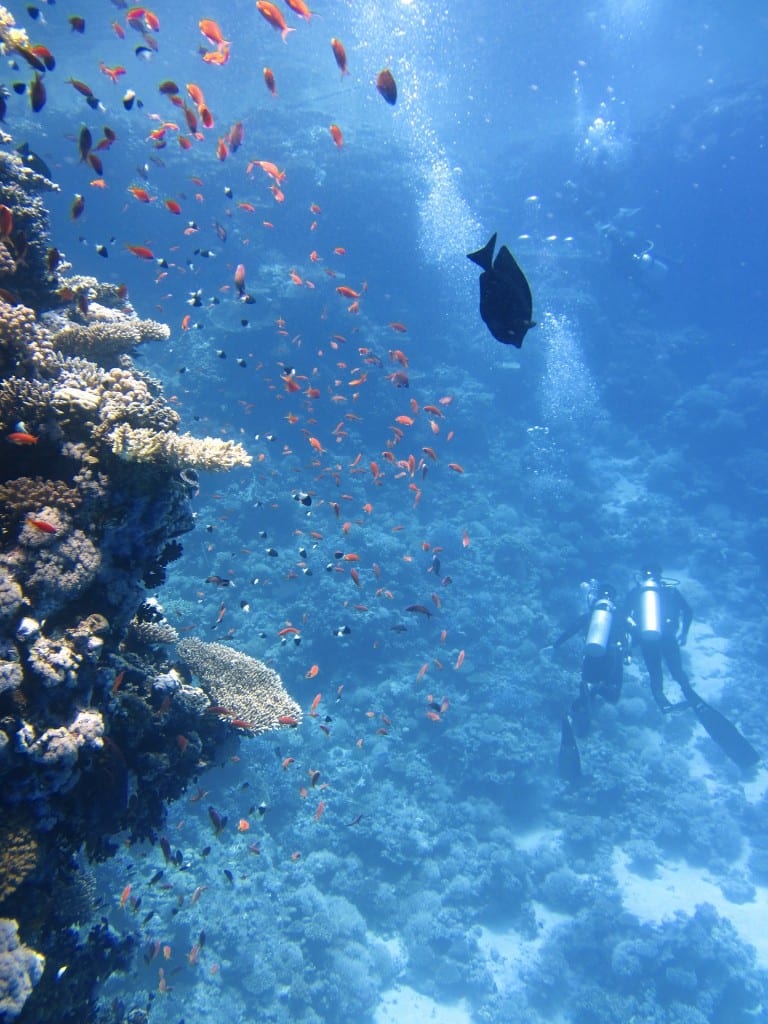
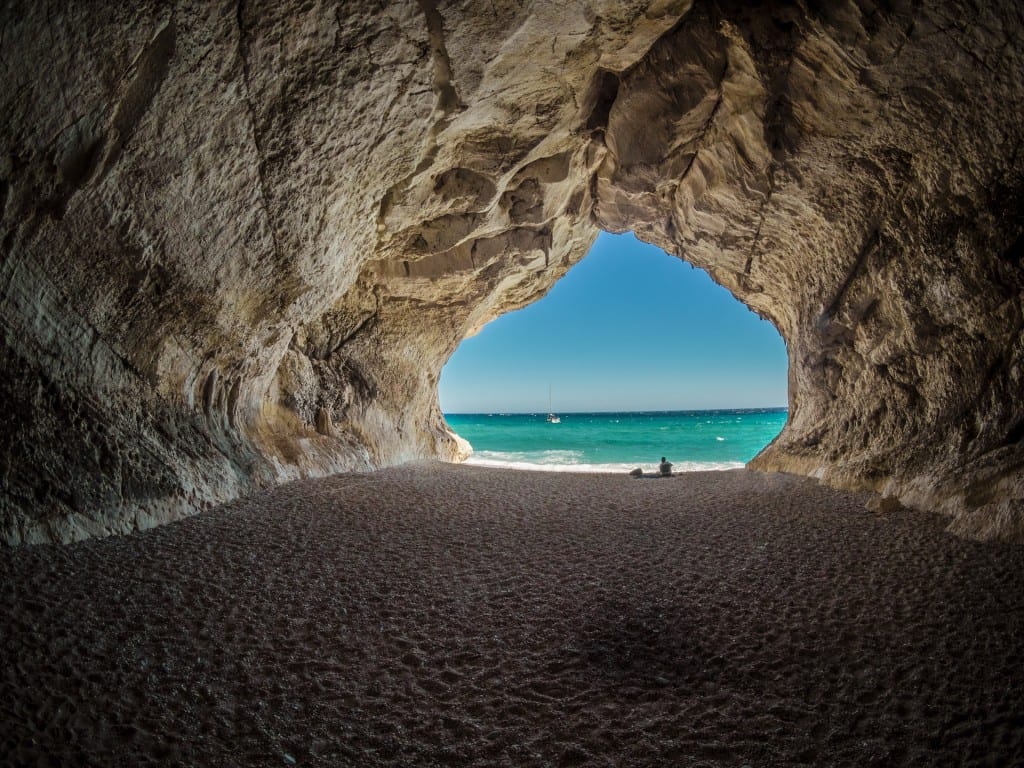
For a sea type environment, I could either place my model by the sea on either a cliff or the equivalent of or place it underwater. Both settings have the potential to create entities that interact with y character, underwater has sea creatures and plant-life to consider, whereas next to a water source as large as the sea has the possibility of lighting shifts and reflections. By the sea is also rather windy, which would probably not affect my actual creature, but could affect things around him such as dust/sand particles or water spray. Underwater can be either dark or clear depending on how deep and where the scene is set in the world, both of these could change the clarity of my characters textures and shape differently.

Tutorials that may prove useful:

https://www.youtube.com/watch?v=yq0y8J59GJs

The Rigid Body Function | Research

During one of my tutorial sessions, my tutor introduced a feature of Blender where you can add animations and effects to the 3D model you are working on. The following footage is a time-lapse of my experiments when using this function.

Towards the end of this tutorial, we were encouraged to play around with the rigid body options and see where we got. I decided to set myself the task of creating a flag, however, I did not have enough knowledge about the modifier to problem solve my way to a final project. Had I had time, I would have liked to have brought this up with my tutor during the session, but for now, I intend to follow online advice and experiment during my modelling process.

Creating Rocks in Blender | Research

Whilst experimenting with Blender, I discovered a difficulty when beginning to model. One thing I had not yet tackled was creating something irregular, such as natural rock. My creature will be blending into multiple environments, so it seems only appropriate to have their material be earth-like.

To tackle this, I took advice from the following tutorials on how to create a low-poly rock in Blender. Doing this helped me to randomise things I have modelled a bit more, making them seem less uniform.

Here is a time lapse of my experiments.

This tutorial introduced me to the idea of using the sculpt tool to create detail in the rocks that didn’t look uniform. When modelling in Blender, it is quite hard to be tempted away from using modifiers such as the Boolean and Subdividers to make things uniform, however because my creature is going to be made out of all natural materials, it is interesting to work with a tool in blender that gives me that freedom.

Not only did the above outcome lead to a more in-depth knowledge of the sculpt tool, but I was also shown how to use the material node option in blender to create realistic textures and surfaces to my models. Whilst this was done on  smaller and what would most likely be a more random background asset, I had not before seen this function in too much detail. Whilst I do intend to use Substance painter, I may be encouraged to dive deeper into what blender has to offer in the texturing of my project.

Sources:

Alexandrov, G. (2017). Sculpting stone in Blender with Dynamic Topology. Available at: https://youtu.be/sl5EvG4x-bM [Accessed 13 Nov. 2017].
Geek, CG. (2017). Available at: https://www.youtube.com/watch?time_continue=2&v=xRDFMYfsIcU [Accessed 13 Nov. 2017].