Target Audience – What are they looking for? | Research

The main aim of this project is for it to eventually be part of a showreel that will be used to attract the attention of people seeking CG generalists for their line of work. The project will show how quickly and willingly I can learn to work within a software, as well as broadcast the range of skills I have within the engine I decide to work with.

When looking into the job description of a CG generalist, the requirements not only included software knowledge, but he ability to work with supervisors and problem solve within VFX tasks. They also expect generalists to work well and even thrive under tight deadlines.

My media project for semester 1 will help to fulfil these requirements by presenting the following:

  1. Working under guidance. Throughout this project I will be consulting tutors and online tutorials in order to problem solve and move across an efficient timeline.
  2. Deliver work within expected timelines. As this project has a short time period 3 months between initial ideas and a final output, the quality of my work will prove to potential employers my ability to do so.
  3. Problem solving. As part of my development process I will be discussing and addressing any problems that I have found during the creation of my project. These will be backed up by research and reasoning behind how and why I chose to solve a specific problem a specific way.
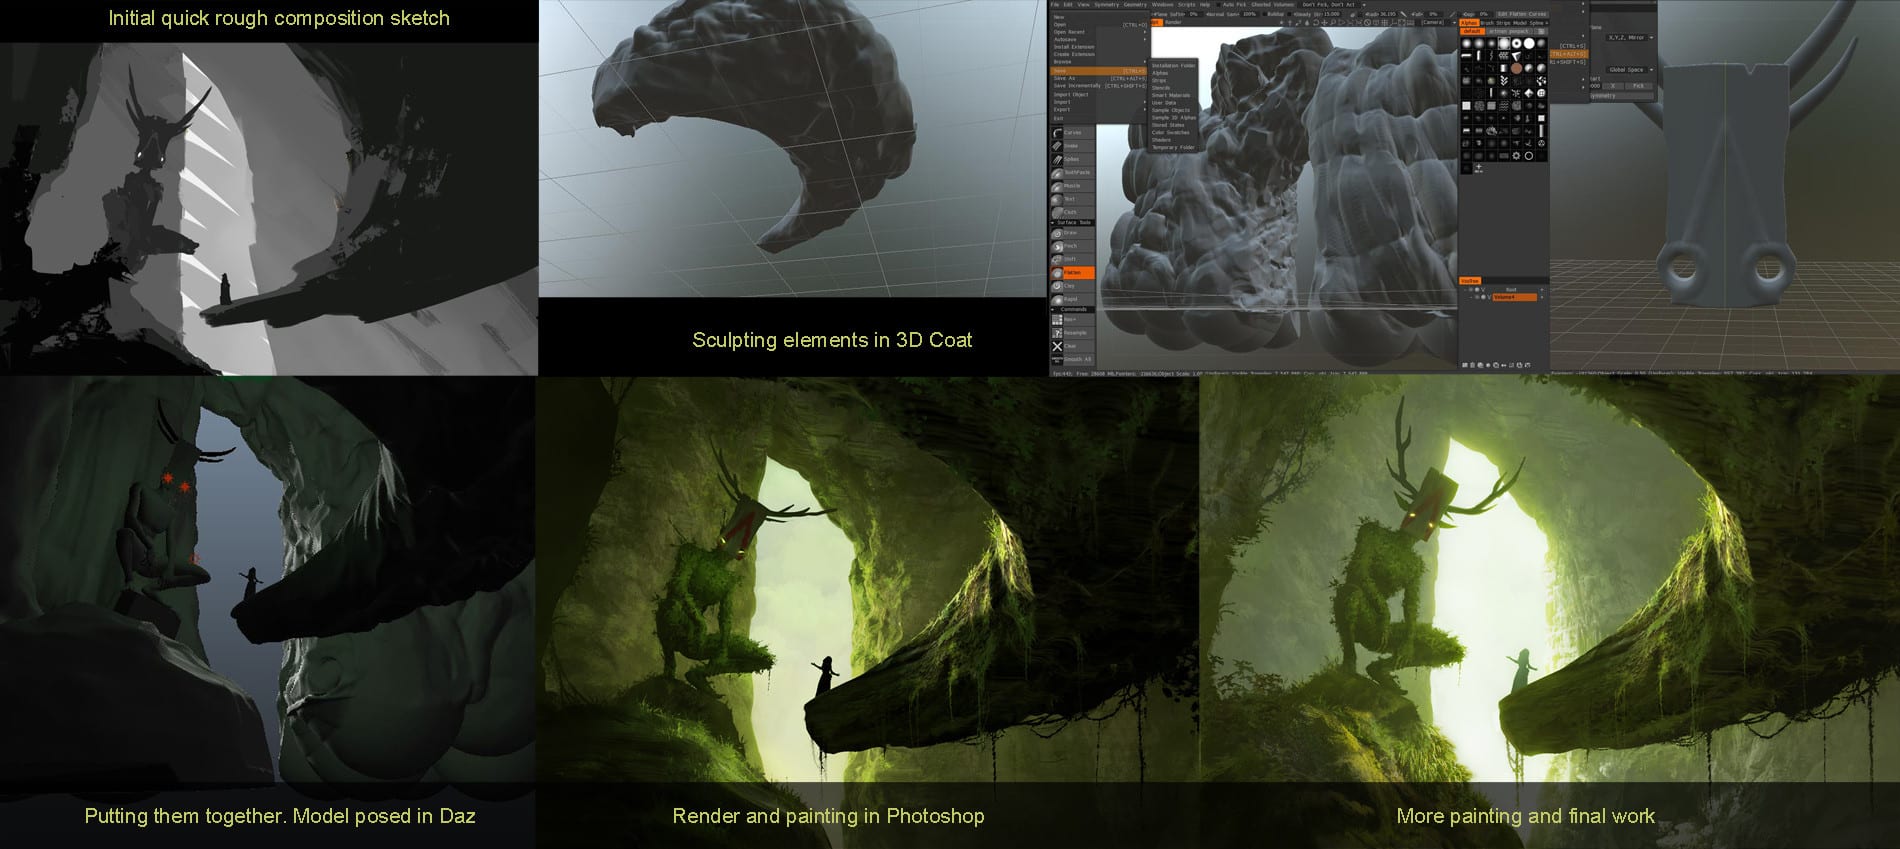
  4. The ability and willingness to learn new pipelines. My development process will document learning processes I encounter, and comparisons between softwares will prove I have learnt basic functions within other softwares to come to the best conclusion possible.
  5. Strong sense of composition, lighting and colour. The final output will showcase my ability to consider these elements within a project, and show the intended my ability.
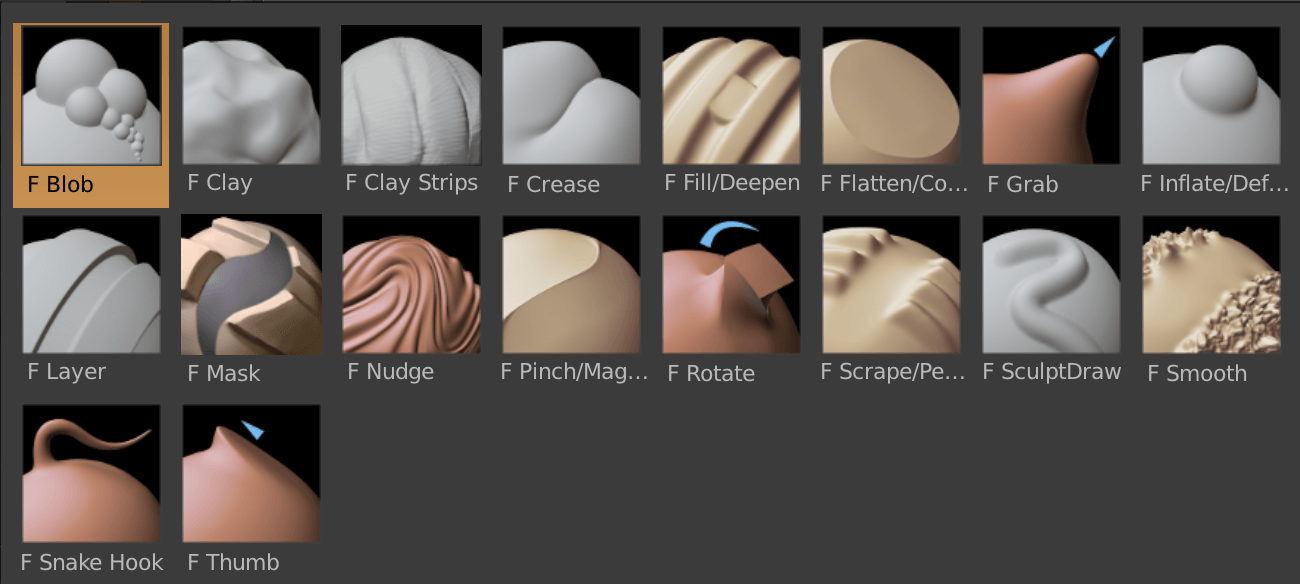
  6. The ability to work in a variety of areas such as 3D modeling, texturing, animation, lighting and rendering. Again, my final output will prove my ability to work in each of these areas.

Sources:

Prime Focus World. (2017). VANCOUVER – 3D Generalist. [online] Available at: http://www.primefocusworld.com/vancouver-3d-generalist/ [Accessed 16 Nov. 2017].

JobScore. (2017). CG 3D Generalist job at ITEC Entertainment in Orlando, FL. [online] Available at: https://careers.jobscore.com/careers/itecentertainment/jobs/cg-3d-generalist-bukk8gUN8r56hZeMg-44q7?jpid=d36IKCUN8r57yOeMg-44q7&name=Indeed&sid=69 [Accessed 16 Nov. 2017].

Creature Biography | Research Agenda

In order to personify the creature I am creating, I chose to break his characteristics down and create a brief biography for him, without doing so, I would will have little sense of how they should act and react to what is happening around them in any given scene (Chapman, 2017). This would also help me to create a character that has depth, and can be transcribed into different environments without changing his personality.

Name: Unknown.
Age: 1000+
Gender: Male
Personality Traits: Shy, quiet and gentle.
Likes: Peaceful scenes. He like to people watch and watch the world pass by.
Dislikes: He doesn’t like to attract the attention of people he doesn’t quite trust.
Where do they live?: Currently, this creature is wandering the earth looking for other like him, with no specific home. During his quest, he blends into his surroundings in order to avoid detection from unwanted people in fear of being misunderstood.
Where are they from?: This creature was created on earth but animated by an unknown entity.
Appearance:

He is large and stocky with the ability to change the colour and appearance of his skin to match his surroundings. His eyes are hollow and he doesn’t appear to have any other features to his face. His large size often has people mistake him to be dangerous, however he is extremely gentle natured. He doesn’t speak any language known to men on earth, and appears to communicate through deep and soft purring and cooing.


Sources:

– Chapman, H. (2017). How to Create Character Profiles | Novel Writing Help. [online] Novel Writing Help. Available at: https://www.novel-writing-help.com/create-character-profiles.html [Accessed 13 Nov. 2017].

Learning About Blender’s Sculpt Mode | Research

Following my first modelling sessions, I wanted to learn more about the sculpting tool in Blender, and move past just using edit mode to design my character, so I dedicated some research into the tool.

What is Sculpt Mode?

‘Sculpt mode is similar to Edit mode in that it is used to alter the shape of a model, but Sculpt mode uses a very different workflow: instead of dealing with individual elements (vertices, edges, and faces), an area of the model is altered using a brush. In other words, instead of selecting a group of vertices, Sculpt mode automatically selects vertices based on where the brush is, and modifies them accordingly, as if you were sculpting clay.’

Brushes:

Blenders sculpting feature provides users with a set list of brushes, each causing a different effect when used, all indicated by the thumbnail and the name they have been given. Some have the same basic principle, but differ in the settings they offer. The settings can be altered to achieve the outcome desired. Those with two names have an option to perform the same effect but in reverse.

  • Blob ~ Pushes the mesh in a spherical shape.
  • Clay ~ Moves vertices inward or outward.
  • Clay Strips ~ As above, but uses a cube test to define the brush area of influence.
  • Crease ~ Creates sharp indents or ridges by pushing or pulling the mesh.
  • Fill/Deepen ~ Brings vertices below the brush plane upwards.
  • Flatten/Contrast ~ Pulls the vertices towards the Sculpt plane.
  • Grab ~ Selects a group of vertices and pulls them to follow the mouse.
  • Inflate/Deflate ~ Moves vertices inward or outward.
  • Layer ~ Moves vertices inward or outward, but the height of the displacement layer is capped.
  • Mask ~ Lets you select mesh parts to be unaffected by other brushes by painting vertex colors.
  • Nudge ~ Moves vertices in the direction of the brush stroke.
  • Pinch/Magnify ~ Pulls vertices towards the center of the brush.
  • Rotate ~ Rotates vertices within the brush in the direction the cursor is moved.
  • Scrape Peaks ~ Pulls the vertices towards the Sculpt plane., but only brings vertices above the plane downwards.
  • SculptDraw ~ Moves vertices inward or outward, based the average normal of the vertices contained within the drawn brush stroke.
  • Smooth ~ Eliminates irregularities in the area of the mesh within the brush area.
  • Snake Hook ~ Pulls vertices along with the movement of the brush to create long, snake-like forms.
  • Thumb ~ Flattens the mesh in the brush area.

Screen Shot 2017-12-14 at 21.08.50

Relevant Tutorials:

Too complex, need background on edit mode. Interesting brushes to download.

Puts the brushes many forms into practice.


Sources:

– Wiki.blender.org. (2017). Doc:2.4/Manual/Modeling/Meshes/Editing/Sculpt Mode – BlenderWiki. [online] Available at: https://wiki.blender.org/index.php/Doc:2.4/Manual/Modeling/Meshes/Editing/Sculpt_Mode [Accessed 15 Dec. 2017].

Blender Tutorials | Research

On doing research into refreshing my memory within Blender, I found a playlist created and uploaded by YouTube user ‘Blender Guru’, in which I was taught everything from how to use the programs interface, to creating visually realistic materials. I decided to follow the first few steps to this tutorial, and recorded my results below.

These tutorials helped to improve my basic skills in the software, and taught me techniques I could use in my final project. I have used Blender before and therefor have a basic understanding of the topics Blender Guru covers in his tutorials, however as time has passed I have become less comfortable with using tools and shortcuts.

Blender Guru Tutorial Playlist

Timelapses:

In the first tutorial, I was getting to grips with the interface of blender and refreshing my knowledge on basic functions such as viewing the mesh I am working on. The majority of this tutorial was focused on a simple fire simulation, which showed me what blender was capable of. This tutorial will make it a lot easier to know what my model looks like from all angles with the simple click of a button. As I will predominantly using my laptop to create my designs, I will need to change the input user settings to emulate the number pad, this isn’t a large problem as the shortcuts tied to the number keys elsewhere on the keyboard will not be used my be.

The second tutorial went into further detail about the functions within blender, experimenting with scaling, moving and rotating the mesh. It also introduced the idea of using the modifier ‘Subdivision surface’ as opposed to altering the mesh permanently at the beginning of your session. There was also a small introduction to the modifier ‘Wave’ that animates your mesh as described.

The third tutorial was almost predominantly about alerting your object in ‘Edit Mode’. This taught me many useful techniques on how to change and deform any object to look like you want it to. As every tutorial has, this one was filled with shortcuts and information about what edit mode can do, making me feel more confident within this software.

I ended my tutorial on the fourth available on Blender Guru’s playlist. The forth tutorial was dedicated to working with material nodes, and how to make an object appear to be more realistic, with tips and tricks on using the nodes appropriately.

Tomislav Jagnjic | Research Agenda

I have recently discovered a concept artist who has created images that slightly resembles elements of my project proposal. Whilst browsing the internet, I came across Tomislav Jagnjic, a concept artist & illustrator from Montenegro. On his portfolio, he has created a series of quirky creatures that resemble the environment they live in somewhat, and interact with other characters and people. These quirky characters have equally quirky and comical names to go with the composition.

‘Cover me’ [below left] & ‘Dude is this yours, I think you’ve dropped it back over there’ [below right]

Cover me dude is this yours, I think you've dropped it back over there

  ‘Nope, wrong way. turn around’

nope, wrong way. turn around


‘Hey psst, wanna buy some cubes’

hey psst, wanna buy some cubes

‘Yo bro is it safe down there in the woods? yeah man it’s cool’

yo bro is it safe down there in the woods? yeah man it's cool

‘How do you mean you don’t wanna go outside?’

How do you mean you don't wanna go outside?

While some of these designs are solely illustrations, the above piece “How do you mean you don’t wanna go outside?” included the following workflow, which briefly shows how the artist went from initial sketch to final project.

tomislav-jagnjic-5stx9kt


Click here to look at his portfolio